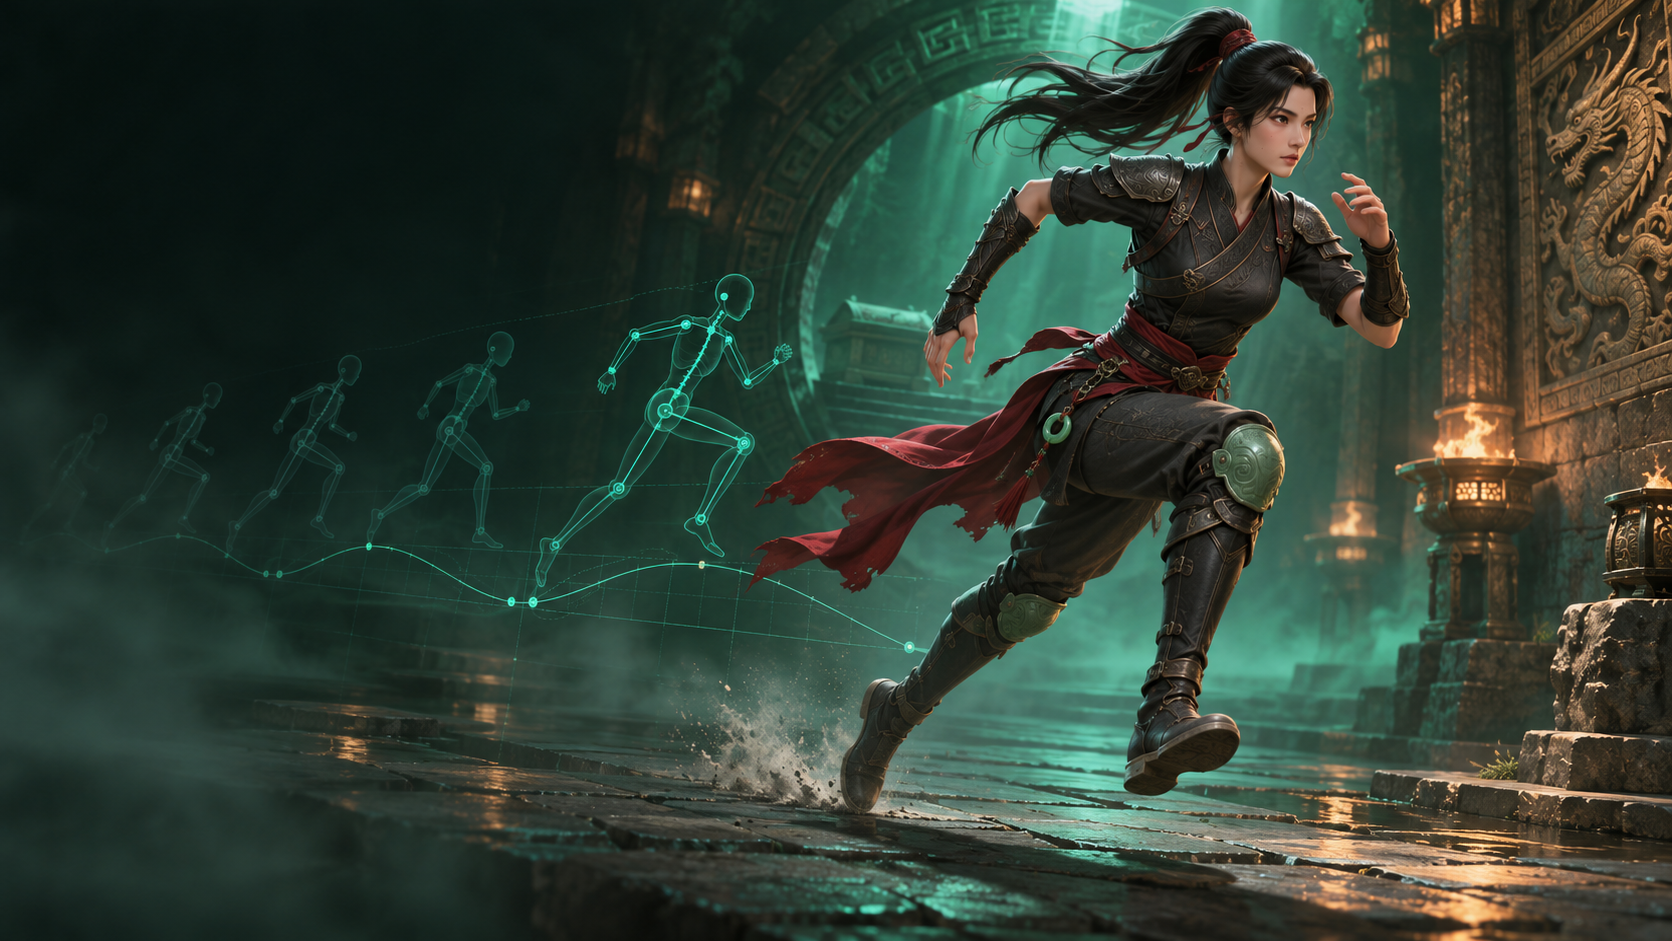
Last week, I wrote about building Lin Yue from voxels and signed distance fields . Getting a character into a T-pose was exciting. Getting her to run through a tomb, grab a ledge and fight with a sword was another story entirely.
This time, I want to look at the movement: the Kimodo experiments, the motor-inspired controls behind the rig, and the small details that become surprisingly noticeable once a character starts moving.
From a character to a performance
A game character needs more than one good pose. Lin Yue has to walk and run, crouch under traps, jump, swim, climb, push blocks and draw her sword. Each action has its own timing and purpose, but they all have to work with the same body.
The current game model contains 27 clips, including walk, run, sneak, ledge_grab, ledge_climb, swim_fwd, sword_attack and sword_guard. Some actions loop; others move into a pose or play once. Making each one readable in the game took more than simply rotating the limbs.
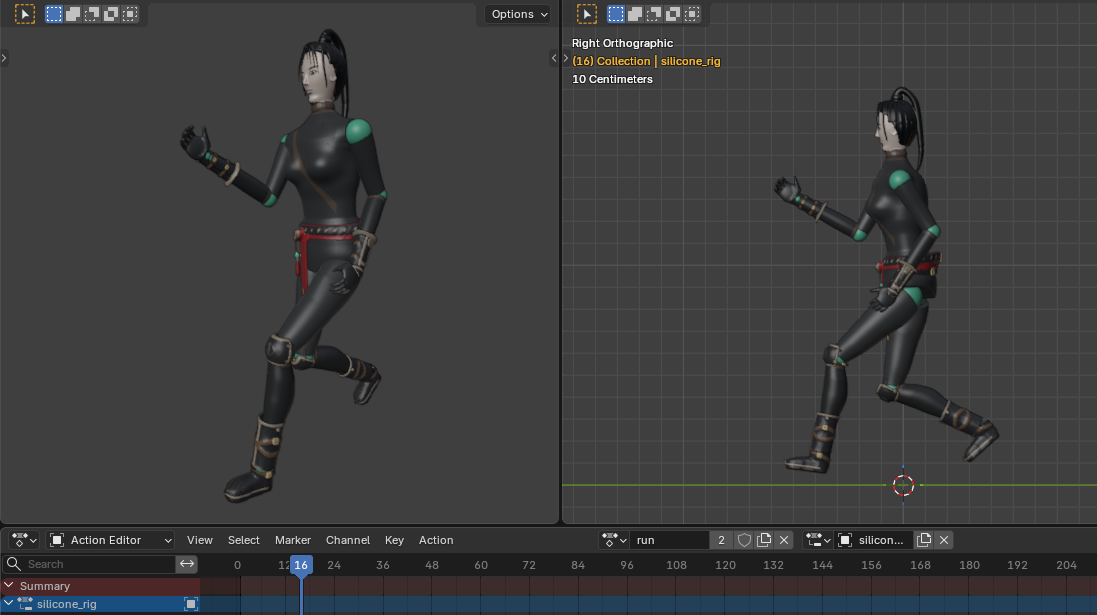
One frame from the run clip in the current low-resolution game model, rendered in Blender. A still shows the pose; timing and foot contact still need to be judged in motion.
Looking at movement with Kimodo
I explored
NVIDIA’s Kimodo
and a locally installed kimodo.cpp as part of the motion experiments. The walk and run demo GLBs, baked onto the player rig, gave me movement to examine while developing Lin Yue’s own animations.
The run script was subsequently calibrated against the run demo: things such as forward lean, the arm pump, pelvis motion, knee lift and toe push-off became parameters I could adjust. A later revision replaced an extracted run-cycle JSON with a procedural kinematic model matching the demo’s movement. The resulting game animation is therefore a procedural interpretation informed by that reference; it is not simply a claim that every clip came directly from Kimodo.
To launch the local demo from PowerShell, I use:
cd c:\kimodo.cpp
$env:PATH = "$PWD\build\bin;$env:PATH"

go run ./demo `
  -addr 127.0.0.1:8094 `
  -generator "$PWD\build\kmd-generate.exe" `
-output "C:\tmp\kimodo-demo"With the server running, open http://localhost:8094 . The demo lets me choose a motion model, a text encoder quantization, describe the action, and generate an animation that can be inspected in the viewer and downloaded as a GLB. For a fair comparison, I keep the prompt and frame count fixed when changing model or quantization.
Prompt: “A woman walks forward at a steady natural pace, arms swinging gently in opposition to her legs. She takes several even steps and comes to a relaxed stop.”
Another direction: DeepMotion
DeepMotion is another tool worth researching for this workflow. Its Animate 3D service turns video into 3D animation, opening up a different possibility: recording a movement and using it as a reference or starting point for a character clip. It would be interesting to compare that approach with the Kimodo demos and the procedural poses, especially for movements that are difficult to describe with a few parameters.
I haven’t tested DeepMotion in the Lin Yue pipeline yet, so this is a research lead rather than a result.
Thinking of the rig as motors
One way I approached the skeleton was to imagine its joints as a set of individually controlled motors. I initially thought of this as roughly 52 motor-like controls; the implementation documented in the project actually specifies 51 bone/actuator entries, including the root and finger segments. They are software controls, not physical motors installed in the character.
Each entry has rotation limits and a step size. Pose generators produce rotations relative to the rest pose; the motor layer checks those angles and quantizes them to the configured increments. In strict mode, a limit breach can stop the build with the joint, axis and frame identified. The checked frames are then written to clip data and baked into Blender actions for export.
create_pose_<clip>.py → motor limit checks → clip data → Blender actions → GLBFor example, a 0.25-degree step turns a requested 12.13-degree rotation into 12.25 degrees. The implementation converts quaternions to XYZ Euler angles, checks each axis with a one-degree numerical tolerance, then rounds to the configured step. In non-strict mode it clamps values outside the tolerated range instead of raising an error. This check is per axis and does not simulate contact between surfaces.
This made the animations easier to reason about: instead of asking only whether a frame looked good, I could inspect what the individual joints were being asked to do. But limits alone cannot guarantee that meshes will never intersect, or that a movement will look natural. Skin deformation, clothing and neighboring body parts still need visual inspection.
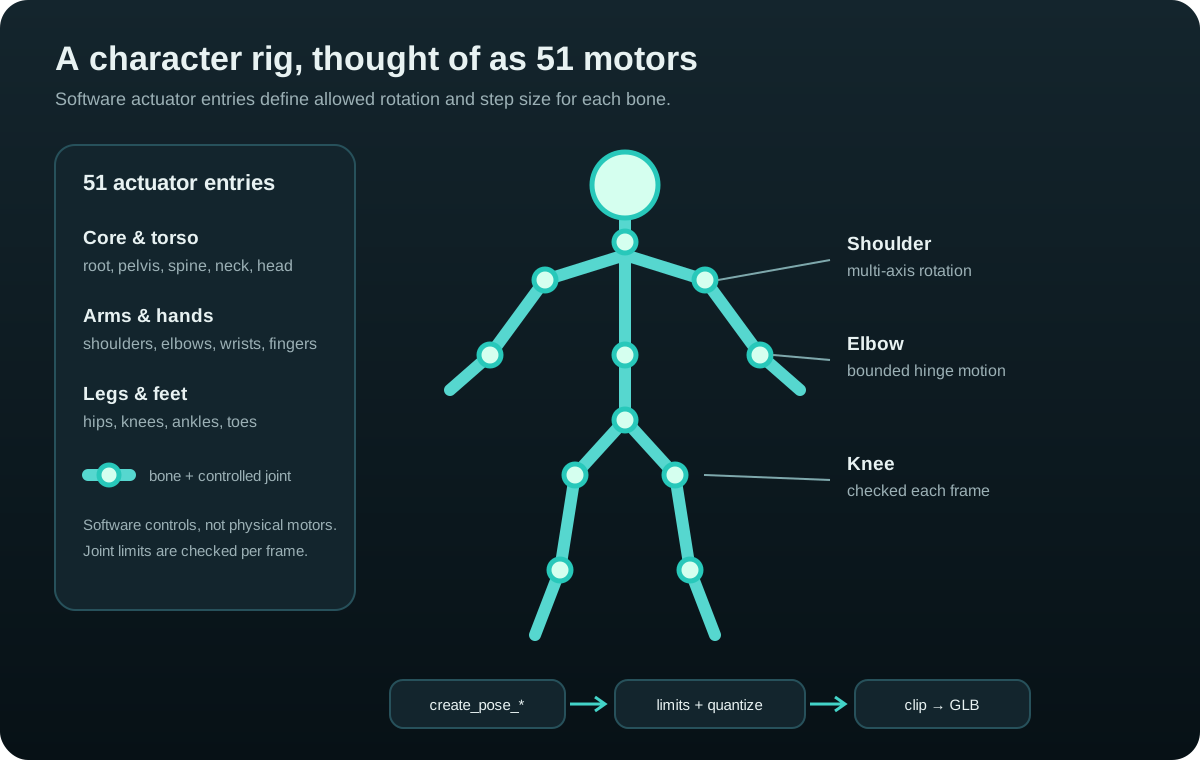
The diagram groups the 51 software actuator entries into core and torso, arms and hands, and legs and feet. It also shows how poses pass through limit checks and quantization before becoming a clip and GLB. The stick figure and joint positions are illustrative; the controls are defined by the rig.
A pose is a small program
The pose modules let me keep each movement’s parameters and calculations together. For example, create_pose_run.py defines a 24-frame cycle with values for stride, foot lift, pelvis movement and arm swing. Here is a shortened excerpt:
RUN_PARAMS = {
    'frames': 24,
    'cycle': 24,
    'duty': 0.46,
    'stride': 0.40,
    'step_height': 0.15,
    'pelvis_bob': 0.032,
    'arm_swing': 36.0,
    'elbow_flex': 55.0,
}The generator then advances through the cycle and calculates a phase for each frame:
for frame in range(cfg['frames']):
    phi = 2.0 * math.pi * frame / cfg['cycle']
    pose = {}
# Calculate pelvis, torso, arms and legs for this phase.The comments in the second snippet are abbreviated; the real function builds the joint rotations and returns the frames along with a reach-clamp measure. That measure helps flag when a target is beyond the available limb reach. Changing a gait is still an iterative process: adjust the numbers, rebuild, watch the movement, and repeat.
Walking has its own create_pose_walk.py and parameters. A run needs more lift and a different rhythm; a ledge grab needs hands that meet an edge; a sword guard needs a stance that reads clearly and a blade positioned correctly. The scripts give each motion a place to express those differences.
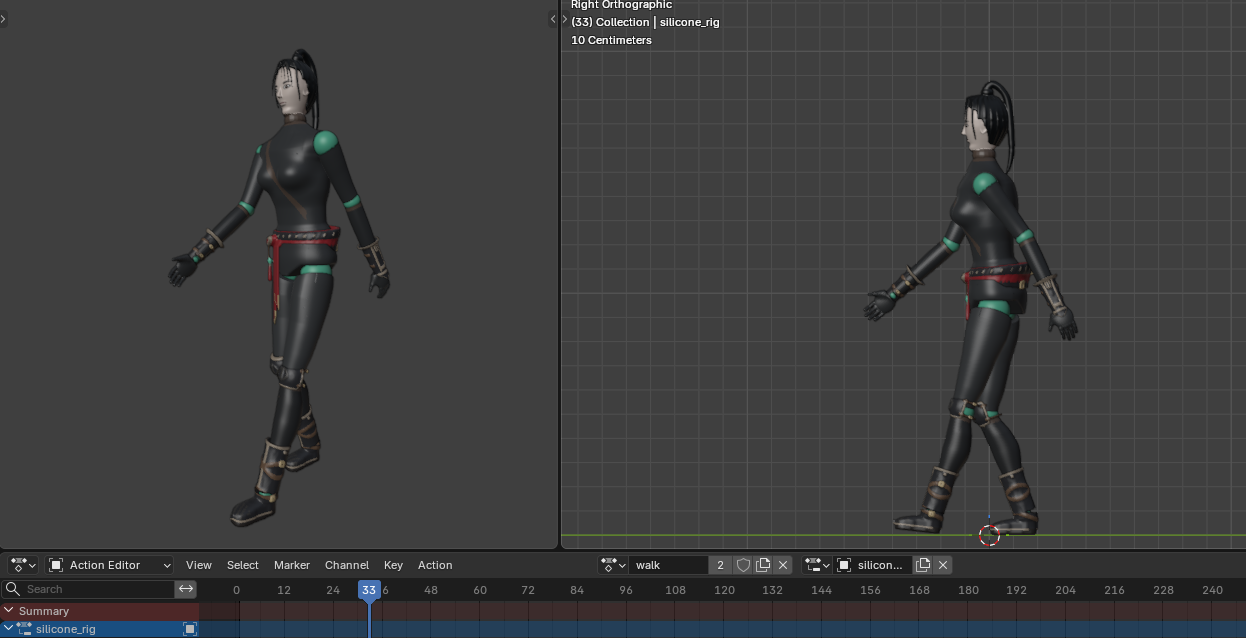
One frame from the walk clip, rendered from the game GLB.
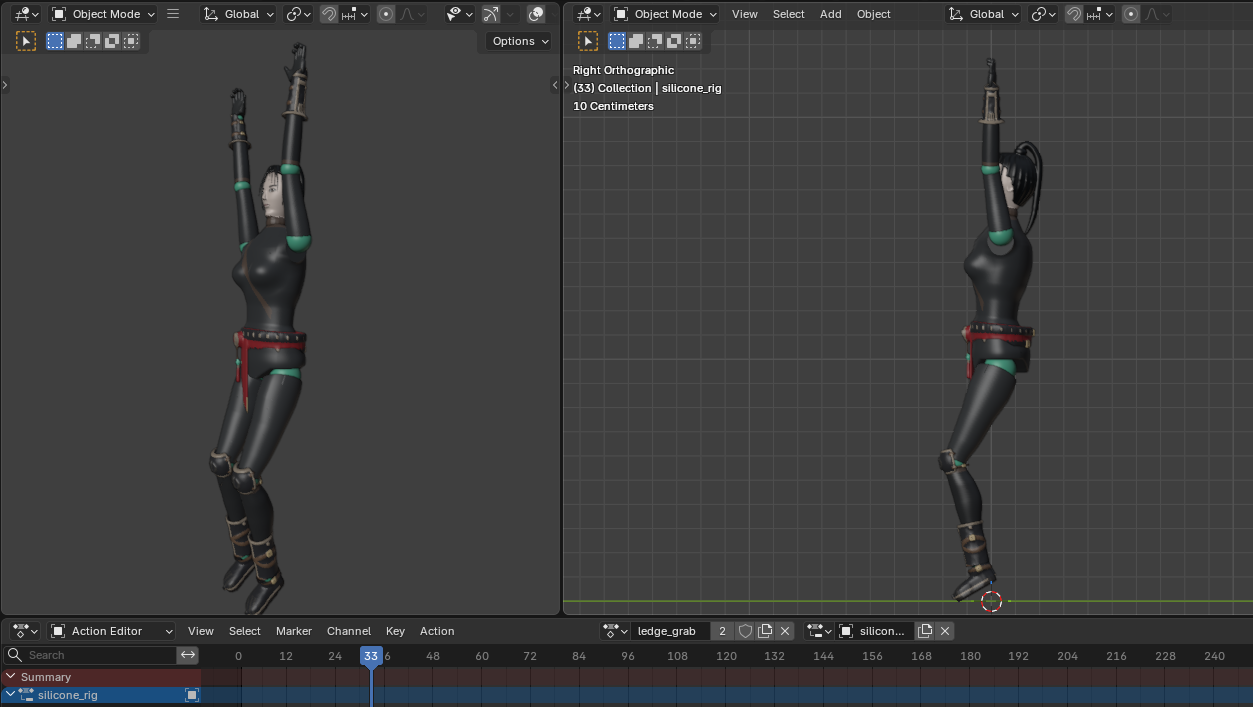
One frame from the ledge-grab clip. The ledge itself is a game object and is not included in this model render.
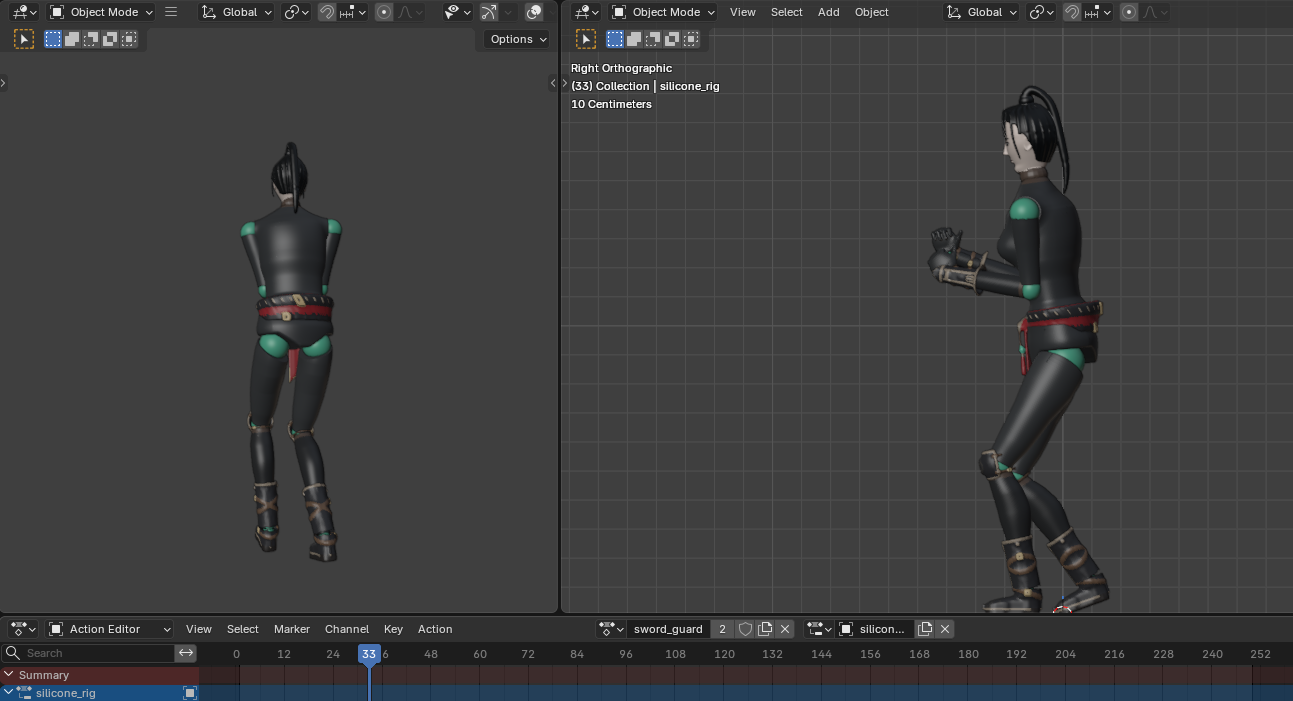
The guard pose in the character GLB. The sword is a separate game attachment and is not shown in this render.
Shoes and guards have to move too
The character’s accessories brought another set of challenges. Shoes, knee guards and wrist guards may look fine in a static pose, but a bend or stride quickly reveals an awkward placement. Early work added boot heels and soles, knee caps and wrist guards; subsequent revisions recalibrated their positions against the body and rig.
The knee guards were attached to the calf bones, while the later bracers were weighted to the lower arms. One adjustment moved the bracers 5 cm toward the palms and enlarged the knee guards by 10%. Those are small numbers, but they show how much of the work is about fitting the visible pieces to the moving character, not just generating geometry.
The boot design also went through revisions. In the later accessory builder, the lower shoe is weighted to the foot and the upper greave to the calf, with an overlap at the ankle. That lets the foot rotate under the shaft rather than forcing the entire boot to follow one bone. The current game GLB contains separate shoe and greave meshes. Even with that split, the overlap and clearance need checking across poses, especially around the ankle and knee.
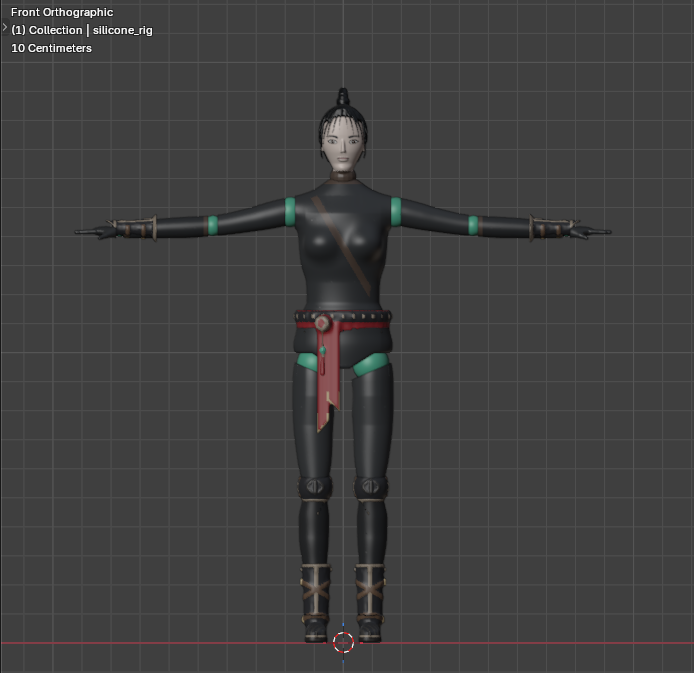
The current game model in its T-pose, showing the bracers, knee guards and boots before the joints move. Close-up comparisons in motion are still to come.
From Blender to the tomb
The animation is only useful if it works in the game. The project moved to Lin Yue’s low-resolution model with its own rig and embedded clips. Integration also exposed practical details: the ledge climb needed to follow the clip’s movement and land on idle, push and pull needed to loop while the block moved, and the sword mount needed adjustment for the guard stance.
The previous post noted that matching bone names does not necessarily mean matching local axes. That remains an important lesson when comparing or transferring motion between rigs: check the actual result in Blender and in Godot, particularly the hands, feet, joints and attachments.
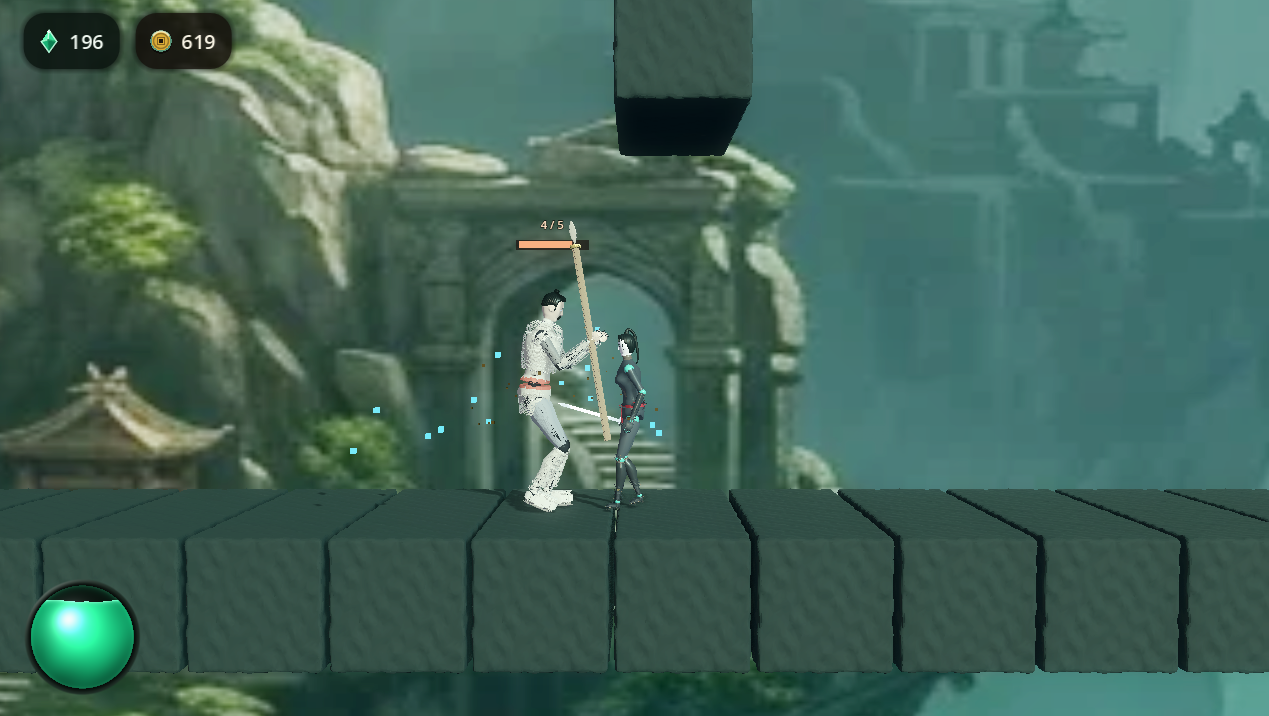
There is still plenty to refine. For me, the interesting part is seeing the character become more than a generated mesh: each pose combines a reference, a set of constraints and a lot of small adjustments until the movement starts to feel like Lin Yue.
Next: an AI interviewer
I’m also exploring a different kind of character experience: an AI interviewer avatar that can ask questions and hold a conversation. I’m still shaping the direction, so the approach may change as I learn more. I’ll share more once there’s something worth showing.