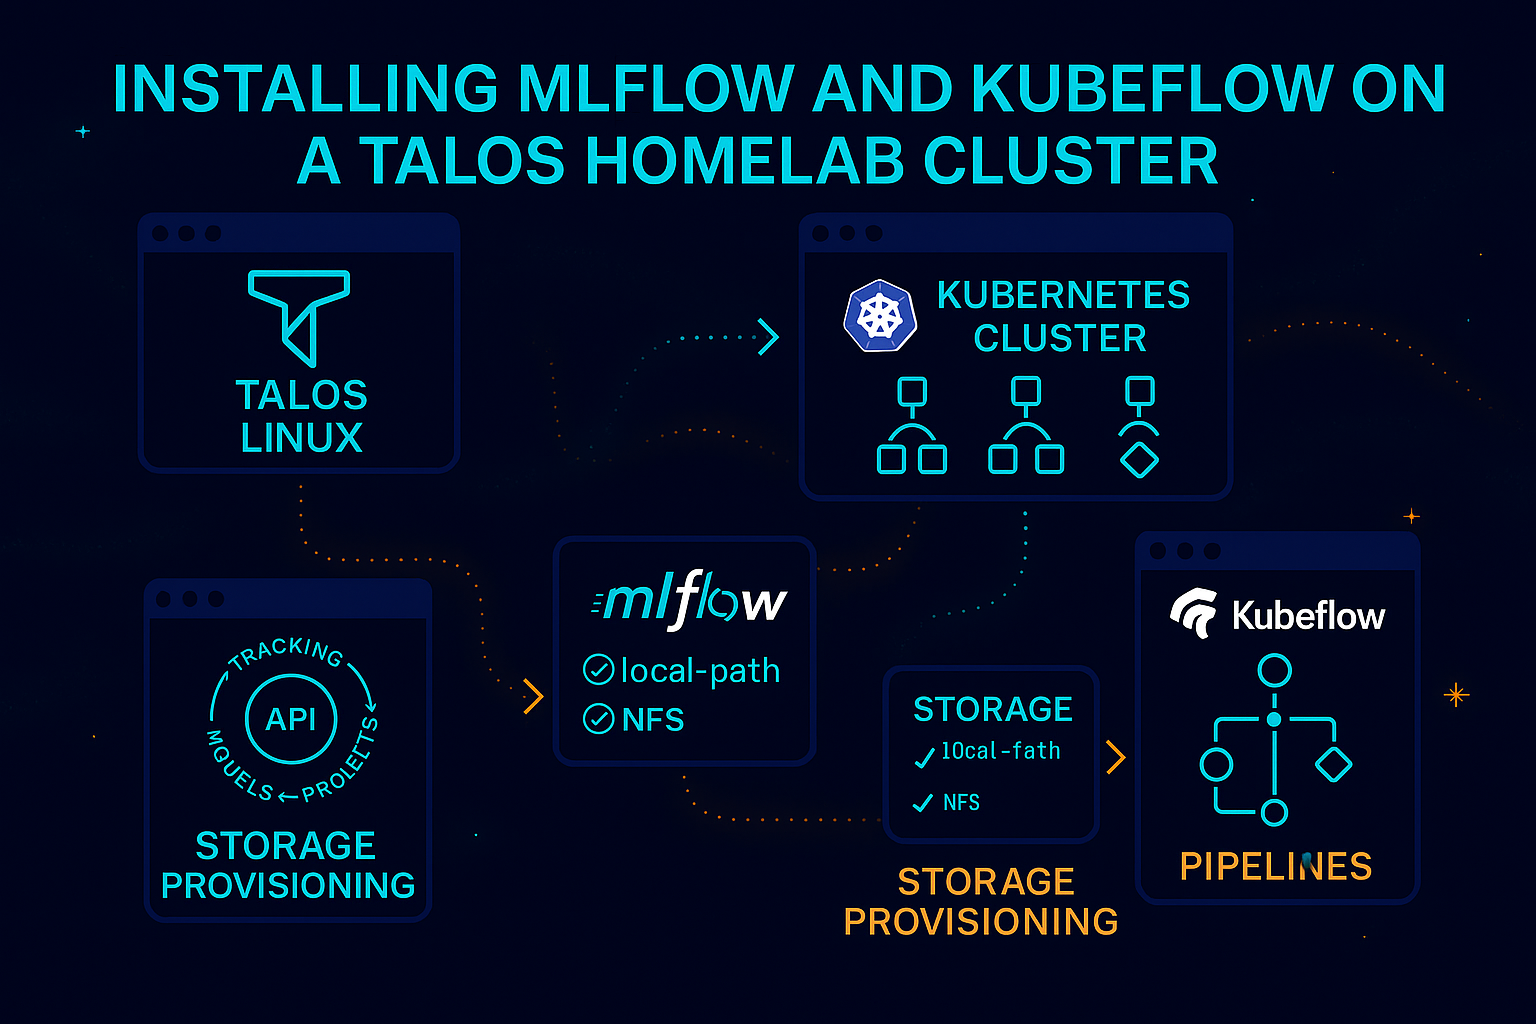
In this post, I will detail the installation of MLflow and Kubeflow on my Talos Homelab cluster.
Preparation
I have decided to reinitialize my homelab. You can follow similar steps in your own environment.
Talos Setup
As outlined in my previous Talos Linux setup , here is my updated control.patch file:
machine:
    network:
      hostname: control
    install:
        disk: /dev/nvme0n1
        image: ghcr.io/siderolabs/installer:v1.7.6
        wipe: true
    kubelet:
        defaultRuntimeSeccompProfileEnabled: false
cluster:
    apiServer:
        admissionControl:
            - name: PodSecurity
              configuration:
                apiVersion: pod-security.admission.config.k8s.io/v1alpha1
                defaults:
                    audit: privileged
                    audit-version: latest
                    enforce: privileged
                    enforce-version: latest
                    warn: privileged
                    warn-version: latest
                exemptions:
                    namespaces: [] # Apply to all namespaces
                    runtimeClasses: []
                    usernames: []
kind: PodSecurityConfigurationI encountered an issue (time query error with server “17.253.60.125”) while setting up the latest Talos v1.8.1, which was being resolved with:
# Edit control node
talosctl edit machineconfig -n 192.168.68.115machine:
time:
disabled: false
servers:
- time.cloudflare.comFor my first worker node, here’s the worker-1.patch:
machine:
  network:
    hostname: worker-1
  install:
      disk: /dev/nvme0n1
      image: ghcr.io/siderolabs/installer:v1.7.6
      wipe: true
  kubelet:
    extraMounts:
      - destination: /var/mnt
        type: bind
        source: /var/mnt
        options:
          - bind
- rwThe installation steps remain unchanged:
# Single master node
talosctl gen config homelab https://192.168.68.115:6443
talosctl disks --insecure -n 192.168.68.115
talosctl machineconfig patch controlplane.yaml --patch @control.patch --output control.yaml
talosctl apply-config --insecure -n 192.168.68.115 --file control.yaml
talosctl bootstrap --nodes 192.168.68.115 --endpoints 192.168.68.115 --talosconfig talosconfig

# Worker nodes
talosctl machineconfig patch worker.yaml --patch @worker-1.patch --output worker-1.yaml
talosctl apply-config --insecure -n 192.168.68.117 --file worker-1.yamlLocal Path Provisioner
Local-path will serve as the default storageClass for ReadWriteOnce access modes. Follow these steps:
curl https://raw.githubusercontent.com/rancher/local-path-provisioner/v0.0.28/deploy/local-path-storage.yaml -OEdit the local-path-storage.yaml file to set it as the default:
---
apiVersion: storage.k8s.io/v1
kind: StorageClass
metadata:
  name: local-path
  annotations:
        storageclass.kubernetes.io/is-default-class: "true" # around line 120
---
kind: ConfigMap
apiVersion: v1
metadata:
  name: local-path-config
  namespace: local-path-storage
data: # below section around line 131
  config.json: |-
    {
            "nodePathMap":[
            {
                    "node":"DEFAULT_PATH_FOR_NON_LISTED_NODES",
                    "paths":["/var/mnt"]
            }
            ]
}NFS
To support ReadWriteMany access modes, follow these steps:
helm repo add nfs-subdir-external-provisioner https://kubernetes-sigs.github.io/nfs-subdir-external-provisioner/
helm repo update

helm install nfs-subdir-external-provisioner nfs-subdir-external-provisioner/nfs-subdir-external-provisioner \
    --set nfs.server=192.168.68.111 \
--set nfs.path=/mnt/publicMetallb
To install Metallb, execute the following:
curl https://raw.githubusercontent.com/metallb/metallb/v0.14.8/config/manifests/metallb-native.yaml -O
kubectl apply -f metallb-native.yaml

kubectl apply -f metallb-ipaddresspool.yaml
kubectl apply -f metallb-l2advertisement.yamlmetallb-ipaddresspool.yaml example:
apiVersion: metallb.io/v1beta1
kind: IPAddressPool
metadata:
  name: first-pool
  namespace: metallb-system
spec:
  addresses:
- 192.168.68.220-192.168.68.240metallb-l2advertisement.yaml example:
apiVersion: metallb.io/v1beta1
kind: L2Advertisement
metadata:
  name: first-advert
  namespace: metallb-system
spec:
  ipAddressPools:
- first-poolKubeflow
To install Kubeflow, follow the steps from my previous Kubeflow setup :
git clone https://github.com/kubeflow/manifests.git

cd manifests
while ! kustomize build example | kubectl apply -f -; do echo "Retrying to apply resources"; sleep 20; done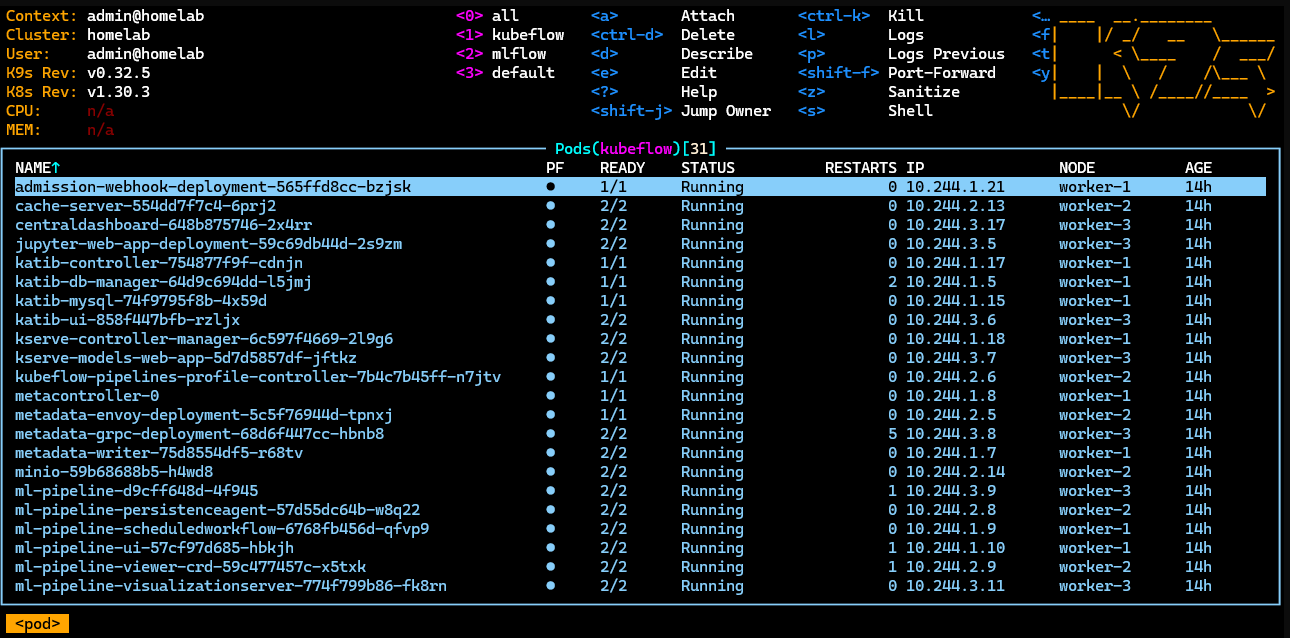
MLflow
MLflow is an open-source platform designed to streamline the machine learning lifecycle, ensuring that all phases are manageable and reproducible.
To install MLflow on my Talos HomeLab cluster:
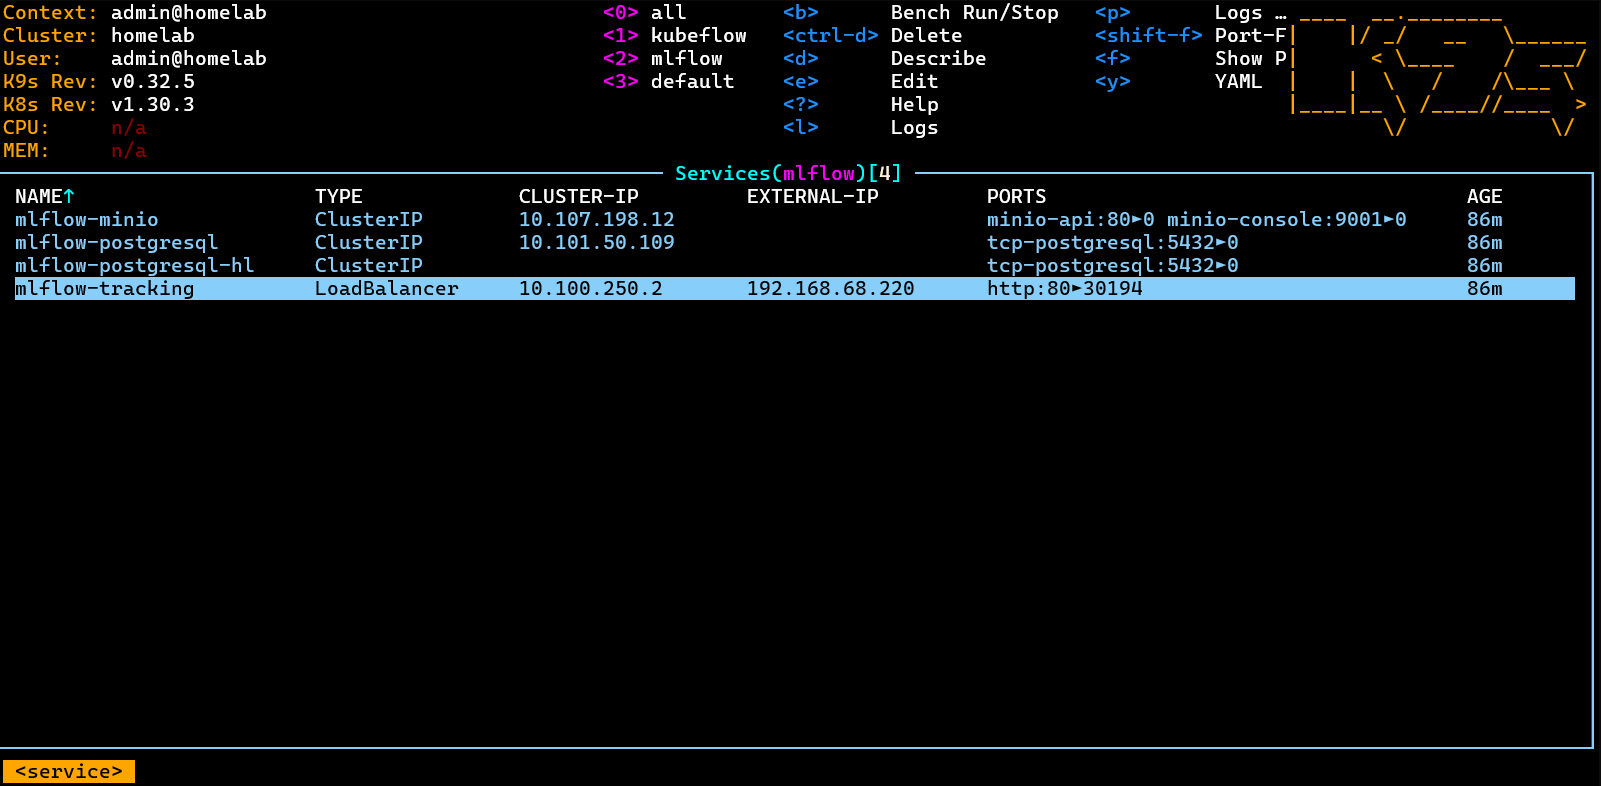
helm install mlflow oci://registry-1.docker.io/bitnamicharts/mlflow --namespace mlflow --create-namespace

# Sample output
# CHART NAME: mlflow
# CHART VERSION: 2.0.2
# APP VERSION: 2.17.0
#
# ** Please be patient while the chart is being deployed **
# You didn't specify any entrypoint to your code.
# To run it, you can either deploy again using the `source.launchCommand` option to specify your entrypoint, or # # execute it manually by jumping into the pods:
#
# 1. Get the running pods
#     kubectl get pods --namespace mlflow -l "app.kubernetes.io/name=mlflow,app.kubernetes.io/instance=mlflow"
#
# 2. Get into a pod
#     kubectl exec -ti [POD_NAME] bash
#
# 3. Execute your script as you would normally do.
# MLflow Tracking Server can be accessed through the following DNS name from within your cluster:
#
#     mlflow-tracking.mlflow.svc.cluster.local (port 80)
#
# To access your MLflow site from outside the cluster follow the steps below:
#
# 1. Get the MLflow URL by running these commands:
#
#   NOTE: It may take a few minutes for the LoadBalancer IP to be available.
#         Watch the status with: 'kubectl get svc --namespace mlflow -w mlflow-tracking'
#
#    export SERVICE_IP=$(kubectl get svc --namespace mlflow mlflow-tracking --template "{{ range (index .status.# # loadBalancer.ingress 0) }}{{ . }}{{ end }}")
#    echo "MLflow URL: http://$SERVICE_IP/"
#
# 2. Open a browser and access MLflow using the obtained URL.
# 3. Login with the following credentials below to see your blog:
#
#   echo Username: $(kubectl get secret --namespace mlflow mlflow-tracking -o jsonpath="{ .data.admin-user }" | base64 -d)
# echo Password: $(kubectl get secret --namespace mlflow mlflow-tracking -o jsonpath="{.data.admin-password }" | base64 -d)Launching MLflow
Using K9s, you can check the external IP exposed via Metallb.
Navigate to http://192.168.68.220 and log in with:
echo Username: $(kubectl get secret --namespace mlflow mlflow-tracking -o jsonpath="{ .data.admin-user }" | base64 -d)
echo Password: $(kubectl get secret --namespace mlflow mlflow-tracking -o jsonpath="{.data.admin-password }" | base64 -d)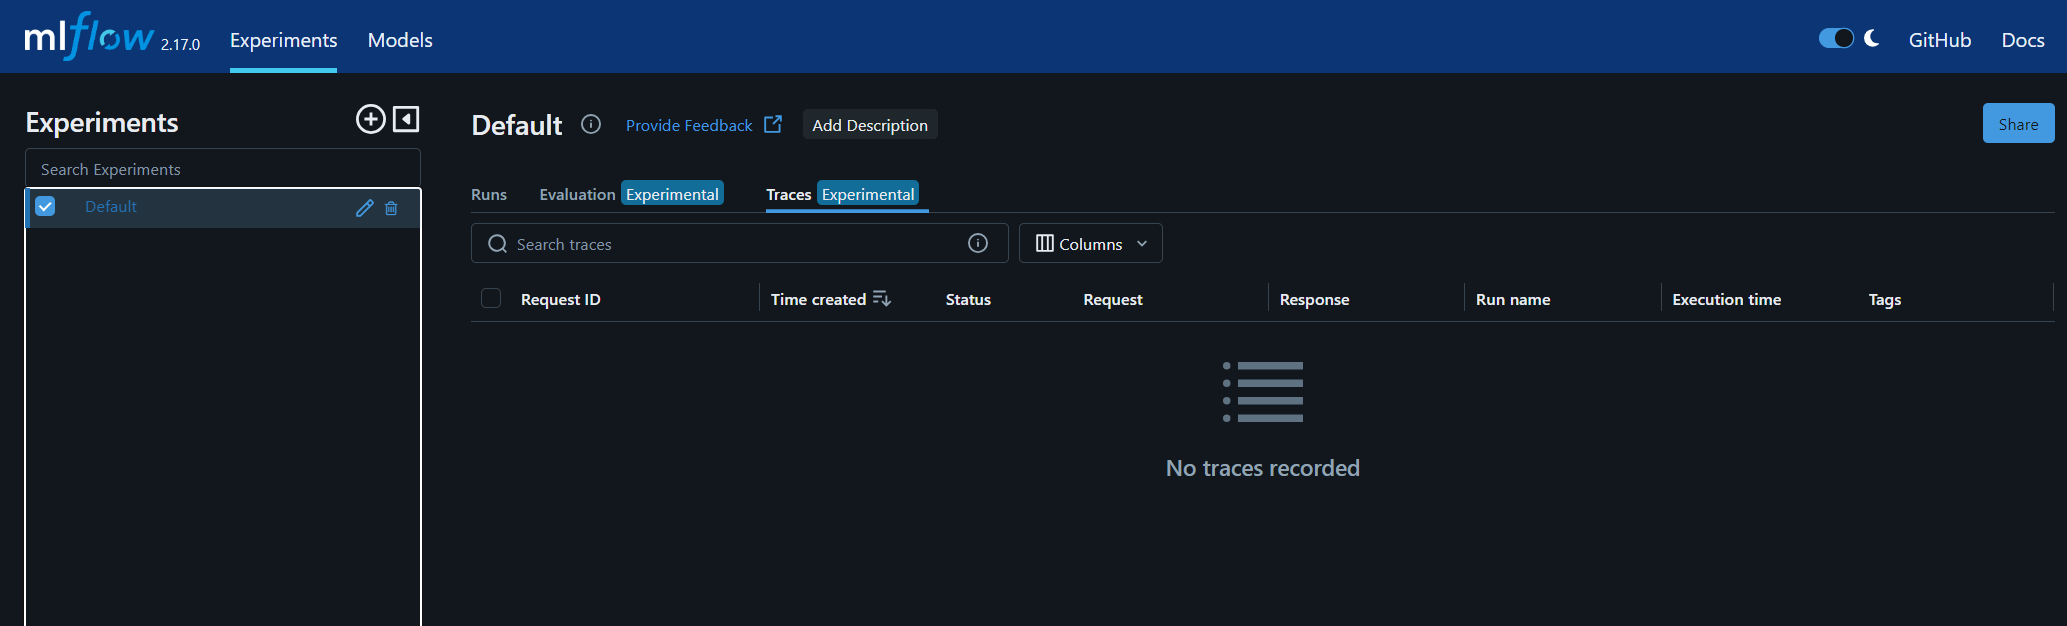
Launching Jupyter Notebook
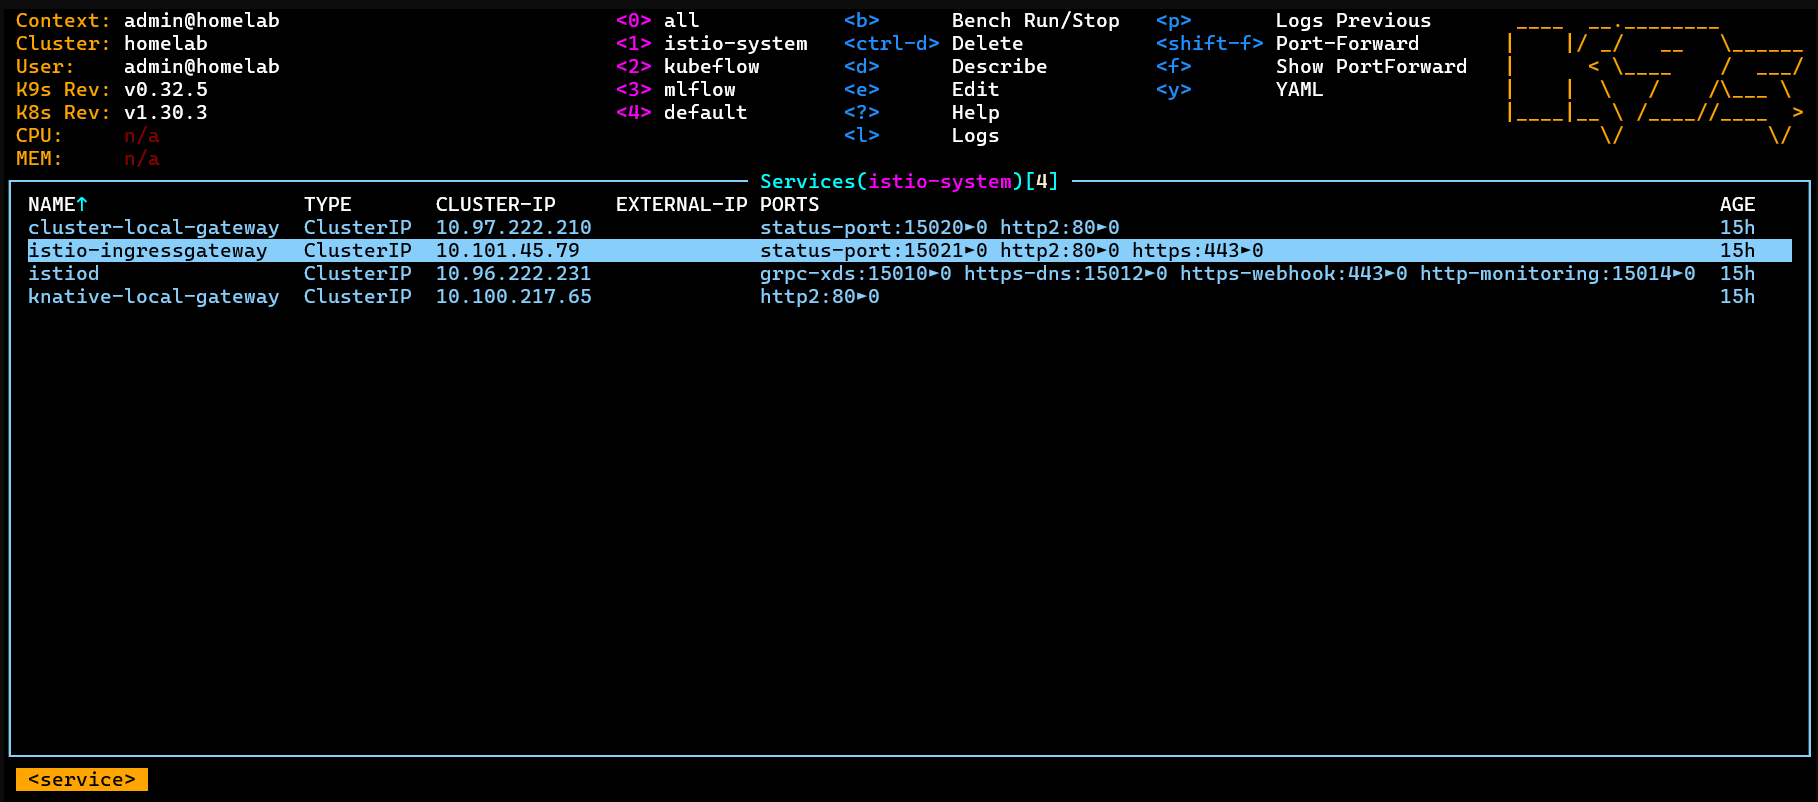
For the default Kubeflow installation, port-forward the istio-ingressgateway to port 8080:
I created a new notebook using the default jupyter-scipy:v1.9.1 image.

Getting Started with MLflow
Following the official MLflow Tracking Quickstart , here are the steps:
- Install MLflow:
pip install mlflow==2.14.0rc0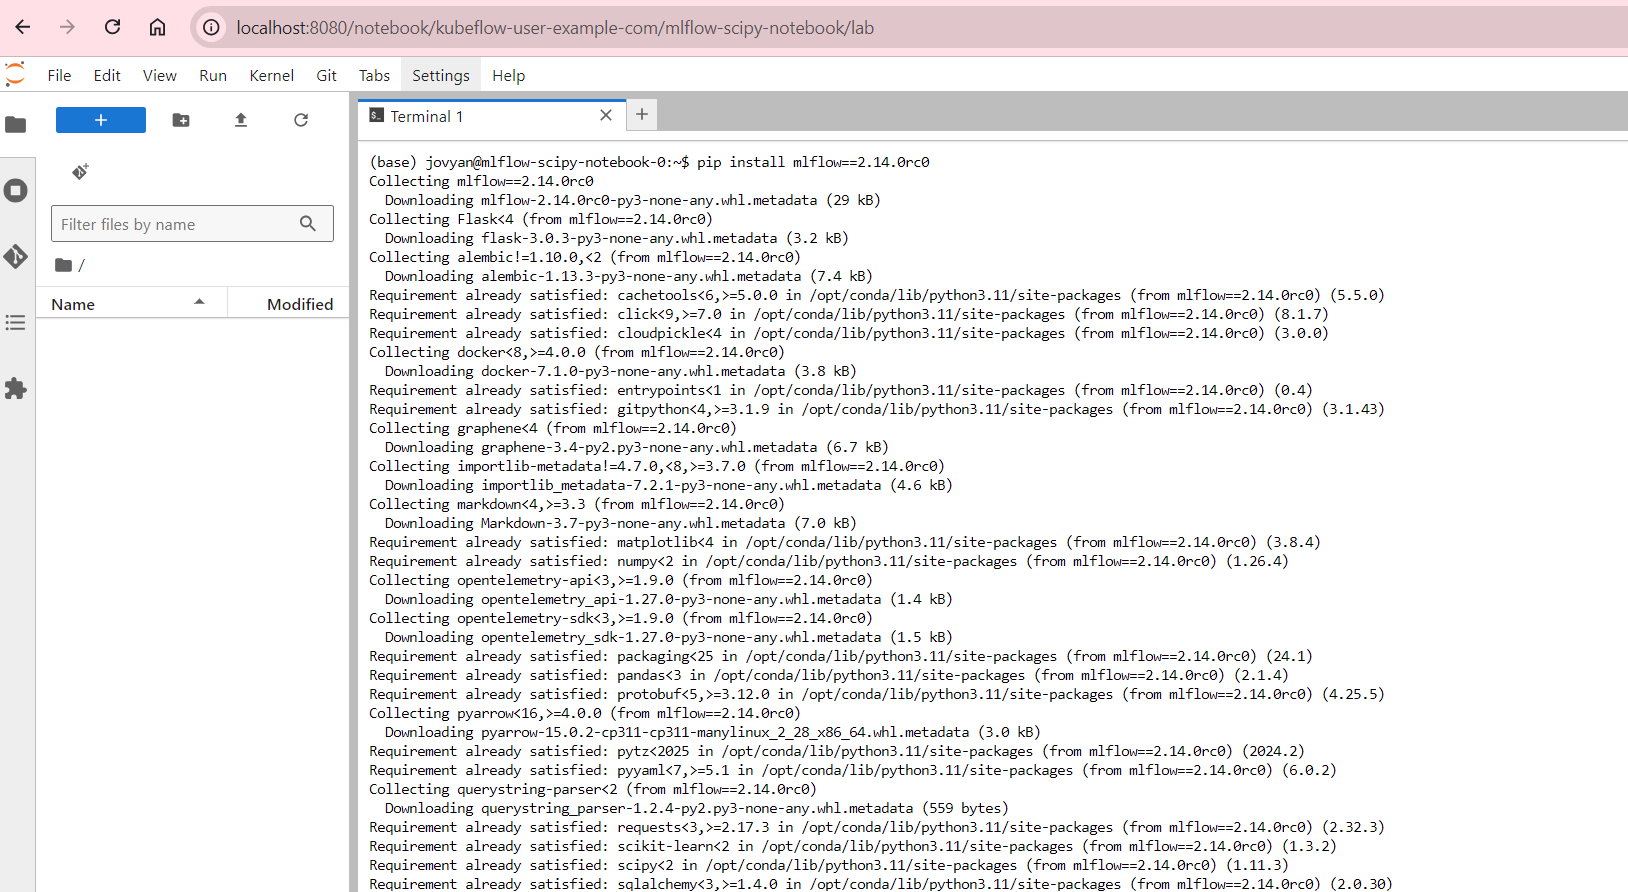
- Set the Tracking Server URI:
import mlflow

mlflow.set_tracking_uri(uri="http://mlflow-tracking.mlflow")- Train a model and log metadata:
import mlflow
from mlflow.models import infer_signature

import pandas as pd
from sklearn import datasets
from sklearn.model_selection import train_test_split
from sklearn.linear_model import LogisticRegression
from sklearn.metrics import accuracy_score, precision_score, recall_score, f1_score


# Load the Iris dataset
X, y = datasets.load_iris(return_X_y=True)

# Split the data into training and test sets
X_train, X_test, y_train, y_test = train_test_split(
    X, y, test_size=0.2, random_state=42
)

# Define the model hyperparameters
params = {
    "solver": "lbfgs",
    "max_iter": 1000,
    "multi_class": "auto",
    "random_state": 8888,
}

# Train the model
lr = LogisticRegression(**params)
lr.fit(X_train, y_train)

# Predict on the test set
y_pred = lr.predict(X_test)

# Calculate metrics
accuracy = accuracy_score(y_test, y_pred)- Log the model and metadata to MLflow:
# Set our tracking server uri for logging
mlflow.set_tracking_uri(uri="http://mlflow-tracking.mlflow")

# Create a new MLflow Experiment
mlflow.set_experiment("MLflow Quickstart")

# Start an MLflow run
with mlflow.start_run():
    # Log the hyperparameters
    mlflow.log_params(params)

    # Log the loss metric
    mlflow.log_metric("accuracy", accuracy)

    # Set a tag that we can use to remind ourselves what this run was for
    mlflow.set_tag("Training Info", "Basic LR model for iris data")

    # Infer the model signature
    signature = infer_signature(X_train, lr.predict(X_train))

    # Log the model
    model_info = mlflow.sklearn.log_model(
        sk_model=lr,
        artifact_path="iris_model",
        signature=signature,
        input_example=X_train,
        registered_model_name="tracking-quickstart",
)- To authenticate with MLflow, create a .mlflow/credentials file and run the above code:
mkdir ~/.mlflow
echo "[mlflow]" > ~/.mlflow/credentials
echo "mlflow_tracking_username = user" >> ~/.mlflow/credentials
echo "mlflow_tracking_password = 39VpDZdVLr" >> ~/.mlflow/credentials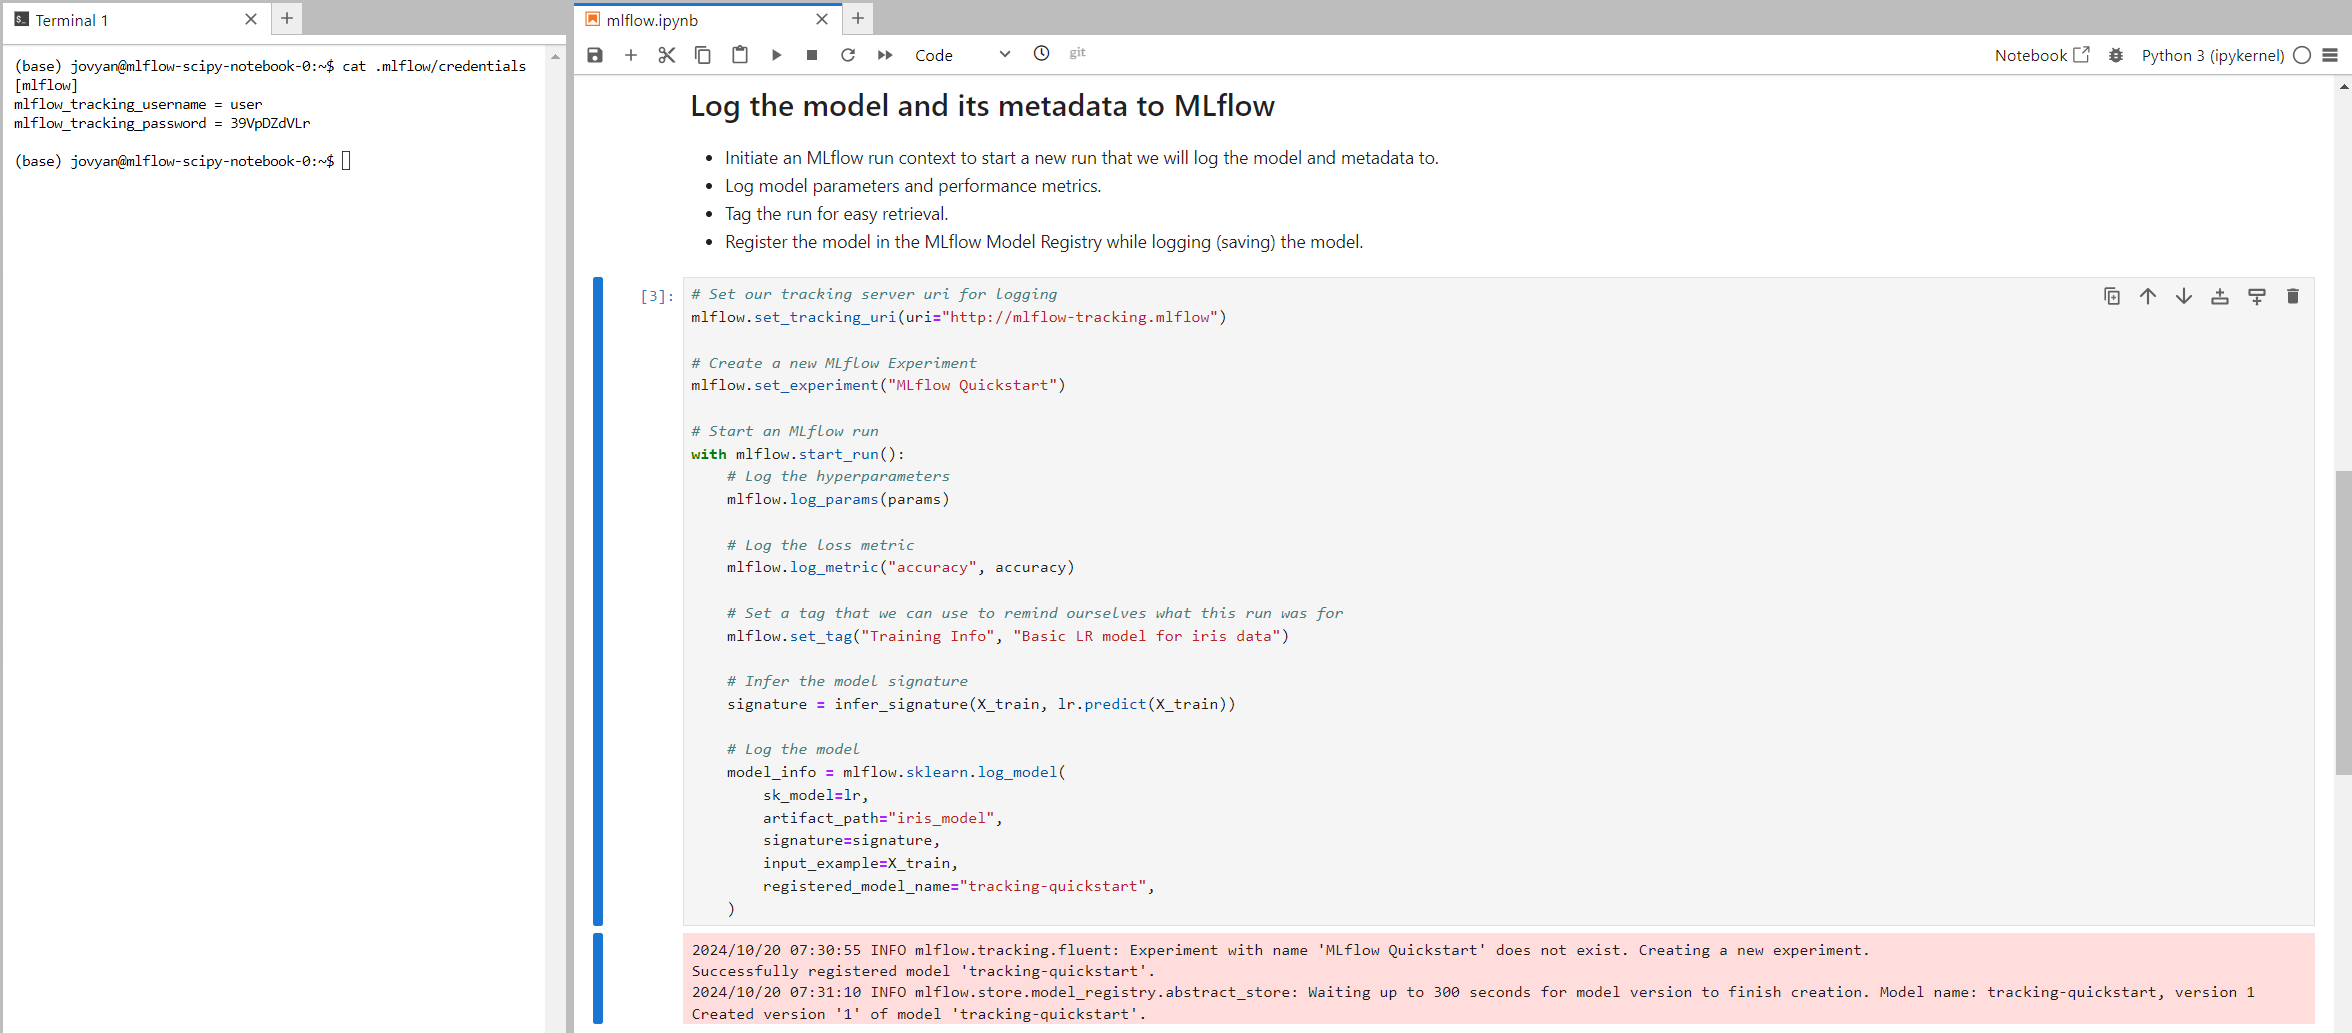
You should see the new experiment logged in MLflow:

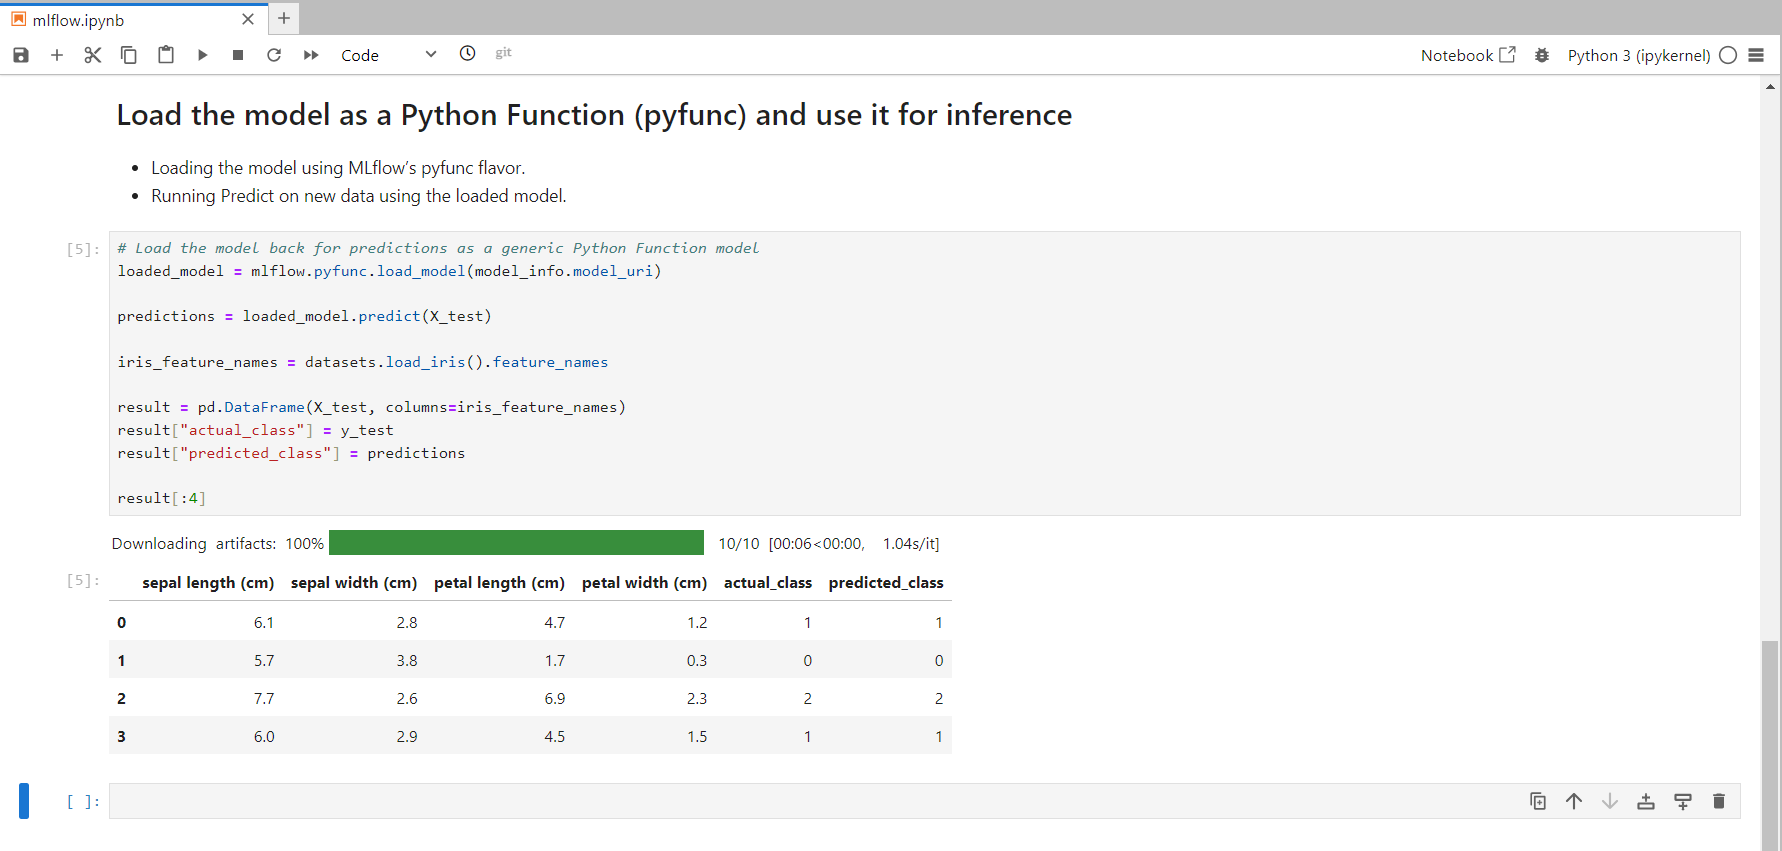
- Load the model for inference:
# Load the model back for predictions as a generic Python Function model
loaded_model = mlflow.pyfunc.load_model(model_info.model_uri)

predictions = loaded_model.predict(X_test)

iris_feature_names = datasets.load_iris().feature_names

result = pd.DataFrame(X_test, columns=iris_feature_names)
result["actual_class"] = y_test
result["predicted_class"] = predictions

result[:4]With a commendable 100% accuracy, your predictions should look like this:
This concludes the installation and setup of MLflow and Kubeflow in your Talos HomeLab cluster. You can now effectively manage your machine learning lifecycle, leveraging both platforms for optimal productivity.