Making your Raspberry Pi works for your MicroK8s cluster
MicroK8s Cluster on Raspberry Pi 4 Model B 8GB (Part I)
(Total Setup Time: 40 mins)
I am very excited to receive my Raspberry Pi 4 today. Since I do not have the microHDMI cable, I decided to go for a headless install. With this new Pi 8GB, I plan to check out on the MicroK8s , a lightweight upstream K8s. This tutorial shows my steps for setting up the MicroK8s Cluster on Raspberry Pi 4 Model B 8GB.
Raspberry Pi OS Preparation
(15 mins)
Due to the 64-bit requirements for MicroK8s, I am using Ubuntu Server (64-bit) as my OS. Since this is going to be a headless install, after burning the image onto my 32GB SD card, I created an empty file named ssh at d:/boot (you may notice that I am working on a Windows PC).
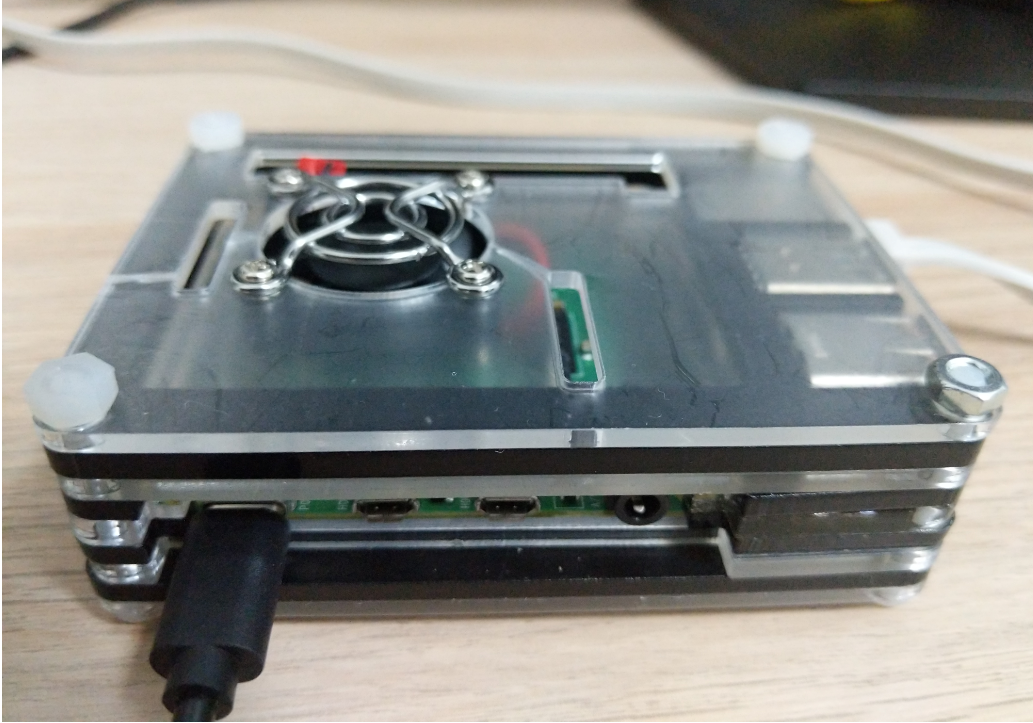
Powering Up
(10 mins)
After powering the Raspberry Pi up with the USB-C power adapter, it can be accessed via PuTTy :
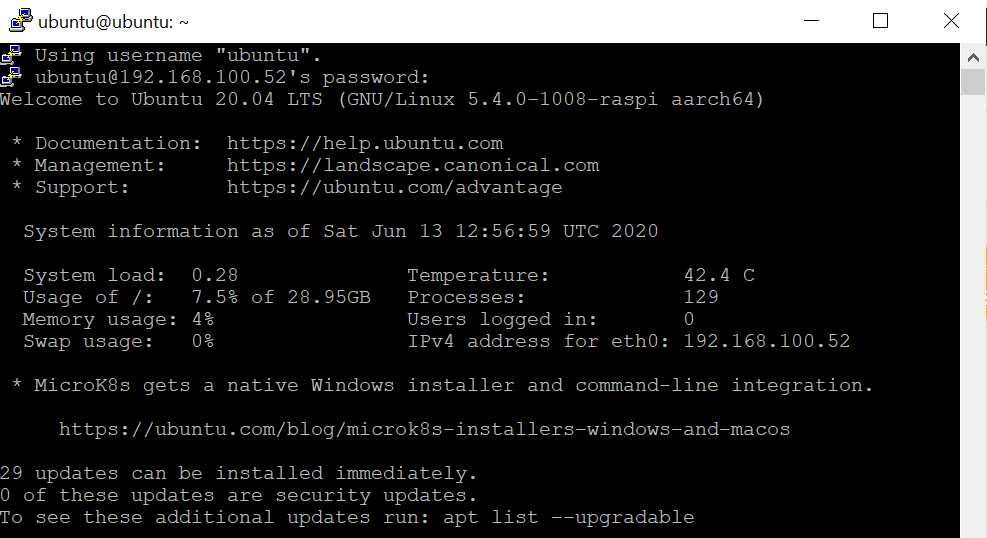
The default username is ubuntu and password is ubuntu, be sure to change password as always. Update the OS to the latest by:
sudo apt update
sudo apt upgradeChange its hostname by running:
sudo nano /etc/hostname
sudo nano /etc/hostsEnable memory cgroup, by opening the file:
sudo nano /boot/firmware/cmdline.txtNext, add the following at the end of the line:
cgroup_enable=memory cgroup_memory=1Reboot after the above modification and check that memory group is enabled (“1”):
grep mem /proc/cgroups | awk '{ print $4 }'Installing MicroK8s on Raspberry Pi
(10 mins)
After the reboot, install microK8s:
sudo snap install microk8s --classicAdd the ubuntu user to the microk8s group:
sudo usermod -a -G microk8s ubuntu
sudo chown -f -R ubuntu ~/.kubeEnsure that the ubuntu node is ready (without setting the cgroup memory, it will always report as not ready):
su - ubuntu
microk8s kubectl get nodesUsing MicroK8s
(5 mins)
For checking MicroK8s status and ensure that all services are up:
microk8s status --wait-readyIf you wish to turn on any extra services that you want (microk8s enable –help for more options), for example enabling dashboard, dns and registry:
microk8s enable dashboard dns registryIn order to access dashboard without a token, add –enable-skip-login option to the spec section (microk8s edit uses the vim editor ):
sudo microk8s kubectl -n kube-system edit deploy kubernetes-dashboard -o yamlspec:
progressDeadlineSeconds: 600
replicas: 1
revisionHistoryLimit: 10
selector:
matchLabels:
k8s-app: kubernetes-dashboard
strategy:
rollingUpdate:
maxSurge: 25%
maxUnavailable: 25%
type: RollingUpdate
template:
metadata:
creationTimestamp: null
labels:
k8s-app: kubernetes-dashboard
spec:
containers:
- args:
- --auto-generate-certificates
- --namespace=kube-system
- --enable-skip-loginNext, to serve the dashboard in the background (the skip button will appear only after a reboot or by running microk8s stop, followed by microk8s start):
microk8s kubectl proxy --accept-hosts=.\* --address=0.0.0.0 &Finally, for viewing dashboard from my windows laptop (the grey text below denotes IP of your Pi). Hit the skip button to view the dashboard:
http://192.168.xx.xx:8001/api/v1/namespaces/kube-system/services/https:kubernetes-dashboard:/proxy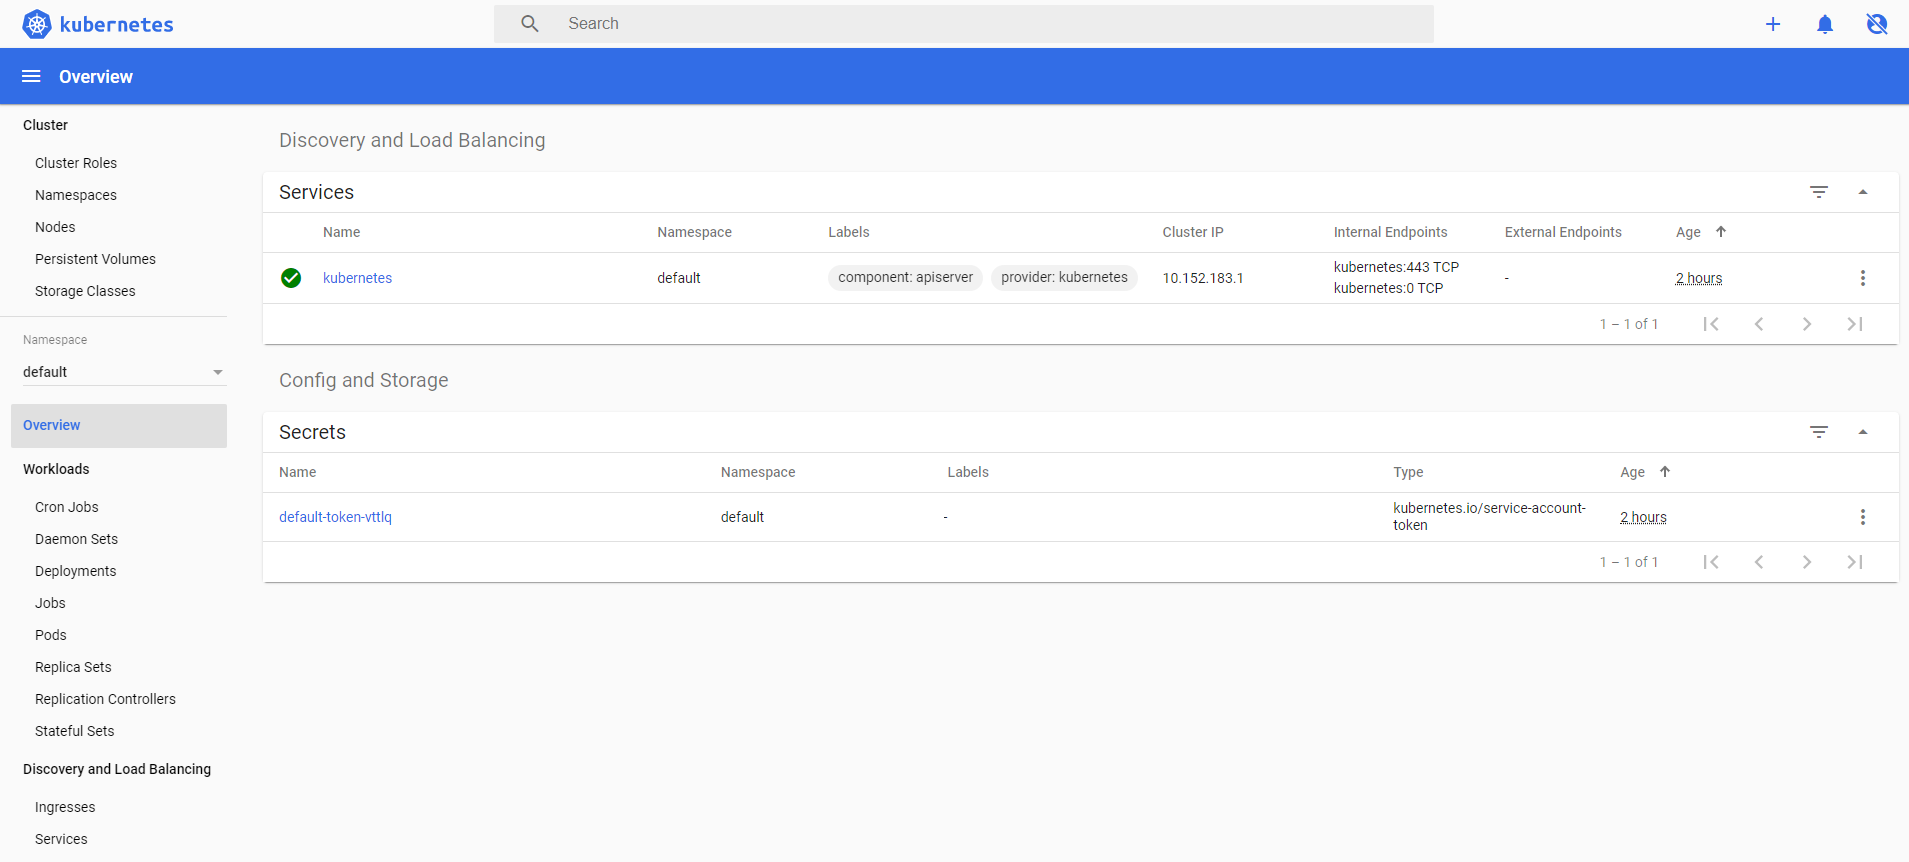
To add leaf nodes to the MicroK8s Cluster on Raspberry Pi 4 Model B 8GB, please check this out.
Troubleshooting
microk8s is not available on stable for this architecture (armhf)
Since MicroK8s is only available on 64-bit architecture (amd64, arm64, ppc64el), I have switched to using 64-bit OS instead.
Finding IP address of the Pi
Mac addresses are assigned by device manufacturers and you can find those from here . To find out the IP, you can use the following command:
# You may try e4-5f-01 too
arp -a | findstr dc-a6-32 Depending on your network configuration, if you are still unable to figure out the IP, you can use nmap to scan your network (replacing the IP accordingly):
nmap -sn 192.168.xx.0/24Below is the sample nmap output:
MAC Address: DC:A6:32:xx:xx:xx (Raspberry Pi Trading)
Nmap scan report for 192.168.xx.xx