Expand storage capacity by using external storage for your Raspberry Pi Cluster
External Storage for Pi Cluster
(Total Setup Time: 35 mins)
With the MicroK8s cluster in place, I decided to expand the External Storage for Raspberry Pi cluster. For this to work, I will use my external 640GB USB hard disk and configure MicroK8s default storage.
Mounting External Storage
(5 mins)
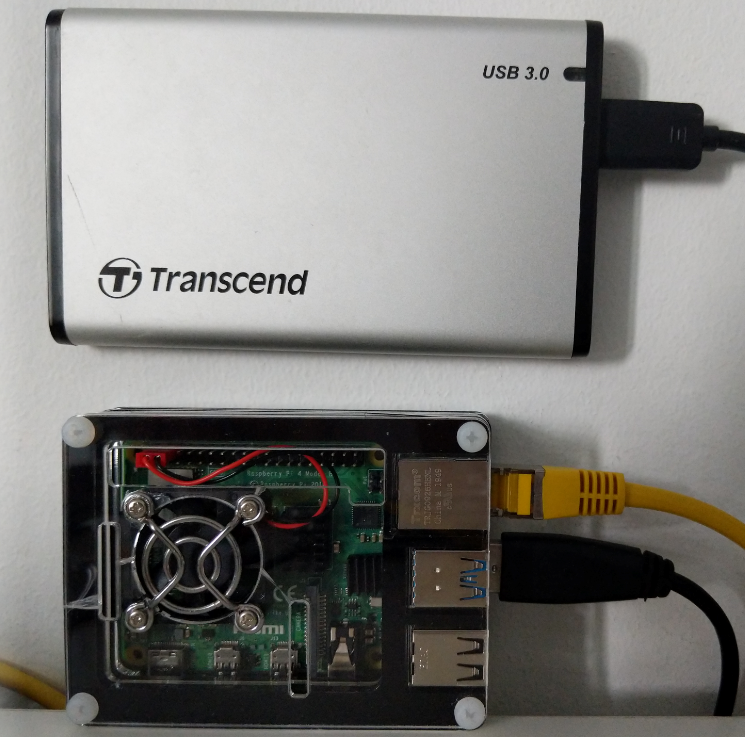
First, I plug my external 640GB USB hard disk into the Raspberry Pi 4 USB3 port (next to the LAN). For displaying information about the available block devices , issue this command and take note of the UUID:
sudo blkidSince I would like to mount the hard disk automatically to the /mnt/hdd folder, modify fstab :
sudo mkdir /mnt/hdd
sudo nano /etc/fstabAs my external storage is a ntfs hard disk, replace the UUID and add the following to /etc/fstab:
UUID=[UUID] /mnt/hdd ntfs defaults,auto,users,rw,nofail,umask=000,x-systemd.device-timeout=30 0 0To test mount the new entry before a reboot, run this:
sudo mount -aAnd that’s it! After a reboot, the hard disk will be recognised by the Raspberry Pi.
Expanding Storage for MicroK8s
(25 mins)
Because of the errors I encountered, highlighted in the Troubleshooting section, I decided to perform a reset to my existing cluster:
microk8s reset --destroy-storageAfter preparing the required folders and I opened the fstab for edit:
sudo mkdir -p /var/snap/microk8s/common/default-storage
sudo mkdir -p /mnt/hdd/microk8s/common/default-storage
sudo nano /etc/fstabFor the external storage to perform a bind mount permanently, add these to the /etc/fstab:
/mnt/hdd/microk8s/common/default-storage /var/snap/microk8s/common/default-storage none bind,user 0 2And I re-enabled all the previous addons which I had before:
microk8s enable dashboard dns registryAgain, to access dashboard without a token, add –enable-skip-login option to the spec section (microk8s edit uses the vim editor ):
sudo microk8s kubectl -n kube-system edit deploy kubernetes-dashboard -o yamlspec:
progressDeadlineSeconds: 600
replicas: 1
revisionHistoryLimit: 10
selector:
matchLabels:
k8s-app: kubernetes-dashboard
strategy:
rollingUpdate:
maxSurge: 25%
maxUnavailable: 25%
type: RollingUpdate
template:
metadata:
creationTimestamp: null
labels:
k8s-app: kubernetes-dashboard
spec:
containers:
- args:
- --auto-generate-certificates
- --namespace=kube-system
- --enable-skip-loginFor serving the dashboard in the background (the skip button will appear only after a reboot or by restarting the MicroK8s):
microk8s kubectl proxy --accept-hosts=.\* --address=0.0.0.0 &Finally, for viewing dashboard, hit the skip button:
http://192.168.xx.xx:8001/api/v1/namespaces/kube-system/services/https:kubernetes-dashboard:/proxy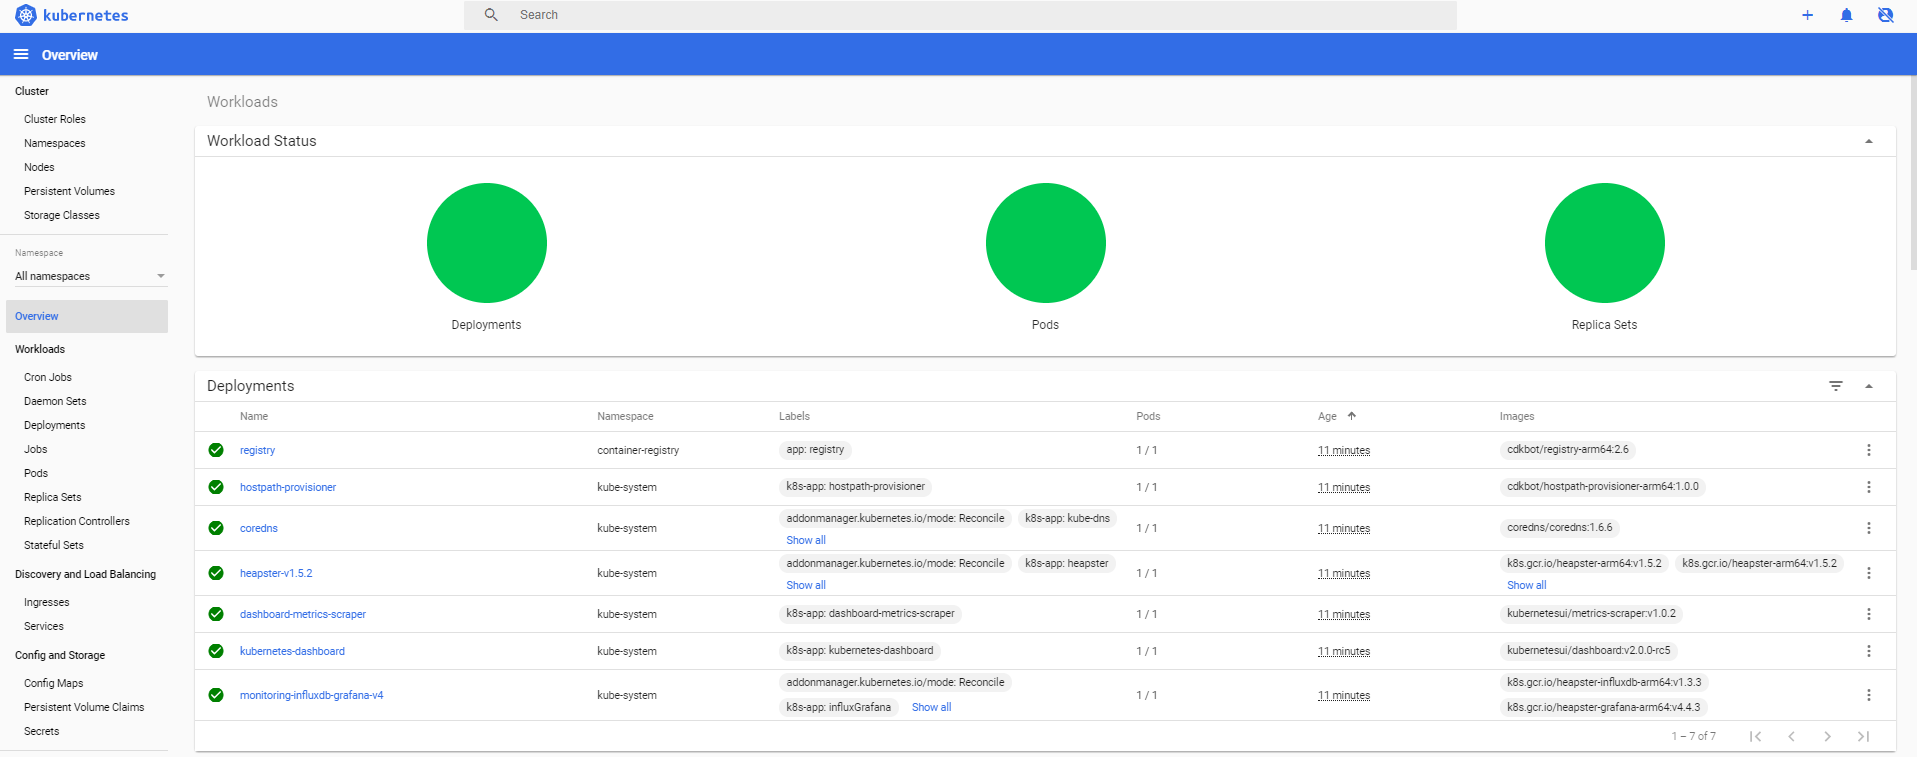
Adding leaf nodes for MicroK8s
(5 mins)
In the previous post , each of the leaf nodes is added by running these:
# on the master node
sudo microk8s add-node

# copy output and run on leaf node
microk8s join 192.168.xx.xx:25000/TphlaAAVchZxMFGpFmrNVFLALxcvNFyn

# check if the nodes are added successfully
microk8s kubectl get nodesTroubleshooting
After microK8s is started and dashboard is served, no endpoints are available for dashboard:
{
  "kind": "Status",
  "apiVersion": "v1",
  "metadata": {
  },
  "status": "Failure",
  "message": "no endpoints available for service \"kubernetes-dashboard\"",
  "reason": "ServiceUnavailable",
  "code": 503
}For my case, when running the below commands, it shows that all pods are having unknown status:
microk8s kubectl get pods -o wide --all-namespacesWhen I tried removing addons, MicroK8s also suggests to perform microk8s disable storage:destroy-storage for deleting any storage.
microk8s disable dashboard dns registry