Utilizing vLLM for Efficient Language Model Serving
vLLM is an open-source library designed for rapid LLM (Large Language Model) inference and deployment. It leverages their novel algorithm called PagedAttention, which optimizes the management of attention keys and values.
Preparation
In this blog post, I will share my experience of utilizing vLLM on a WSL (Windows Subsystem for Linux) instance running Ubuntu 22.04. Let’s start by setting up the environment:
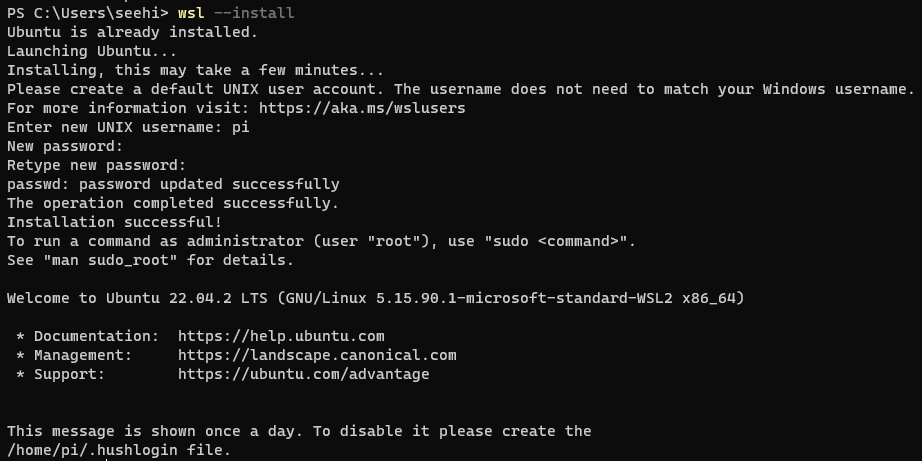
Installing WSL and Configuring Ubuntu
Begin by installing WSL and configuring it to use Ubuntu as the default distribution:
wsl --install
wsl --update

# Sets ubuntu as the default
 wsl --set-default ubuntu
Installing NVIDIA GPU Drivers for WSL
For efficient vLLM utilization, you need the latest NVIDIA Windows GPU Driver that fully supports WSL 2. Do not install any NVIDIA GPU Linux driver within WSL 2. Visit NVIDIA CUDA on WSL and download the appropriate driver. For example:
536.96-quadro-rtx-desktop-notebook-win10-win11-64bit-international-dch-whql.exe
Installing the CUDA Toolkit
Inside Ubuntu 22.04, install the CUDA Toolkit by following these steps:
wget https://developer.download.nvidia.com/compute/cuda/repos/wsl-ubuntu/x86_64/cuda-wsl-ubuntu.pin
sudo mv cuda-wsl-ubuntu.pin /etc/apt/preferences.d/cuda-repository-pin-600
wget https://developer.download.nvidia.com/compute/cuda/12.2.1/local_installers/cuda-repo-wsl-ubuntu-12-2-local_12.2.1-1_amd64.deb
sudo dpkg -i cuda-repo-wsl-ubuntu-12-2-local_12.2.1-1_amd64.deb
sudo cp /var/cuda-repo-wsl-ubuntu-12-2-local/cuda-*-keyring.gpg /usr/share/keyrings/
sudo apt-get update
sudo apt-get -y install cuda
Installing Docker
To manage containers effectively, install Docker using these commands:
sudo apt install docker.io
sudo usermod -aG docker pi
Setting Up
Let’s dive into the process of setting up vLLM for efficient language model serving. This section outlines the steps to follow within the NVIDIA PyTorch Docker image.
Using the NVIDIA PyTorch Docker Image
Before we proceed, please ensure that you have Docker Desktop for Windows installed and running on your system. This step is essential to leverage the power of containerization. Once you have Docker Desktop ready, we can move on to the next step.
To streamline the setup, we’ll use the recommended NVIDIA PyTorch Docker image. Be prepared for this step to take some time due to the image’s size and complexity. Run the following command to initiate the container:
docker run --gpus all -it --rm --shm-size=8g nvcr.io/nvidia/pytorch:23.10-py3
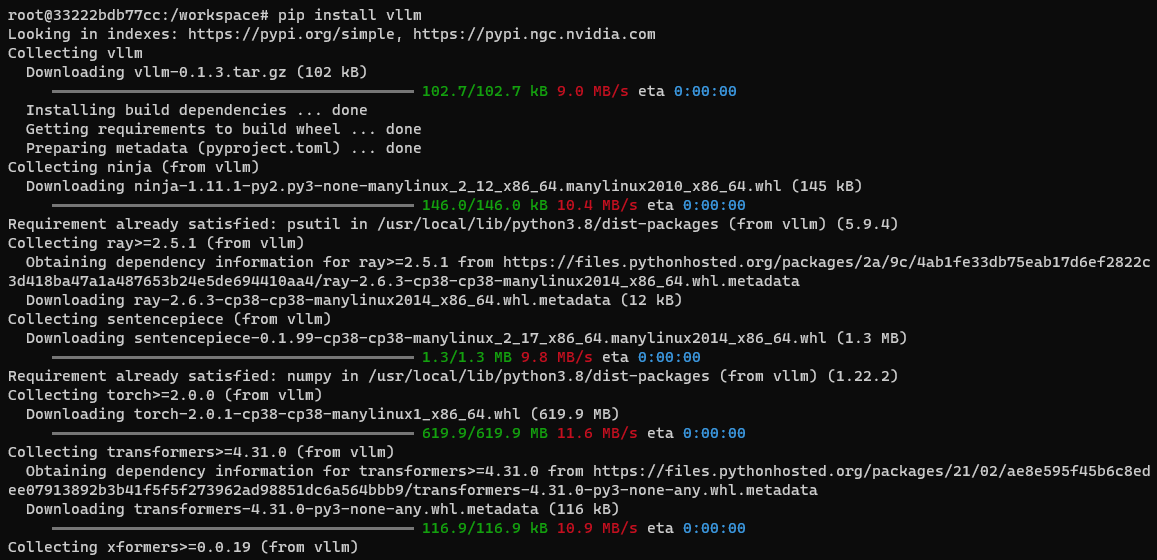
Installing vLLM
With the existing Torch package removed, proceed to install vLLM using pip within the container. Please note that this installation might also take a significant amount of time:
pip install vllm==0.2.6
Sample output (from previous vllm version):
Launching the API Server
Now, it’s time to deploy vLLM as an API server. Follow these steps to start the server using the default OPT-125M model:
python -m vllm.entrypoints.api_server --host 0.0.0.0 --port 8000
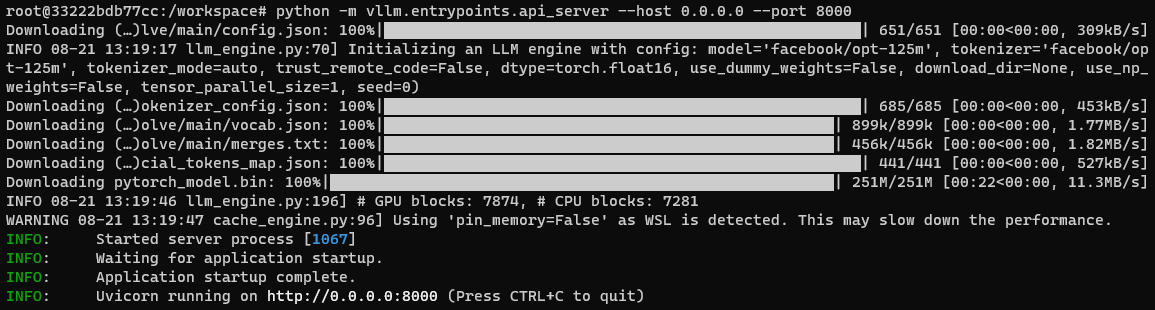
Please note that when running from within a Docker container, accessing the API server from the Windows host system may require additional configuration due to networking differences.
Creating a Docker Image Snapshot
Begin by identifying the current container ID from a WSL shell:
docker ps
Create a snapshot of the current container state and give it a name, such as “vLLM”:
docker commit <container_id> vllm:0.2.6
With the snapshot configured, expose the Docker container’s port for external access:
docker run -p 192.168.68.123:8000:8000 --gpus all -it --rm --shm-size=8g vllm:0.2.6
Once inside the Docker container, initiate the API server using the following command:
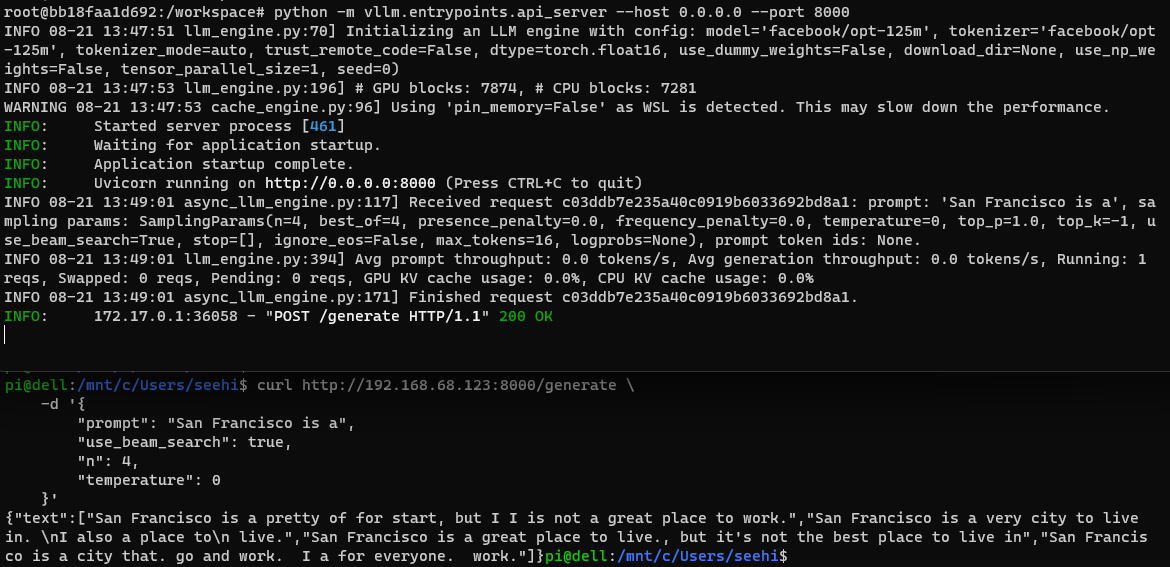
python -m vllm.entrypoints.api_server --host 0.0.0.0 --port 8000
As per sample official example, the following query demonstrates how to interact with the model using the API:
curl http://192.168.68.123:8000/generate \
    -d '{
        "prompt": "San Francisco is a",
        "use_beam_search": true,
        "n": 4,
        "temperature": 0
    }'
These steps conclude the process of launching the API server and creating a Docker image snapshot. Your vLLM setup is now ready for serving language models efficiently. The blog post has covered the essential aspects of setting up and deploying vLLM, empowering you to leverage its capabilities effectively.
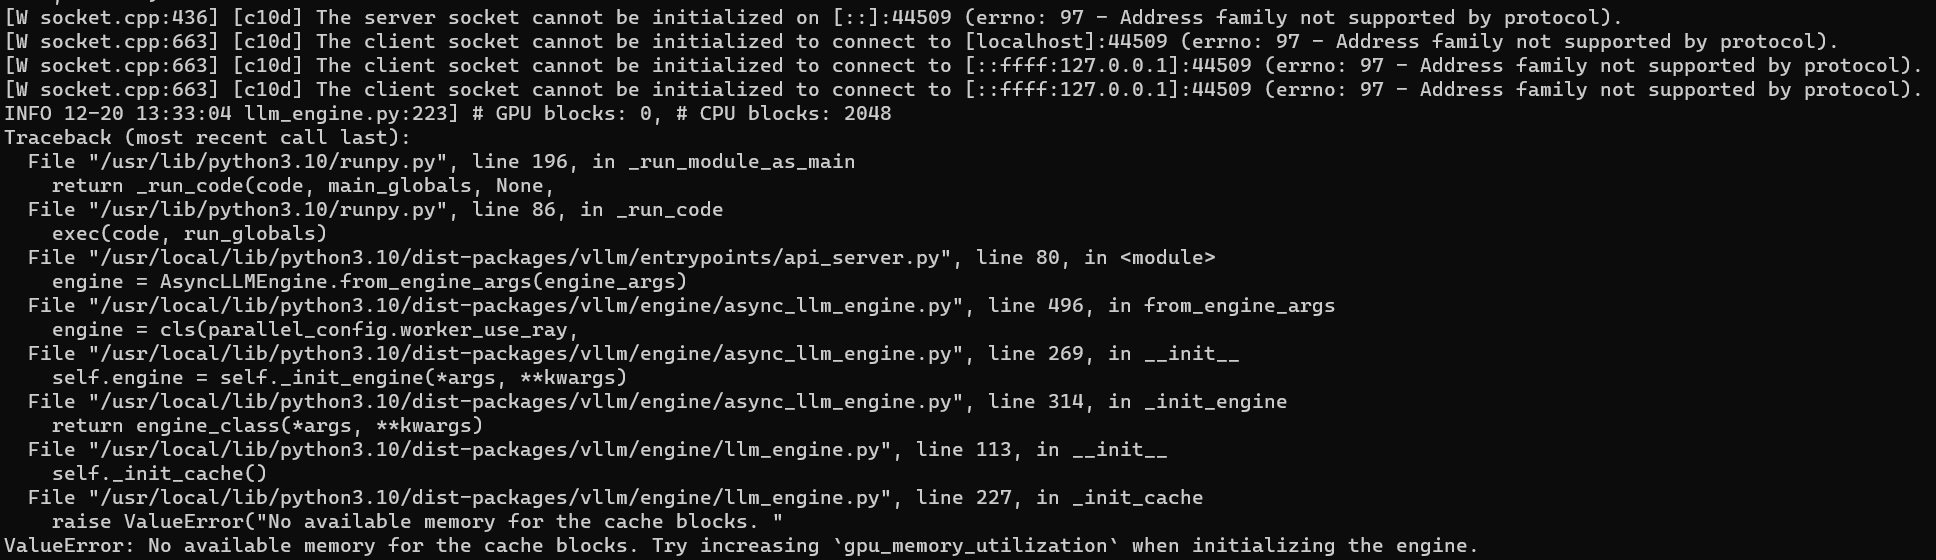
Troubleshooting
It seems like due to the WSL issue, I am unable to load any models like mistralai/Mistral-7B-v0.1 or mosaicml/mpt-7b on my machine using WSL:

docker run -p 192.168.68.123:8000:8000 --runtime nvidia --gpus all -it --rm --shm-size=64g vllm:0.2.6
python -m vllm.entrypoints.api_server --host 0.0.0.0 --port 8000  --model mistralai/Mistral-7B-v0.1 --gpu-memory-utilization=0.95