In this guide, I’ll walk you through the process of installing GitLab, a comprehensive suite of tools for version control, continuous integration, continuous delivery, and more, in my Home Lab collection.
Preparation
After obtaining the latest Ubuntu Server, I utilized Rufus, a utility for formatting and creating bootable USB flash drives.
Installation
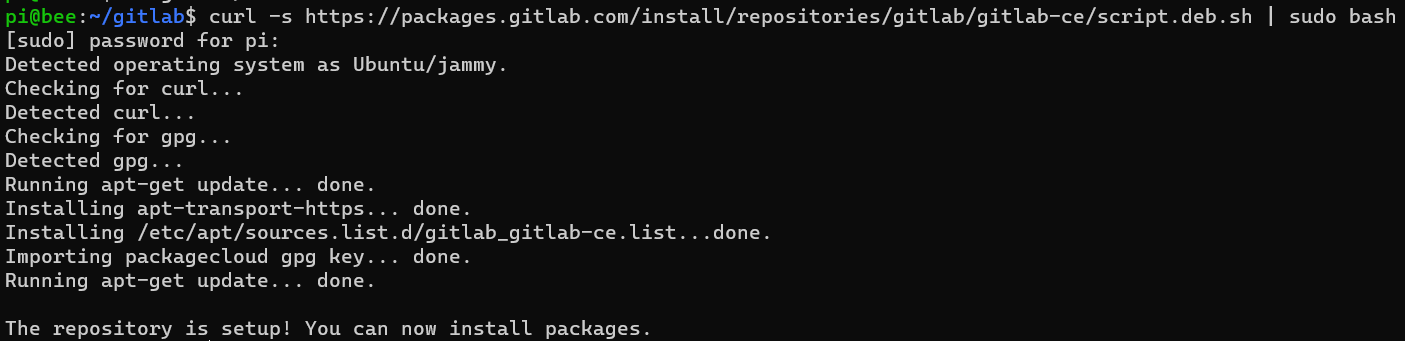
Following the installation instructions, initiate a quick installation using the following command:
curl -s https://packages.gitlab.com/install/repositories/gitlab/gitlab-ce/script.deb.sh | sudo bash
Upgrading to the Latest Version
Referencing the official repositories for upgrading, upgrade GitLab to the latest version:
sudo apt update && sudo apt install gitlab-ce

# List all the versions
sudo apt-cache madison list gitlab-ce

# Gitlab upgrade to a specific version, e.g. version 17.3.3
sudo apt install gitlab-ce=17.3.3-ce.0
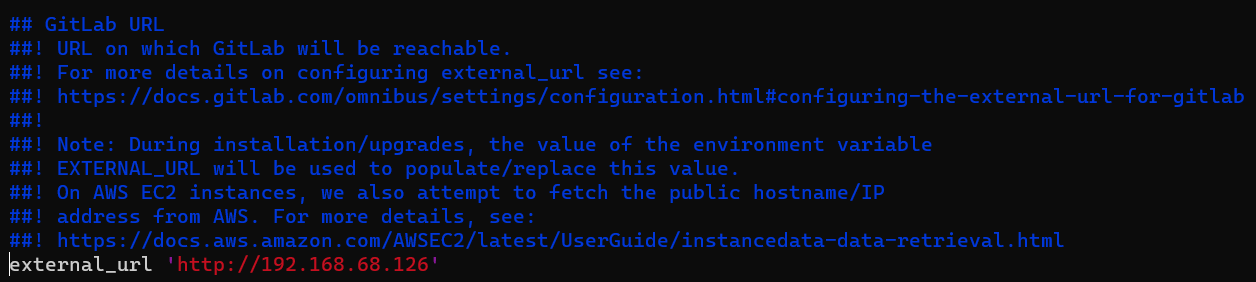
Setting External URL
Begin by configuring the external URL:
sudo vi /etc/gitlab/gitlab.rb

# Search for external_url and input the IP address
external_url 'http://192.168.68.126'
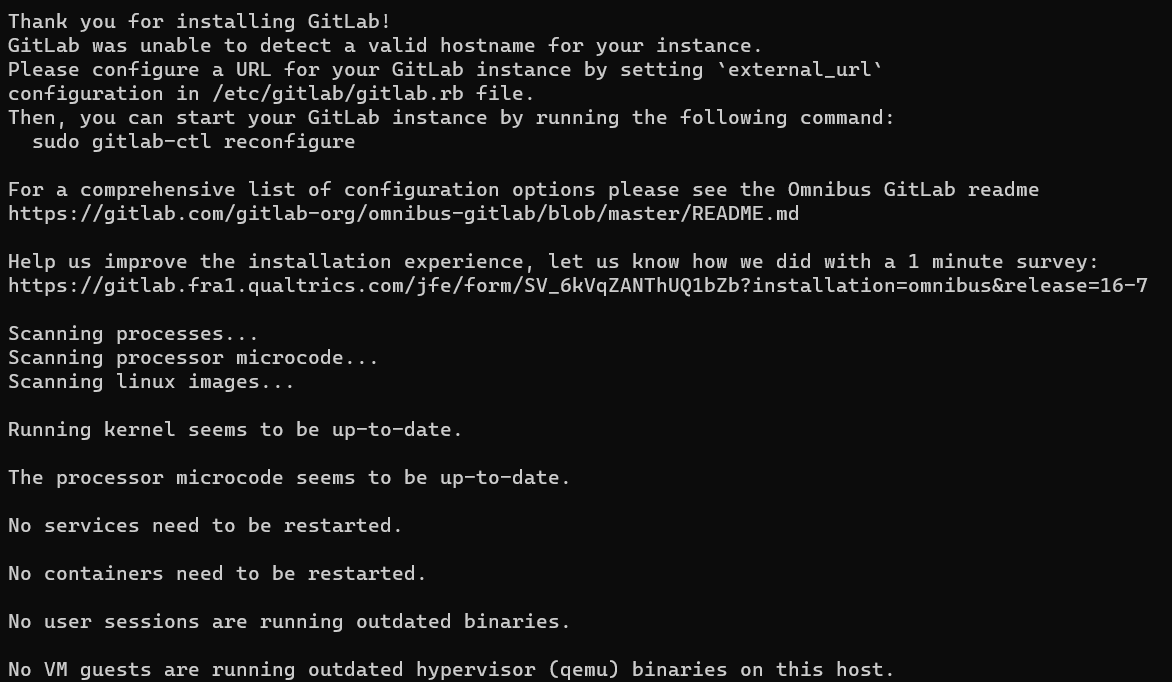
Once configured, start the GitLab instance:
sudo gitlab-ctl reconfigure
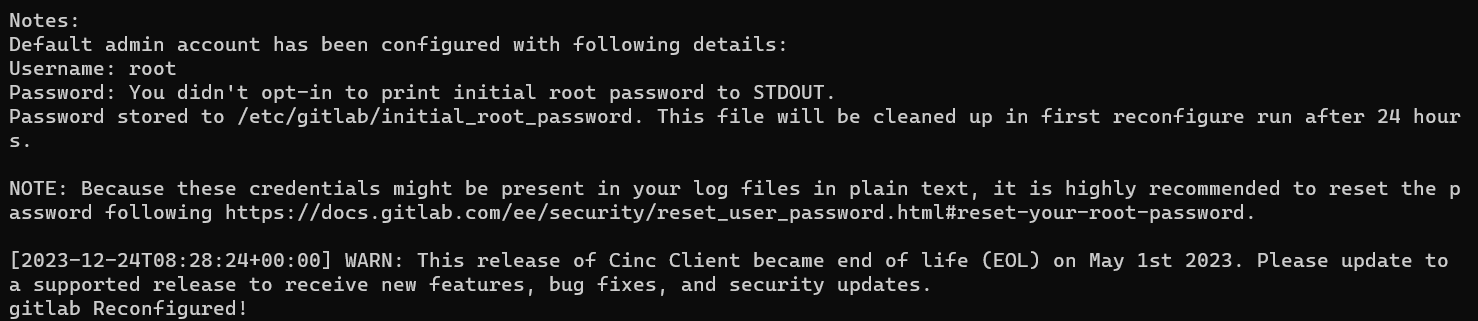
Retrieve the default admin account password:
sudo vi /etc/gitlab/initial_root_password
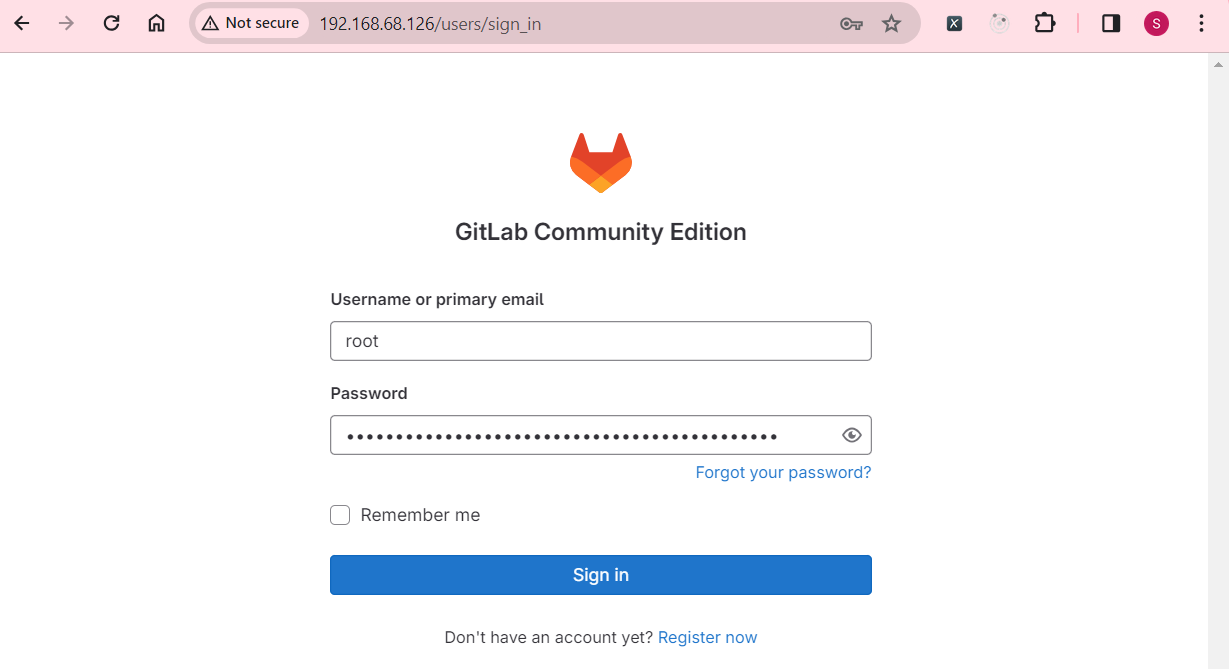
Visit the configured address, http://192.168.68.126:
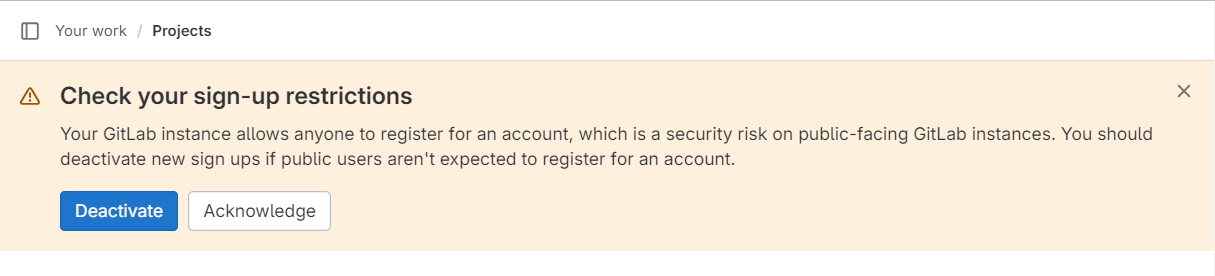
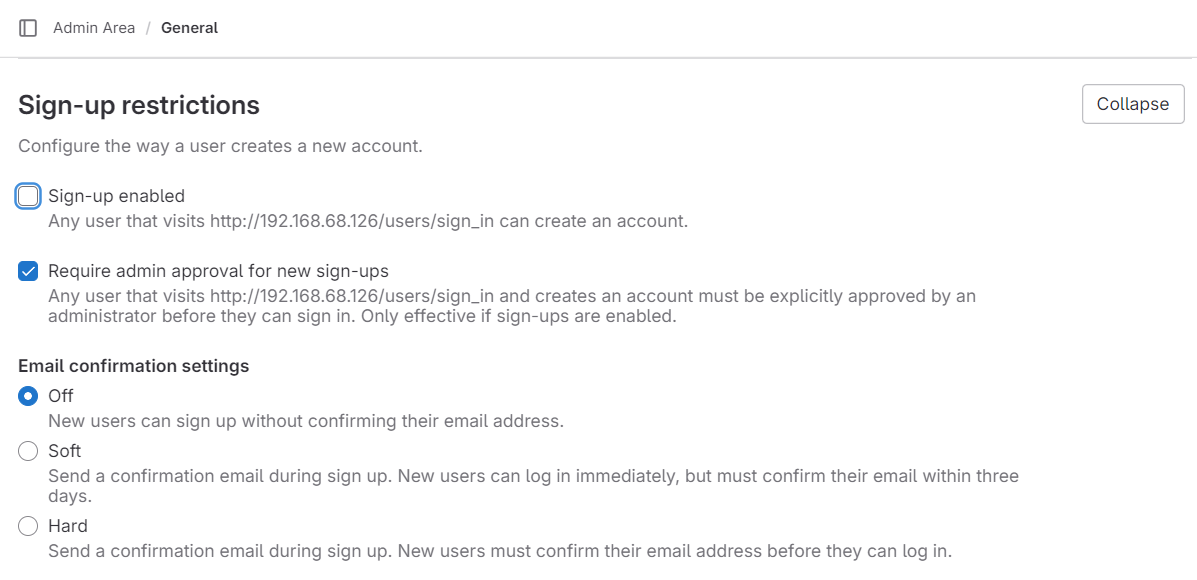
Deactivate sign-up restrictions:
Clink the Save changes button:
Migrating from Old to New Repository
1. Clone the Existing Repository
Clone the existing repository to your local machine:
git clone <old_repo_url>
2. Set up SSH key
- Generate an SSH key on your working machine:
ssh-keygen -t rsa -b 4096

eval "$(ssh-agent -s)"

# Save the key to ~/.ssh/gitlab_id_rsa
ssh-add ~/.ssh/gitlab_id_rsa

# Export the public key
cat ~/.ssh/gitlab_id_rsa.pub
- Update shell profile (e.g. ~/.bashrc) by adding the following lines to the bottom:
eval "$(ssh-agent -s)"
ssh-add ~/.ssh/gitlab_id_rsa
- Restart your shell or source the configuration:
source ~/.bashrc # or source ~/.zshrc for Zsh
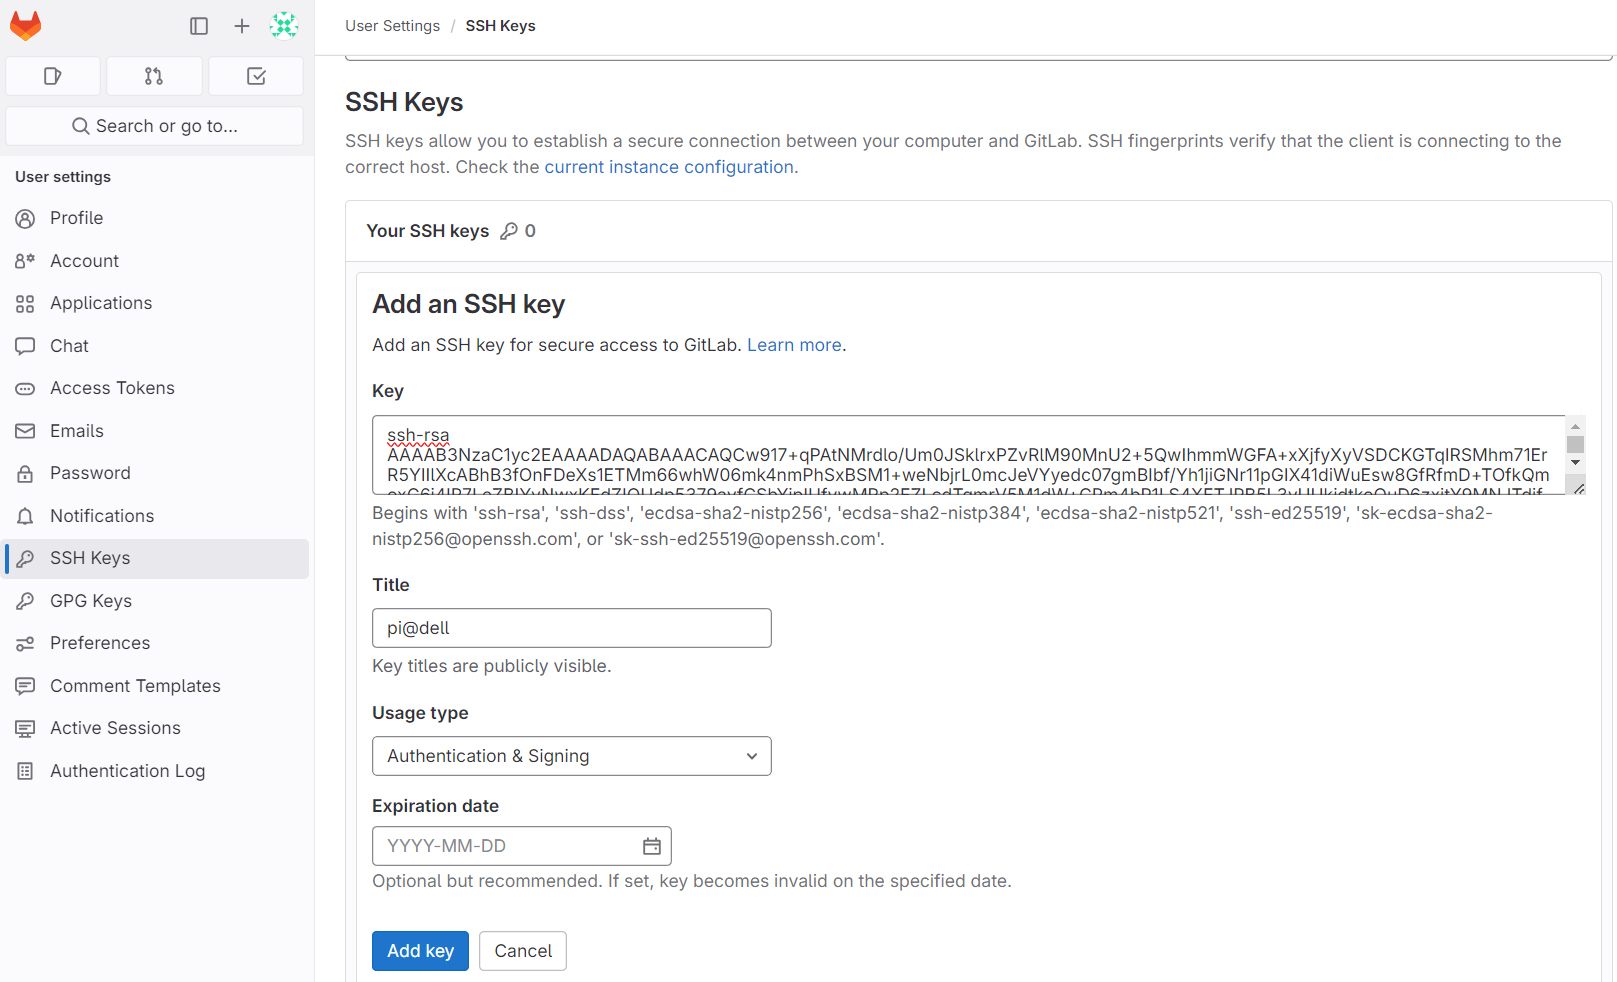
- Save the SSH public key in GitLab.
- Since th SSH key pair is not in the default location, save these settings in ~/.ssh/config file:
Host 192.168.68.126
	PreferredAuthentications publickey
    IdentityFile C:\Users\seehi\.ssh\gitlab_id_rsa
3. Create a New Repository
Navigate to the cloned repository directory and update the remote URL:
cd <local_repo_directory>

# In this example, a new group called personal is created; the new repo is not yet created
git remote set-url origin git@192.168.68.126:personal/langchain4j-spring-boot.git
4. Push to the New Repository
Push the local repository:
git push -u origin main
Install GitLab Runner
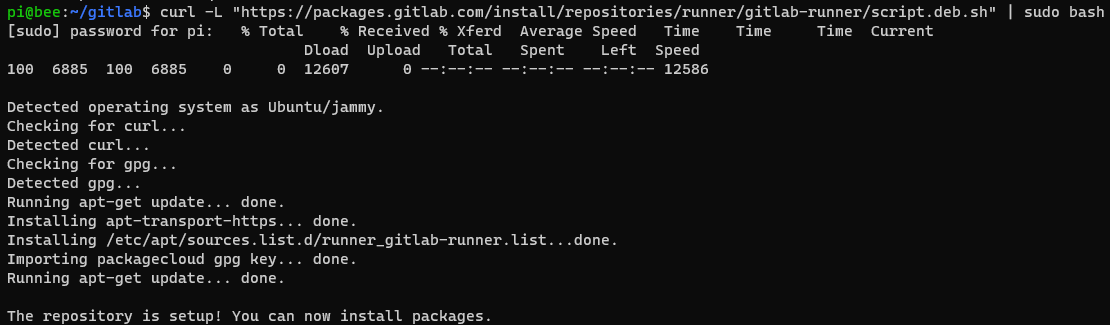
Referencing Install GitLab Runner, add the official GitLab repository:
curl -L "https://packages.gitlab.com/install/repositories/runner/gitlab-runner/script.deb.sh" | sudo bash
Install the latest GitLab Runner version:
# To install or update the GitLab Runner
sudo apt-get update
sudo apt-get install gitlab-runner

# Verify if GitLab Runner is running
sudo gitlab-runner status
Install Docker
Referring to Install Docker Engine on Ubuntu, set up Docker’s apt repository:
# Add Docker's official GPG key:
sudo apt-get update
sudo apt-get install ca-certificates curl gnupg
sudo install -m 0755 -d /etc/apt/keyrings
curl -fsSL https://download.docker.com/linux/ubuntu/gpg | sudo gpg --dearmor -o /etc/apt/keyrings/docker.gpg
sudo chmod a+r /etc/apt/keyrings/docker.gpg

# Add the repository to Apt sources:
echo \
  "deb [arch=$(dpkg --print-architecture) signed-by=/etc/apt/keyrings/docker.gpg] https://download.docker.com/linux/ubuntu \
  $(. /etc/os-release && echo "$VERSION_CODENAME") stable" | \
  sudo tee /etc/apt/sources.list.d/docker.list > /dev/null
sudo apt-get update

# Install the Docker packages
sudo apt-get install docker-ce docker-ce-cli containerd.io docker-buildx-plugin docker-compose-plugin

# Verify Docker Engine installation
sudo docker run hello-world

# Adds user to docker group (needs to re-login to take effect)
sudo usermod -aG docker pi
Register GitLab Runner
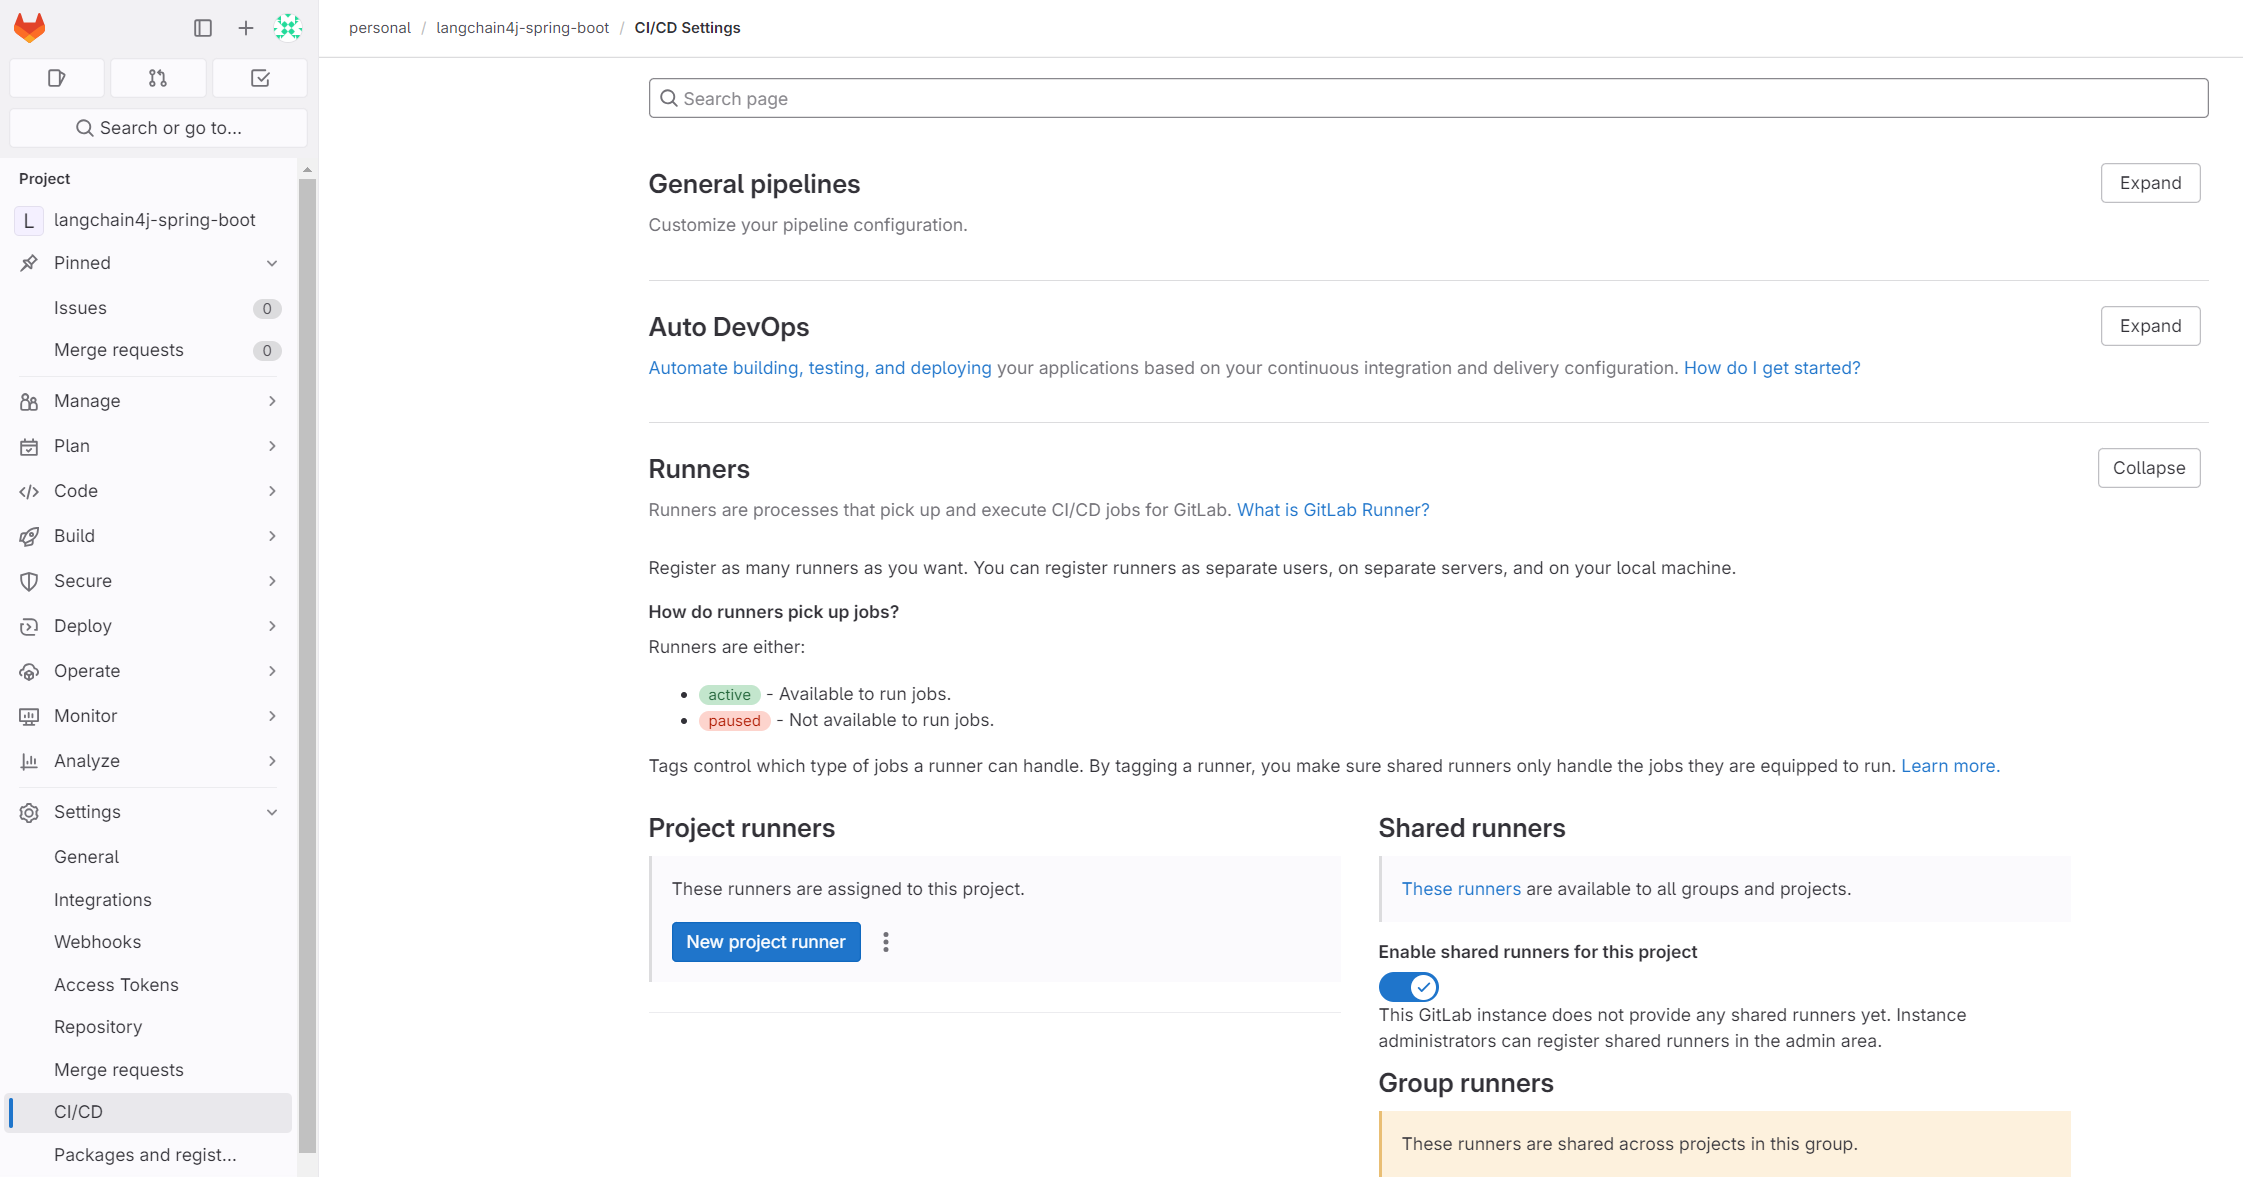
In the project settings, navigate to the CI/CD option, expand the Runners section, and click on the New project runner button:
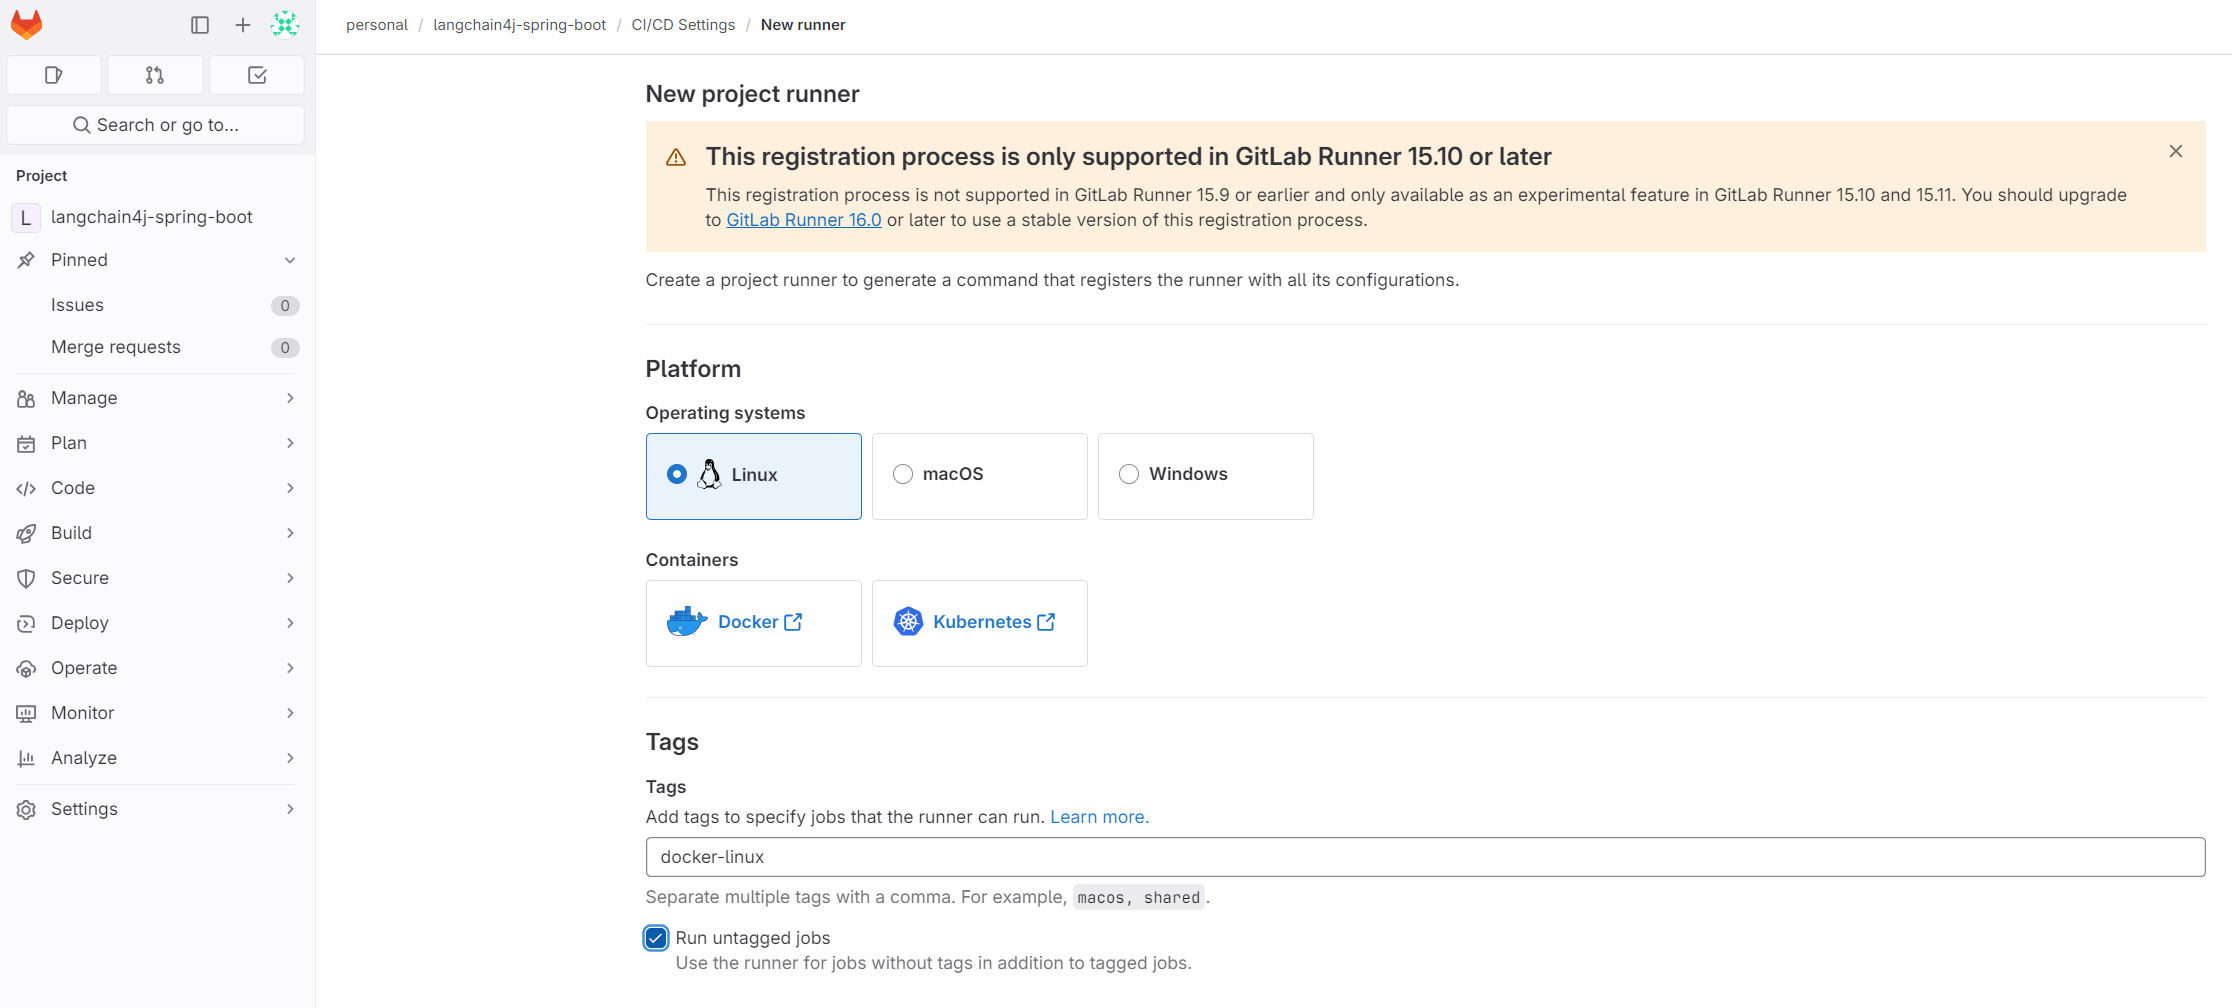
Set the tag (e.g., docker-linux), select Run untagged jobs, and click the Create runner button:
Once the runner is created, copy the command provided:
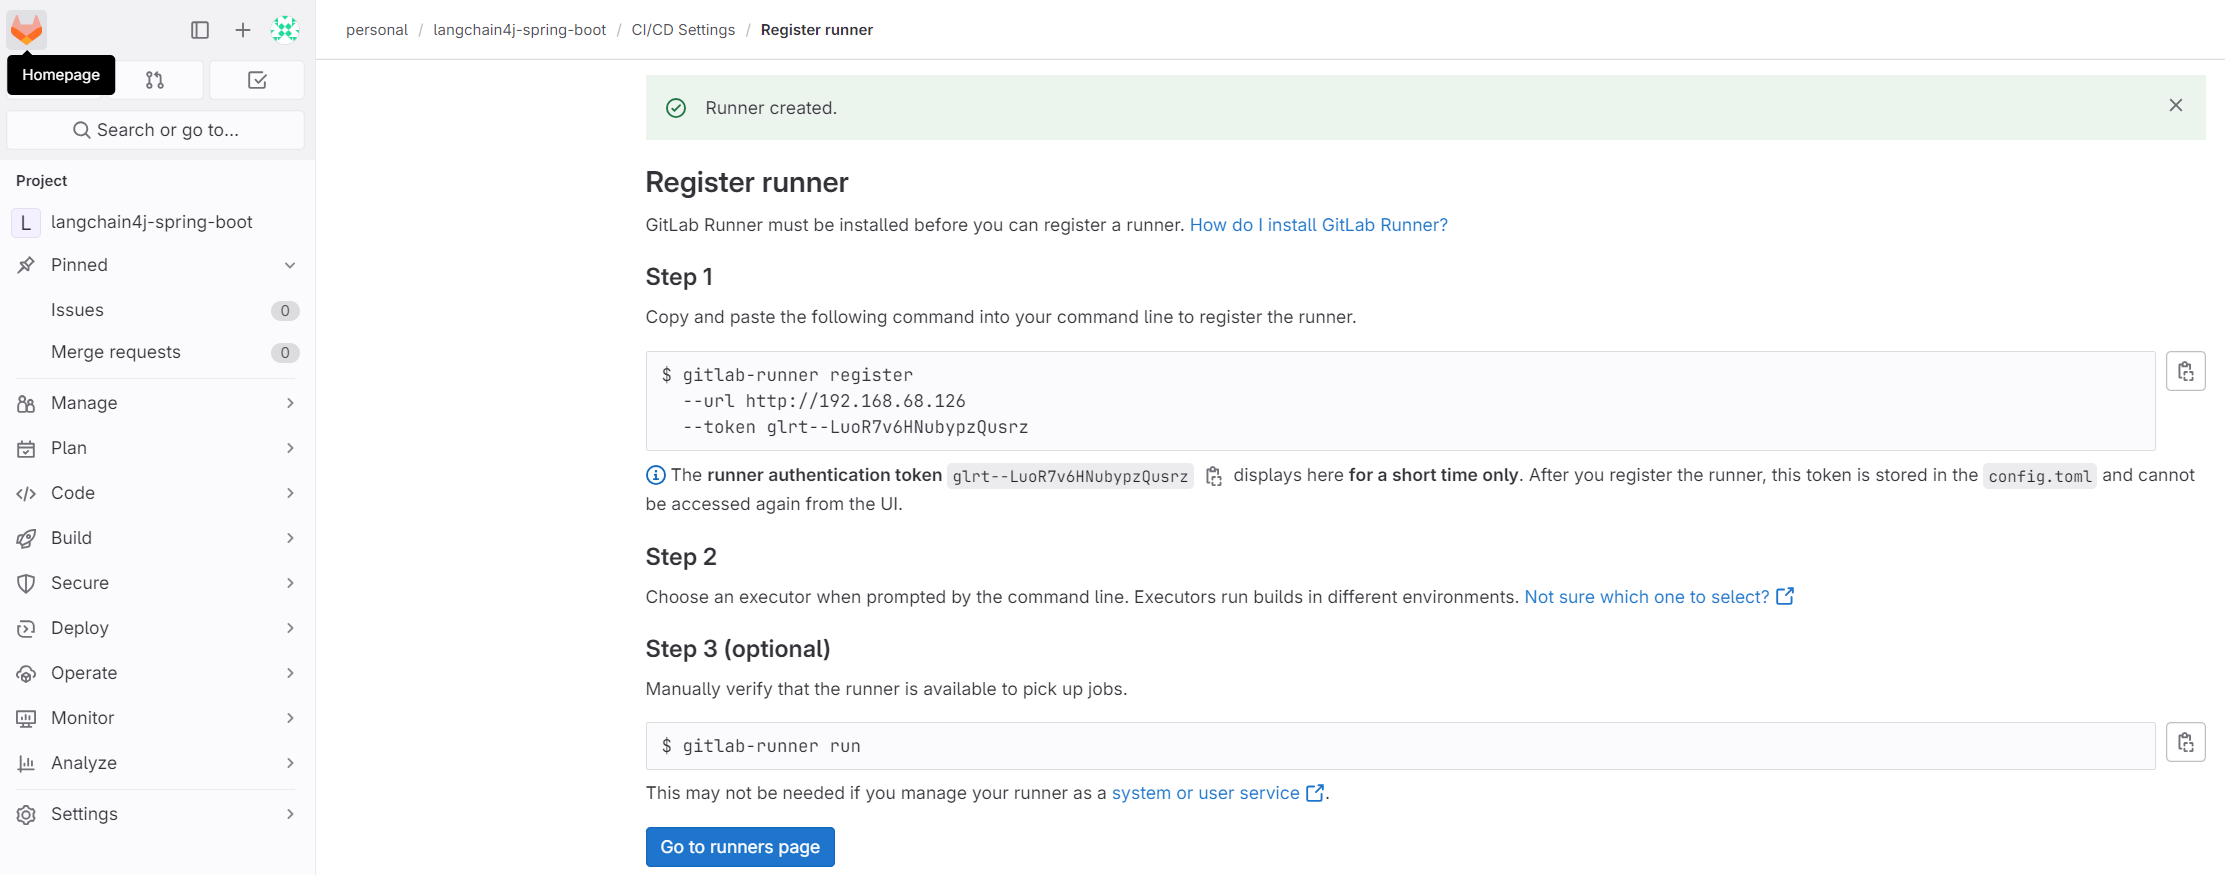
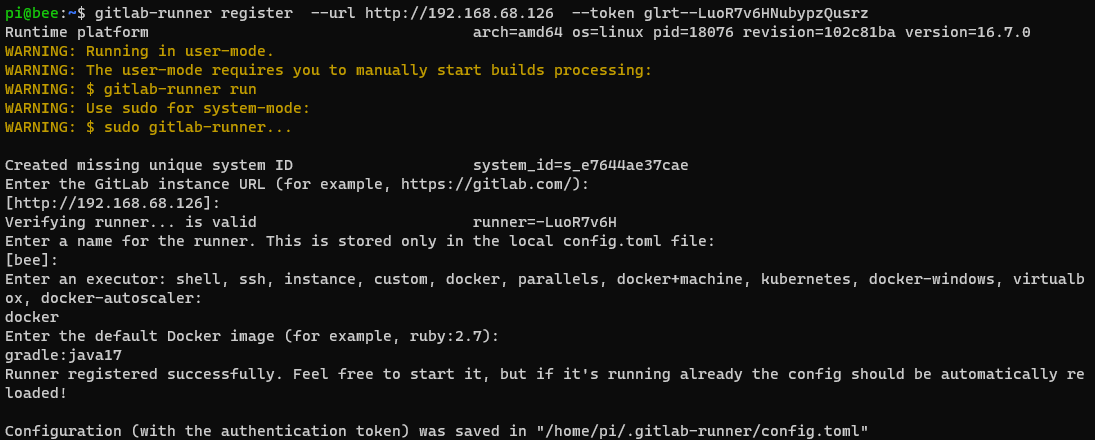
Next, paste the command to register a runner:
# You may use sudo to save config to /etc/gitlab-runner/config.toml instead (otherwise follow optional section)
gitlab-runner register  --url http://192.168.68.126  --token glrt--LuoR7v6HNubypzQusrz

# You can run this in the background
gitlab-runner run
Run GitLab Pipeline
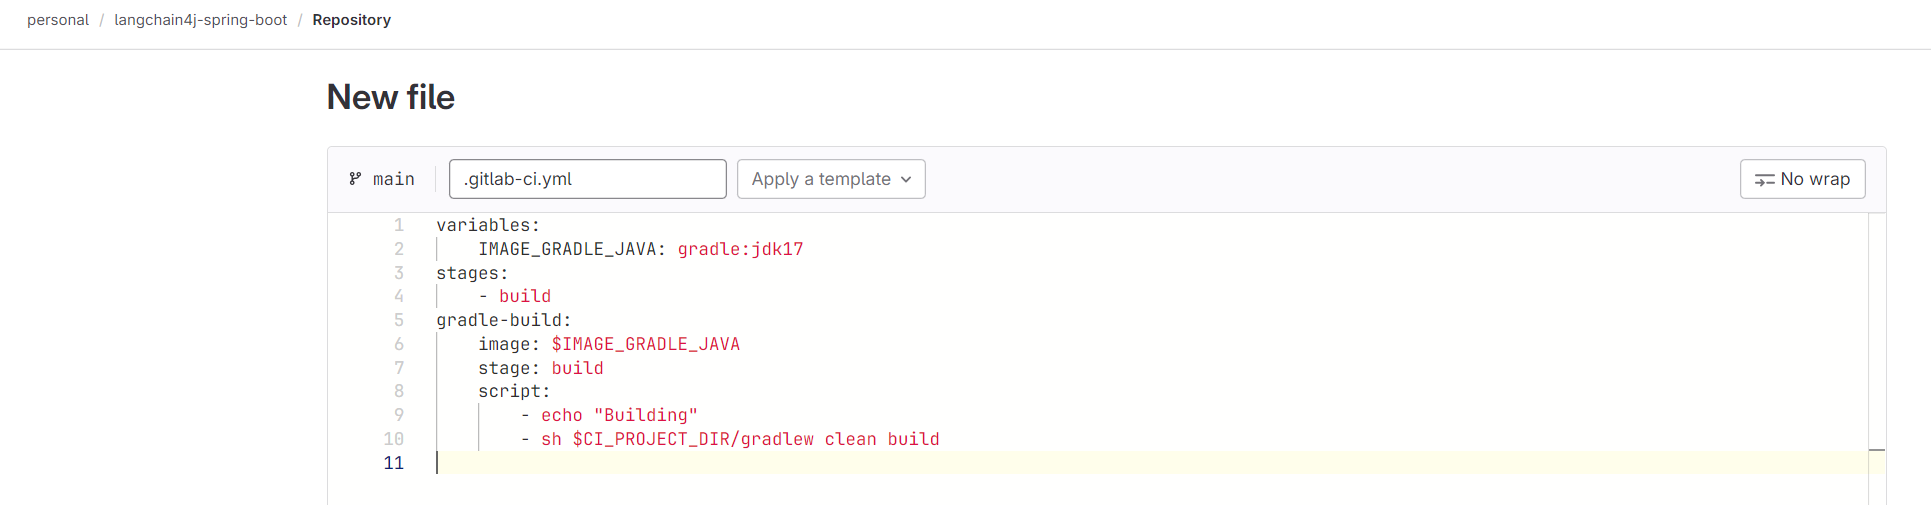
Here’s a sample .gitlab-ci.yml file:
variables:
    IMAGE_GRADLE_JAVA: gradle:jdk17
stages:
    - build
gradle-build:
    image: $IMAGE_GRADLE_JAVA
    stage: build
    script:
        - echo "Building"
        - sh $CI_PROJECT_DIR/gradlew clean build
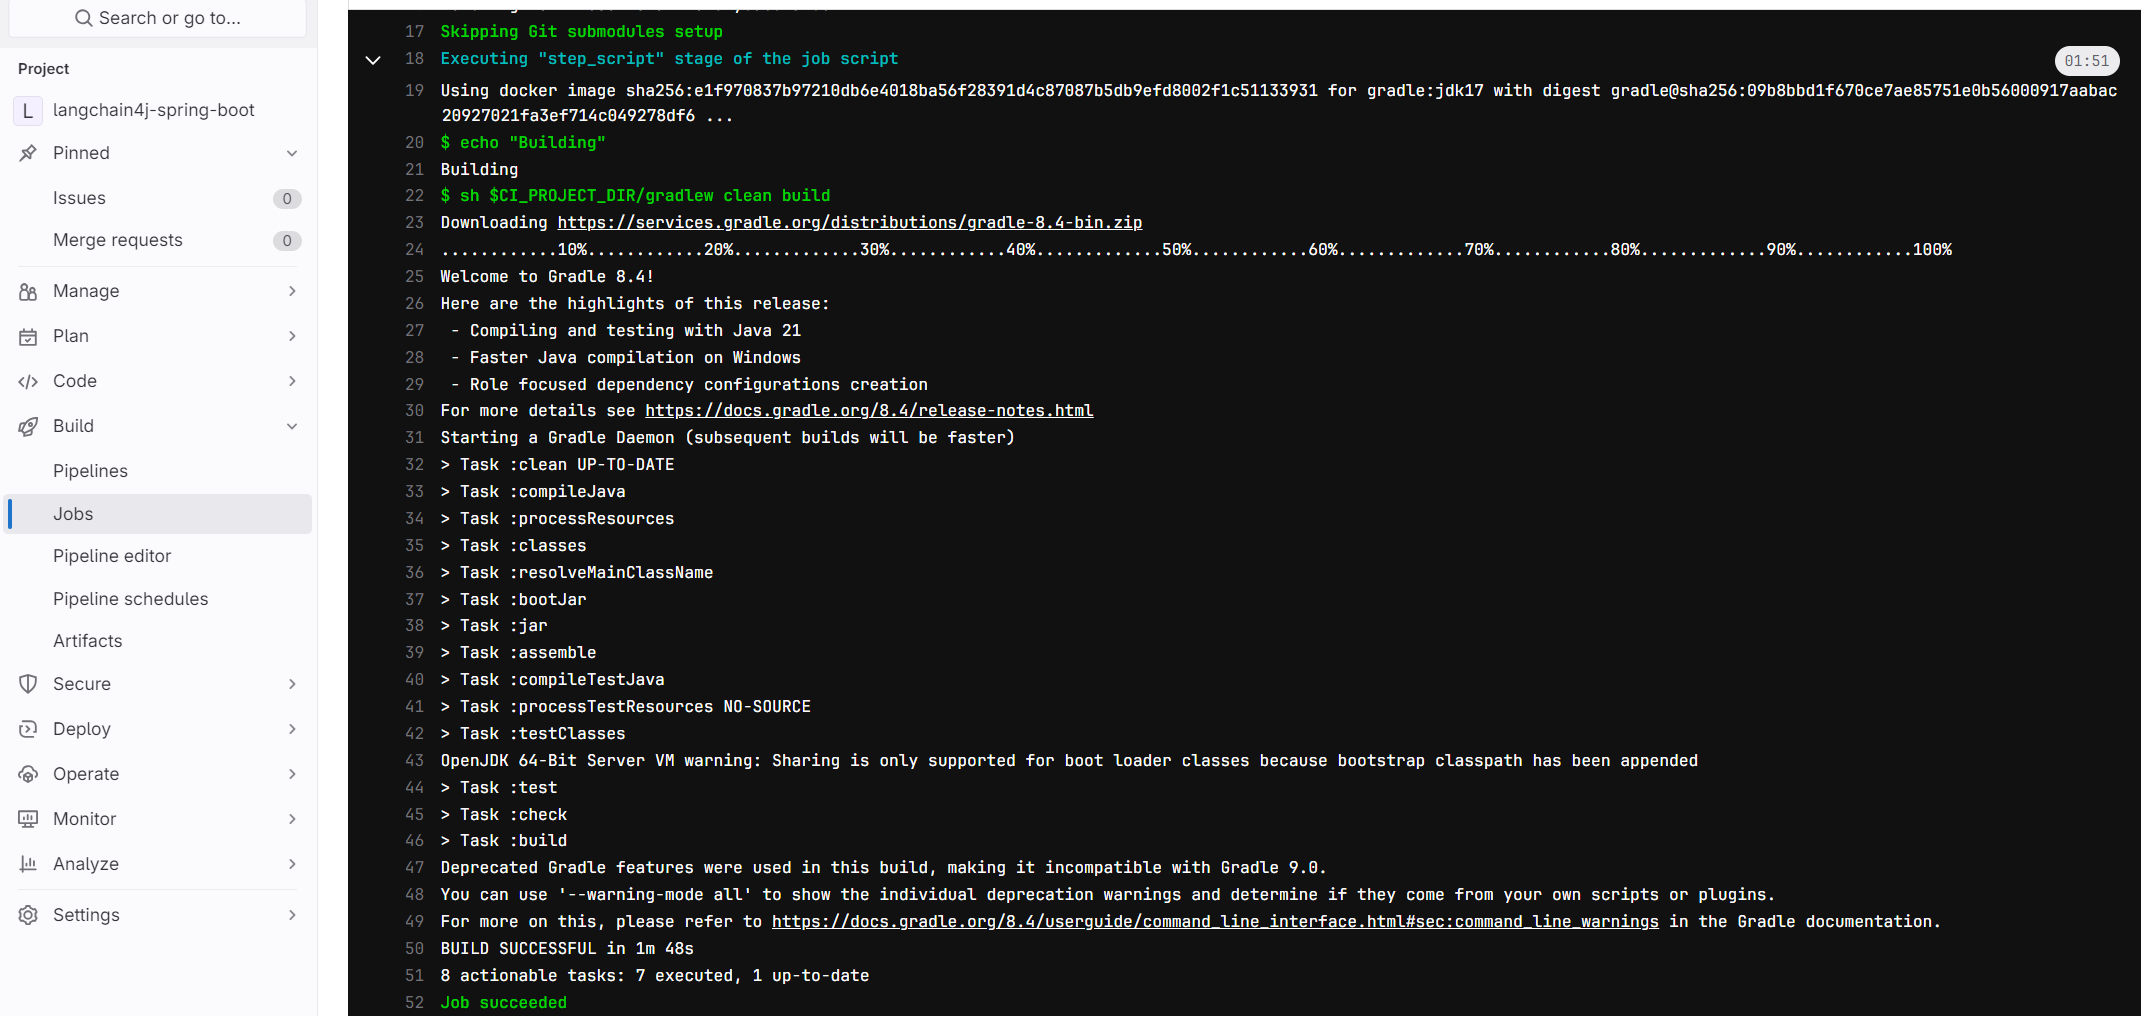
To trigger the build stage, go to Build -> Pipeline, and click on the Run pipeline button. Here’s a sample run and its result:

Optional: Register GitLab runner as a Service
If you observe, my config file is stored in /home/pi/.gitlab-runner/config.toml. To use this setting:
# The easiest way is to copy the config to the default location
sudo cp /home/pi/.gitlab-runner/config.toml /etc/gitlab-runner/config.toml
Start the GitLab runner service:
sudo systemctl enable gitlab-runner
sudo systemctl status gitlab-runner
Run the pipeline again:

Optional: Enable Container and Package Registry
To enable the container and package registry, follow these steps:
- Modifies the gitlab.rb file:
sudo vi /etc/gitlab/gitlab.rb
- Make the necessary changes to configure the registry:
external_url 'http://192.168.68.126'

registry_external_url 'http://192.168.68.126:5005'
gitlab_rails['registry_enabled'] = true
gitlab_rails['registry_host'] = "192.168.68.126"
gitlab_rails['registry_port'] = "5005"
gitlab_rails['registry_path'] = "/mnt/registry"

registry['enable'] = true
registry['dir'] = "/var/opt/gitlab/registry"
registry['registry_http_addr'] = "127.0.0.1:5000"
registry['log_directory'] = "/var/log/gitlab/registry"
registry['env_directory'] = "/opt/gitlab/etc/registry/env"
registry['env'] = {
  "REGISTRY_HTTP_RELATIVEURLS" => true
}

letsencrypt['enable'] = false

gitlab_rails['packages_enabled'] = true
gitlab_rails['packages_storage_path'] = "/mnt/packages"
- Reconfigures gitlab:
sudo gitlab-ctl reconfigure

# Verifies if gitlab registry is accessible; authentication required message expected
curl -k http://192.168.68.126:5005/v2/
- Modify Docker Desktop (for Windows) via Settings -> Docker Engine:
"insecure-registries": [
   "192.168.68.126:5005"
],
- Log in to the registry from your Windows machine:
docker login 192.168.68.126:5005
- You may have to configure your docker if you see this error from Windows box:
Error response from daemon: Get "https://192.168.68.126:5005/v2/": http: server gave HTTP response to HTTPS client
a. From gitlab server, configure docker to use local registry:
sudo vi /etc/docker/daemon.jsonb. Copy this content into daemon.json:
{
 "insecure-registries": [
   "192.168.68.126:5005"
 ]
}
c. Edit docker default configuration file, with sudo vi /etc/default/docker and add this:
DOCKER_OPTS="--config-file=/etc/docker/daemon.json"d. Restart docker to apply the changes:
sudo systemctl restart docker