Building a CI/CD pipeline on a Raspberry PI Cluster (Part 4), with SonarQube integrating into Jenkins and Gitlab
Building a CI/CD pipeline on a Raspberry PI Cluster (Part IV)
(Total Setup Time: 15 mins)
In continuation from part 3 of this guide, I will add SonarQube into my CI/CD pipeline. This will enahnce our workflow with continuous code quality and code security.
Installing SonarQube
(30 mins)
First, I download the SonarQube Community Edition into my Windows machine.
# Copy into kubernetes cluster master
scp sonarqube-9.0.0.45539.zip ubuntu@master1:/tmp

mkdir ~/sonarqube
cd ~/sonarqube
mv /tmp/sonarqube-9.0.0.45539.zip ~/sonarqube
Second, downloads the Java Service Wrapper for Linux, armhf architecture:
# Copy into kubernetes cluster master
scp wrapper-linux-armhf-64-3.5.45.tar.gz ubuntu@master1:/tmp

mv /tmp/wrapper-linux-armhf-64-3.5.45.tar.gz ~/sonarqube
Third, prepares the Dockerfile for Raspberry PI:
# Copy and paste below into Dockerfile
vi Dockerfile
FROM balenalib/raspberrypi4-64-debian-openjdk:11-bullseye

ENV SONARQUBE_HOME=/opt/sonarqube

# Modified for debian-bullseye
RUN groupadd -g 1000 sonarqube
RUN useradd -d /home/${user} -u 1000 -g sonarqube -m sonarqube

EXPOSE 9000

RUN apt-get update \
    && apt-get install unzip -y
WORKDIR /opt

COPY sonarqube-9.0.0.45539.zip wrapper-linux-armhf-64-3.5.45.tar.gz /opt/
RUN unzip sonarqube-9.0.0.45539.zip \
    && tar -zxvf wrapper-linux-armhf-64-3.5.45.tar.gz \
    && rm -f sonarqube-9.0.0.45539.zip wrapper-linux-armhf-64-3.5.45.tar.gz \
    && mv sonarqube-9.0.0.45539 sonarqube \
    && mv wrapper-linux-armhf-64-3.5.45 wrapper \
    && cp -r sonarqube/bin/linux-x86-64/ sonarqube/bin/linux-pi/ \
    && cp -f wrapper/bin/wrapper sonarqube/bin/linux-pi \
    && cp -f wrapper/lib/libwrapper.so sonarqube/bin/linux-pi/lib/libwrapper.so \
    && cp -f wrapper/lib/wrapper.jar sonarqube/bin/linux-pi/lib/wrapper.jar \
    && rm -rf wrapper \
    && apt-get purge -y unzip \
    && apt-get autoremove -y \
    && chown -R sonarqube:sonarqube ${SONARQUBE_HOME}

USER sonarqube
VOLUME ${SONARQUBE_HOME}/data ${SONARQUBE_HOME}/extensions ${SONARQUBE_HOME}/logs/
WORKDIR ${SONARQUBE_HOME}

CMD ["/bin/bash","-c","./bin/linux-pi/sonar.sh console"]
Fourth, builds and tags the docker image:
docker build -t seehiong/sonarqube:1.0 .
Fifth, prepares the sonarqube deployment:
# Copy and paste below into sonarqube-deployment.yaml
vi sonarqube-deployment.yaml
apiVersion: v1
kind: Service
metadata:
  name: sonarqube
  namespace: seehiong
  annotations:
    metallb.universe.tf/allow-shared-ip: home-net
spec:
  ports:
    - port: 9000
      name: sonarqube-http
      targetPort: 9000
  selector:
    app: sonarqube
  type: LoadBalancer
  loadBalancerIP: 192.168.100.250
---
apiVersion: apps/v1
kind: Deployment
metadata:
  name: sonarqube
  namespace: seehiong
spec:
  selector:
    matchLabels:
      app: sonarqube
  strategy:
    type: Recreate
  template:
    metadata:
      labels:
        app: sonarqube
    spec:
      hostname: sonarqube
      initContainers:
      - name: init
        image: arm64v8/busybox:latest
        command: ["sh", "-c", "chown -R 1000:1000 /opt/sonarqube/data /opt/sonarqube/extensions /opt/sonarqube/logs & sleep 30"]
        volumeMounts:
        - name: sonarqube-data-persistent-storage
          mountPath: /opt/sonarqube/data
        - name: sonarqube-ext-persistent-storage
          mountPath: /opt/sonarqube/extensions
        - name: sonarqube-log-persistent-storage
          mountPath: /opt/sonarqube/logs
      containers:
      - name: sonarqube
        image: seehiong/sonarqube:1.0
        imagePullPolicy: IfNotPresent
        ports:
        - containerPort: 9000
        volumeMounts:
        - name: sonarqube-data-persistent-storage
          mountPath: /opt/sonarqube/data
        - name: sonarqube-ext-persistent-storage
          mountPath: /opt/sonarqube/extensions
        - name: sonarqube-log-persistent-storage
          mountPath: /opt/sonarqube/logs
      nodeSelector:
        hostname: master2
      volumes:
      - name: sonarqube-data-persistent-storage
        persistentVolumeClaim:
          claimName: sonarqube-data-pvc
      - name: sonarqube-ext-persistent-storage
        persistentVolumeClaim:
          claimName: sonarqube-ext-pvc
      - name: sonarqube-log-persistent-storage
        persistentVolumeClaim:
          claimName: sonarqube-log-pvc
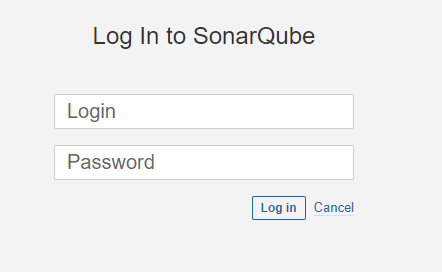
Lastly, adds the required Longhorn volume, sonarqube-data-pvc, sonarqube-etc-pvc and sonarqube-log-pvc. You may start sonarqube pod by running (the default login is admin / admin):
kubectl apply -f sonarqube-deployment.yaml

# Pushes image to JFrog container registry
docker tag seehiong/sonarqube:1.0 art.local:8081/seehiong/sonarqube:latest
docker push art.local:8081/seehiong/sonarqube:latest
Installing Gitlab
(2 hrs)
First, to work with SonarQube, I replace my Gitea with Gitlab installation. By following this guide, I build with the following:
mkdir ~/gitlab
cd ~/gitlab
vi build.sh

# Copy these into build.sh
#!/bin/bash

VERSION=13.4.0
# Replace BASE_URL and VERSION when the official arm64 package is available
BASE_URL=https://packages.gitlab.com/gitlab/gitlab-ce/packages/ubuntu/focal/


git clone https://gitlab.com/gitlab-org/omnibus-gitlab.git
cd omnibus-gitlab
git checkout $VERSION+ce.0

sed 's/FROM\ ubuntu:16.04/FROM\ ubuntu:20.04/g' ./docker/Dockerfile > ./docker/Dockerfile_ubuntu_20.04
echo "RELEASE_PACKAGE=gitlab-ce" > ./docker/RELEASE
echo "RELEASE_VERSION=$VERSION-ce.0" >> ./docker/RELEASE
echo "DOWNLOAD_URL=$BASE_URL/gitlab-ce_$VERSION-ce.0_arm64.deb/download.deb" >> ./docker/RELEASE

sudo docker build -f ./docker/Dockerfile_ubuntu_20.04 -t gitlab/gitlab-ce:$VERSION-ce.0 --platform linux/arm64 ./docker/

# Build the image (this takes about 2 hours to complete)
chmod +x build.sh
./build.sh
Second, prepares the gitlab deployment.
vi gitlab-deployment.yaml
# Copy these into gitlab-deployment.yaml
apiVersion: v1
kind: Service
metadata:
  name: gitlab
  namespace: seehiong
  annotations:
    metallb.universe.tf/allow-shared-ip: home-net
spec:
  ports:
    - port: 80
      name: gitlab-http
      targetPort: 80
      nodePort: 30280
  selector:
    app: gitlab
  type: LoadBalancer
  loadBalancerIP: 192.168.100.248
---
apiVersion: apps/v1
kind: Deployment
metadata:
  name: gitlab
  namespace: seehiong
spec:
  selector:
    matchLabels:
      app: gitlab
  strategy:
    type: Recreate
  template:
    metadata:
      labels:
        app: gitlab
    spec:
      hostname: gitlab
      containers:
      - name: gitlab
        image: gitlab/gitlab-ce:13.4.0-ce.0
        imagePullPolicy: IfNotPresent
        ports:
        - containerPort: 80
        volumeMounts:
        - name: gitlab-etc-persistent-storage
          mountPath: /etc/gitlab
        - name: gitlab-opt-persistent-storage
          mountPath: /var/opt/gitlab
        - name: gitlab-log-persistent-storage
          mountPath: /var/log/gitlab
      nodeSelector:
        hostname: master1
      volumes:
      - name: gitlab-etc-persistent-storage
        persistentVolumeClaim:
          claimName: gitlab-etc-pvc
      - name: gitlab-opt-persistent-storage
        persistentVolumeClaim:
          claimName: gitlab-opt-pvc
      - name: gitlab-log-persistent-storage
        persistentVolumeClaim:
          claimName: gitlab-log-pvc
Third, adds the required Longhorn volume, gitlab-etc-pvc, gitlab-opt-pvc and gitlab-log-pvc. You may start gitlab pod by running:
kubectl apply -f gitlab-deployment.yaml

# Pushes image to JFrog container registry
docker tag gitlab/gitlab-ce:13.4.0-ce.0 art.local:8081/seehiong/gitlab-ce:latest
docker push art.local:8081/seehiong/gitlab-ce:latest
Preparing Gitlab
(2 mins)
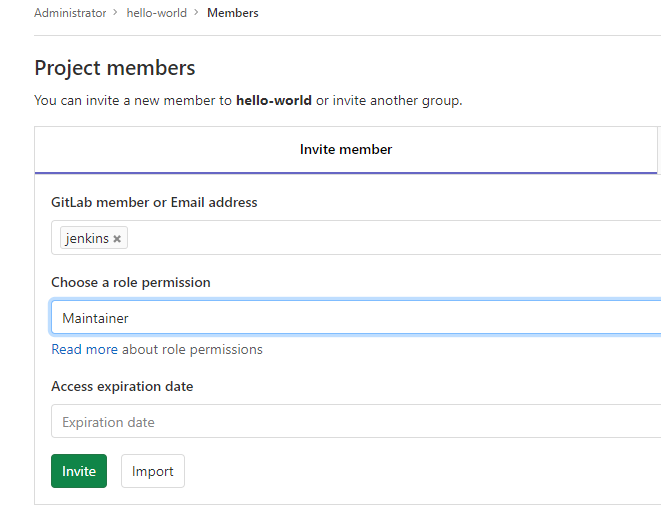
First, following plugin configuration, creates a Jenkins user in Gitlab, as a maintainer role to your project.
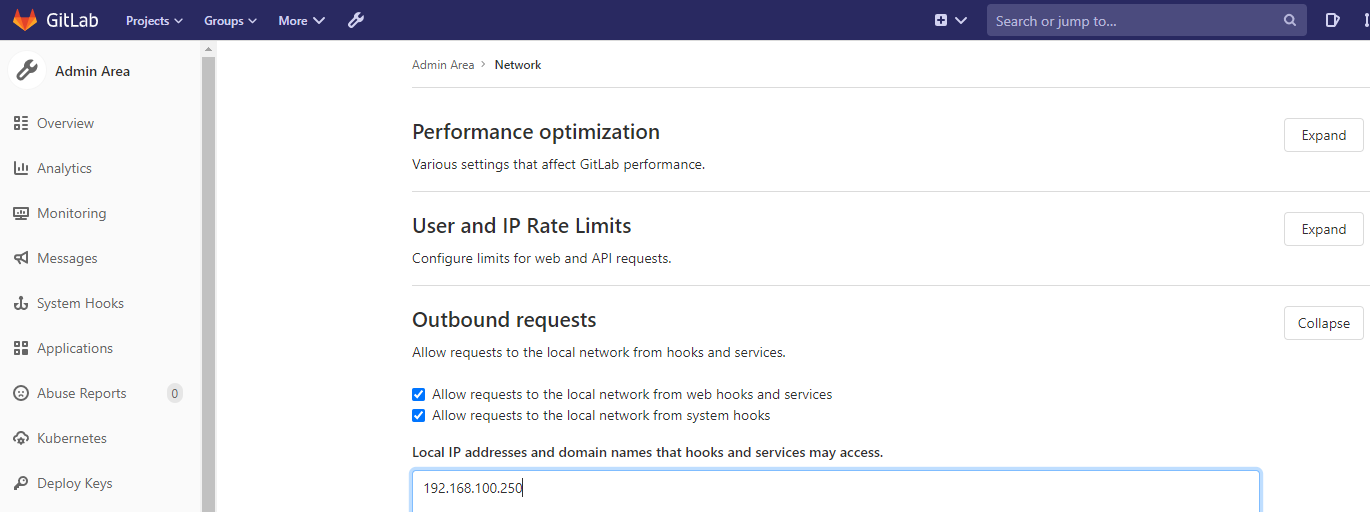
Second, configures Gitlab to allow local IP addresses:
Third, click on Impersonate the Jenkins user, click on his icon and choose settings. Click on Access Token. Create a token named ‘jenkins’ with ‘api’, ‘read_user’ and ‘read_repository’ scope. Copy this token.
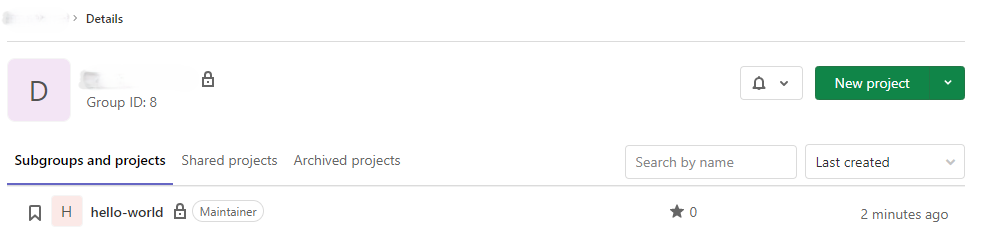
Fourth, create a group and transfer your project to this namespace.
Preparing Jenkins
(2 mins)
First, installs Gitlab and Gitlab Branch Source plugins.
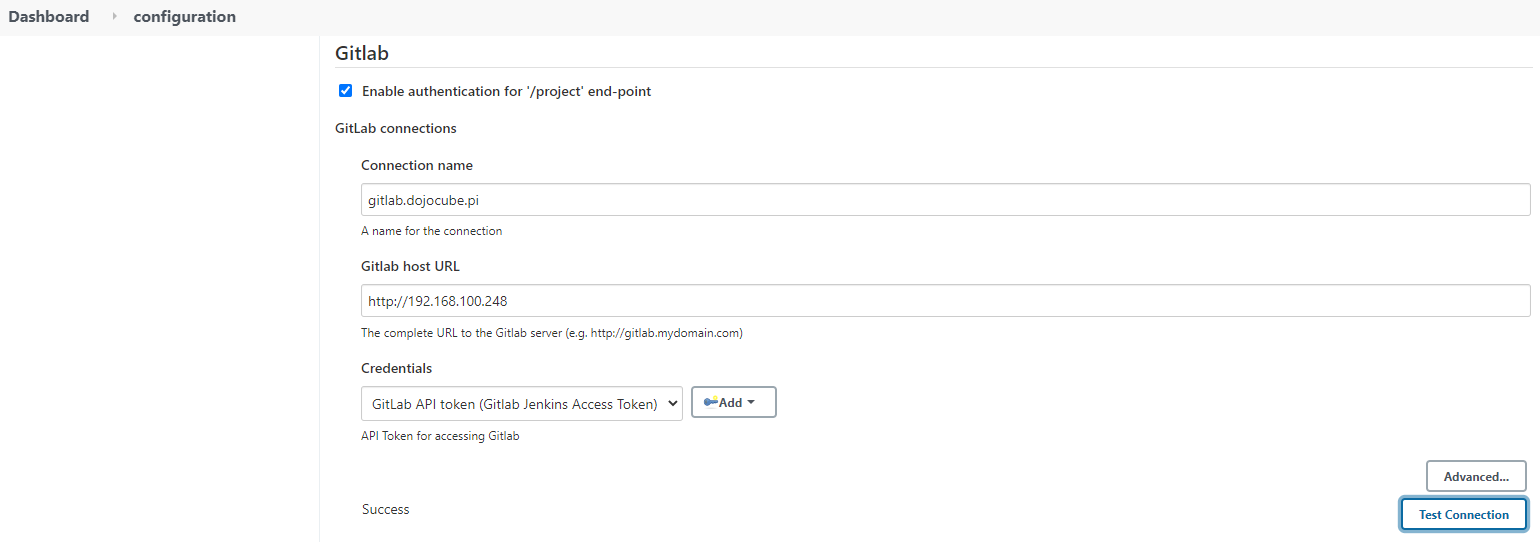
Second, from Manage Jenkins > Configure System in Jenkins, enter the Gitlab IP addresses and paste the Gitlab Jenkins API token here:
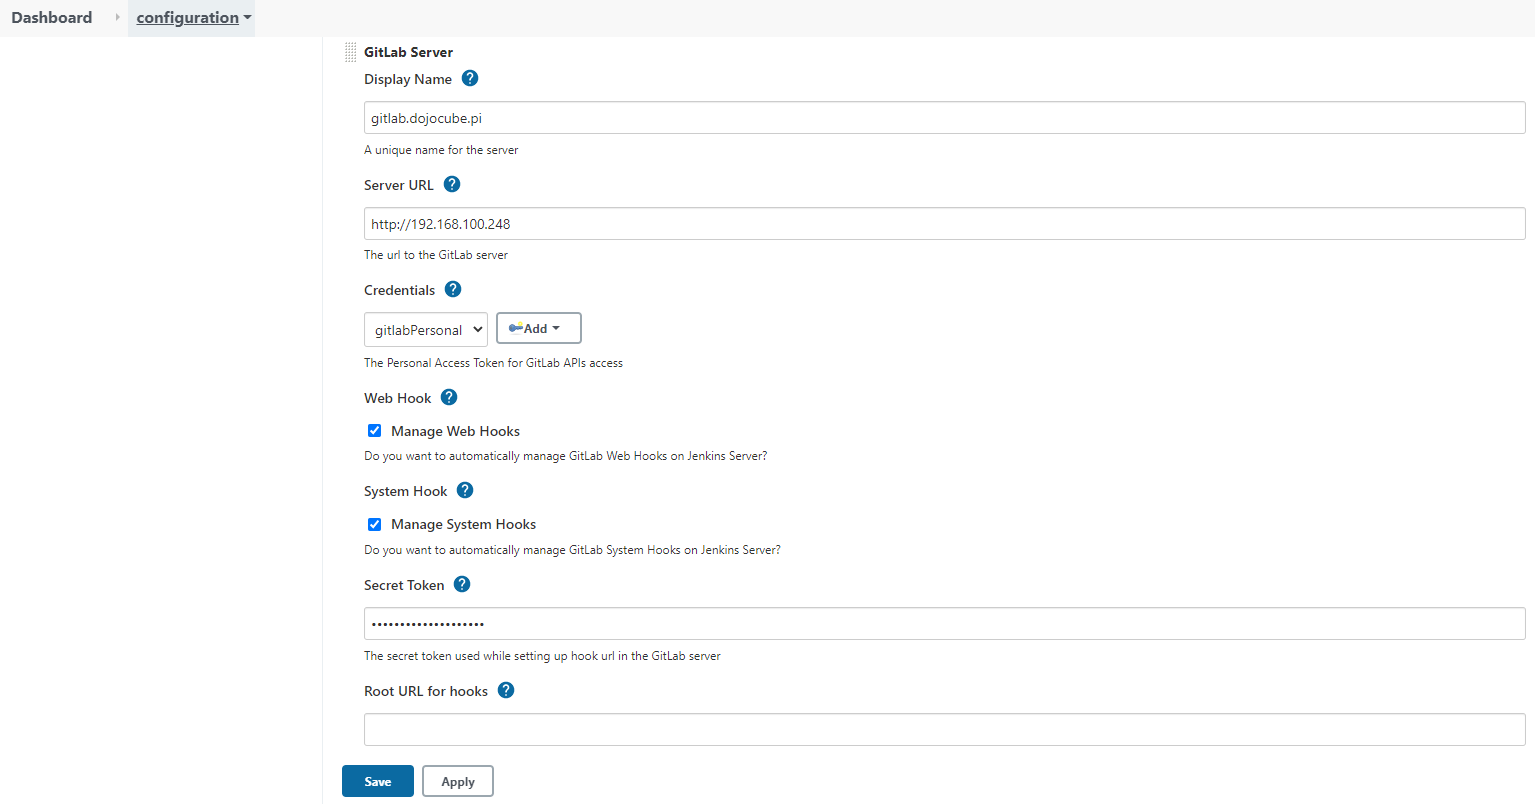
Third, at the GitLab Server section, enters the following:
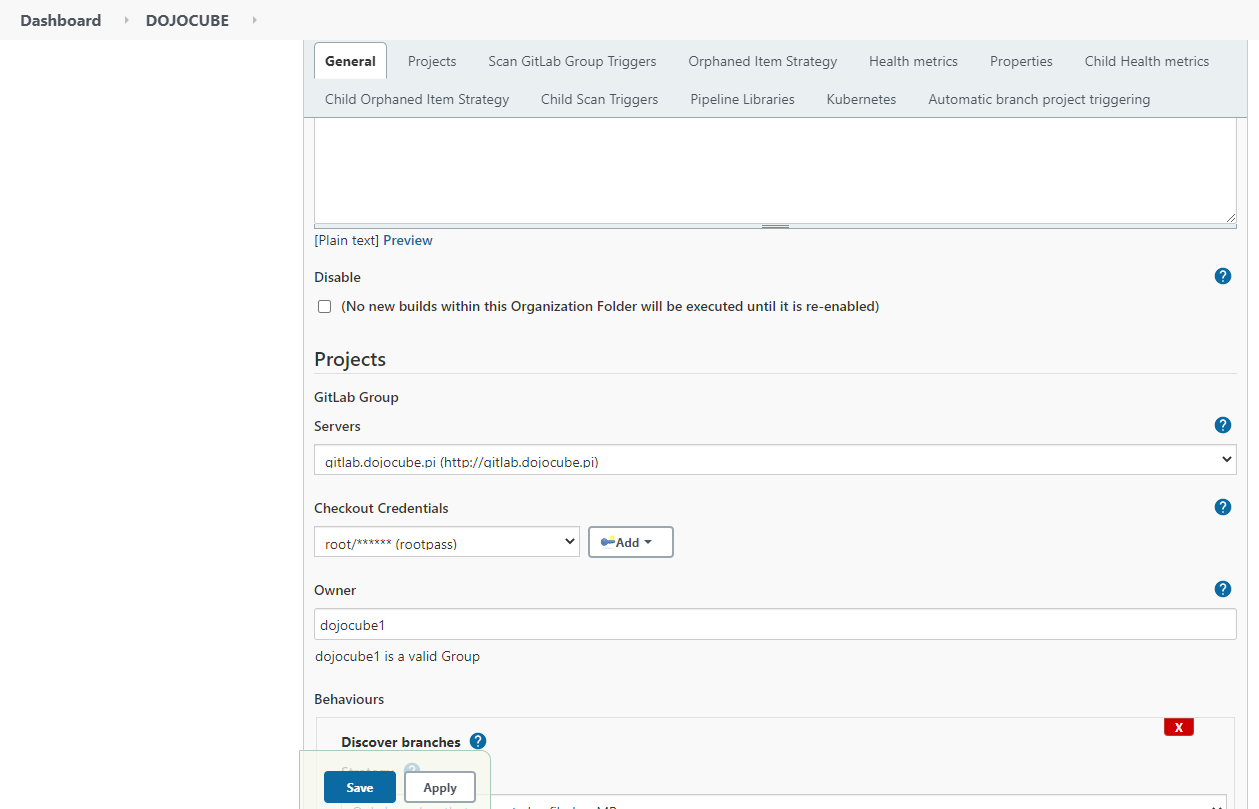
Fourth, create a new seehiong Project under GitLab Group:
That’s it! You have completde Building a CI/CD pipeline on a Raspberry PI Cluster (Part 4), with SonarQube integrating into Jenkins and Gitlab!