Building a CI/CD pipeline on a Raspberry PI Cluster (Part 3), with JFrog Container Registry supporting our Docker containers and Helm Chart repositories
Building a CI/CD pipeline on a Raspberry PI Cluster (Part III)
(Total Setup Time: 15 mins)
Continue from part 2 of this guide, I will add JFrog Container Registry to my CI/CD pipeline.
Installing Container Registry
(5 mins)
First, downloads the JFrog Container Registry.
mkdir ~/artifactory/jcr
cd ~/artifactory/jcr

curl https://bintray.com/jfrog/artifactory/download_file?file_path=jfrog-artifactory-jcr-6.23.13.zip -o jfrog-artifactory-jcr-6.23.13.zip
Second, prepares the Dockerfile for Raspberry PI:
# Copy and paste below into Dockerfile
vi Dockerfile
FROM balenalib/raspberrypi4-64-debian-openjdk:11-bullseye

EXPOSE 8081

RUN apt-get update \
   && apt-get install wget unzip -y

WORKDIR /opt

COPY jfrog-artifactory-jcr-6.23.13.zip /opt
RUN mkdir jfrog \
    && mv jfrog-artifactory-jcr-6.23.13.zip jfrog

WORKDIR /opt/jfrog
RUN export JFROG_HOME=/opt/jfrog

RUN unzip jfrog-artifactory-jcr-6.23.13.zip \
    && mv artifactory-jcr-6.23.13 artifactory \
    && cd artifactory/bin

WORKDIR /opt/jfrog/artifactory/bin
CMD ./artifactoryctl
Third, builds and tags the docker image:
docker build -t seehiong/artifactory-jcr:1.0 .
Fourth, prepare the JFrog container registry deployment:
# Copy and paste below into jfrog-jcr-deployment.yaml
vi jfrog-jcr-deployment.yaml
apiVersion: v1
kind: Service
metadata:
  name: jfrog-jcr
  namespace: seehiong
  annotations:
    metallb.universe.tf/allow-shared-ip: home-net
spec:
  ports:
  - port: 8081
    targetPort: 8081
    nodePort: 30181
    name: jfrog-jcr-http
  selector:
    app: jfrog-jcr
  type: LoadBalancer
  loadBalancerIP: 192.168.100.249
---
apiVersion: apps/v1
kind: Deployment
metadata:
  name: jfrog-jcr
  namespace: seehiong
spec:
  selector:
    matchLabels:
      app: jfrog-jcr
  template:
    metadata:
      labels:
        app: jfrog-jcr
    spec:
      containers:
      - name: jfrog-jcr
        image: seehiong/artifactory-jcr:1.0
        imagePullPolicy: Never
        ports:
        - containerPort: 8081
          name: jfrog-jcr-http
        volumeMounts:
        - name: jfrog-jcr-data-persistent-storage
          mountPath: /opt/jfrog/artifactory/data
        - name: jfrog-jcr-etc-persistent-storage
          mountPath: /opt/jfrog/artifactory/etc
      initContainers:
      - name: init-volume
        image: arm64v8/busybox
        command: ['sh', '-c', "sleep 30"]
      nodeSelector:
        role: master
      volumes:
      - name: jfrog-jcr-data-persistent-storage
        persistentVolumeClaim:
          claimName: jfrog-jcr-data-pvc
      - name: jfrog-jcr-etc-persistent-storage
        persistentVolumeClaim:
          claimName: jfrog-jcr-etc-pvc
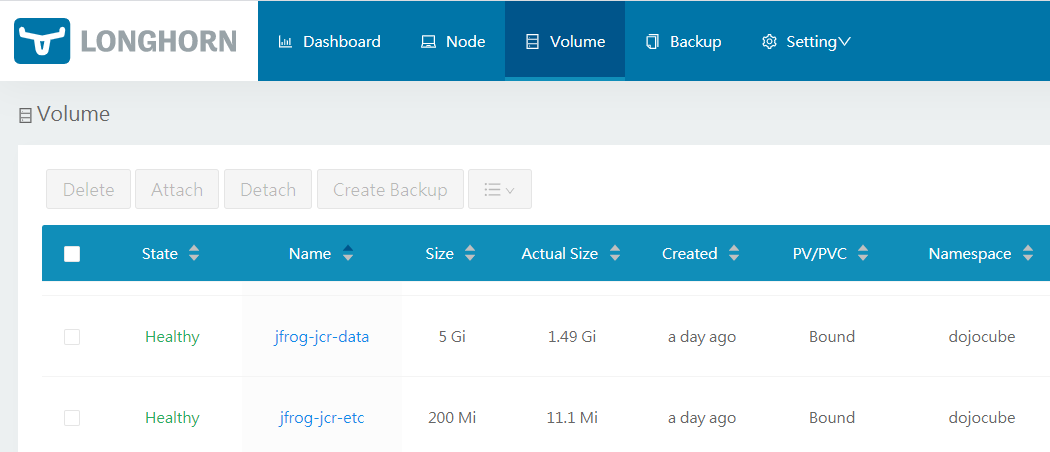
Lastly, adds the required Longhorn volume, jfrog-jcr-data-pvc and jfrog-jcr-etc-pvc, similar to this:
Configuring JFrog Container Registry
(8 mins)
It takes a while for Container Registry to setup. You may peek at the progress by:
kubectl get po -n seehiong

# Get logs (remember to replace with your pod name)
kubectl logs -n seehiong jfrog-jcr-6c5b868bcf-lqppt -f

# Get inside the container
kubectl exec -n seehiong -it jfrog-jcr-6c5b868bcf-lqppt -- bash
First, logs into Container Registry using the default admin user and password.
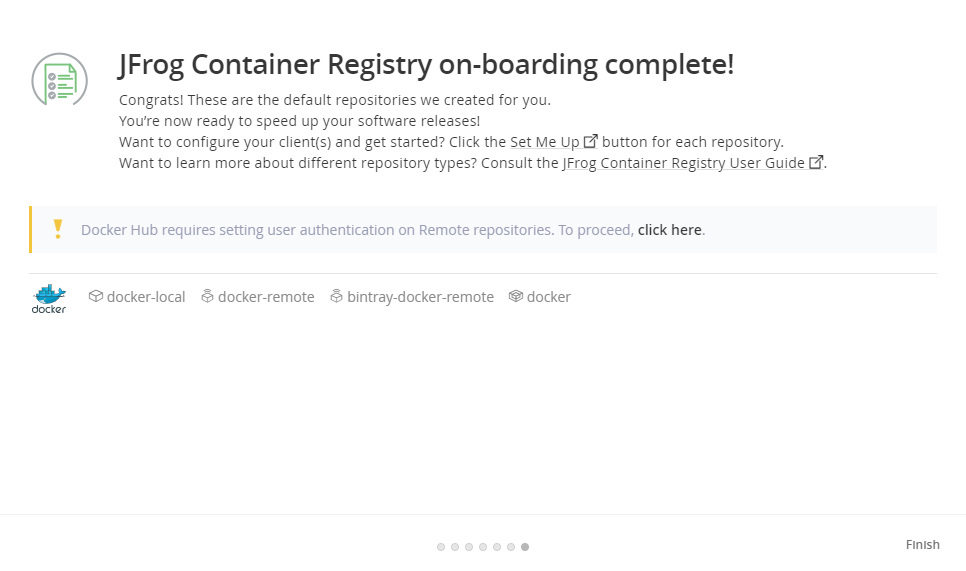
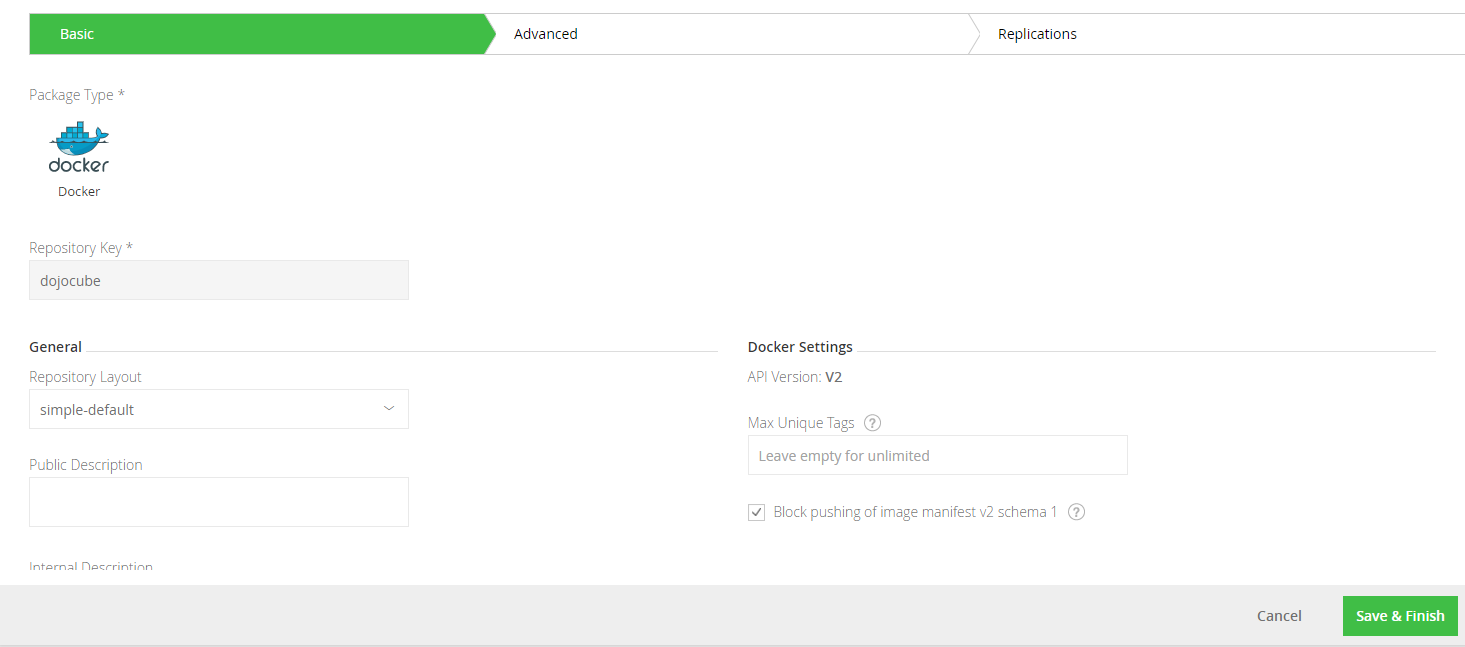
Second, clicks Admin > Repository > Local menu item. adds New Local Repositories.
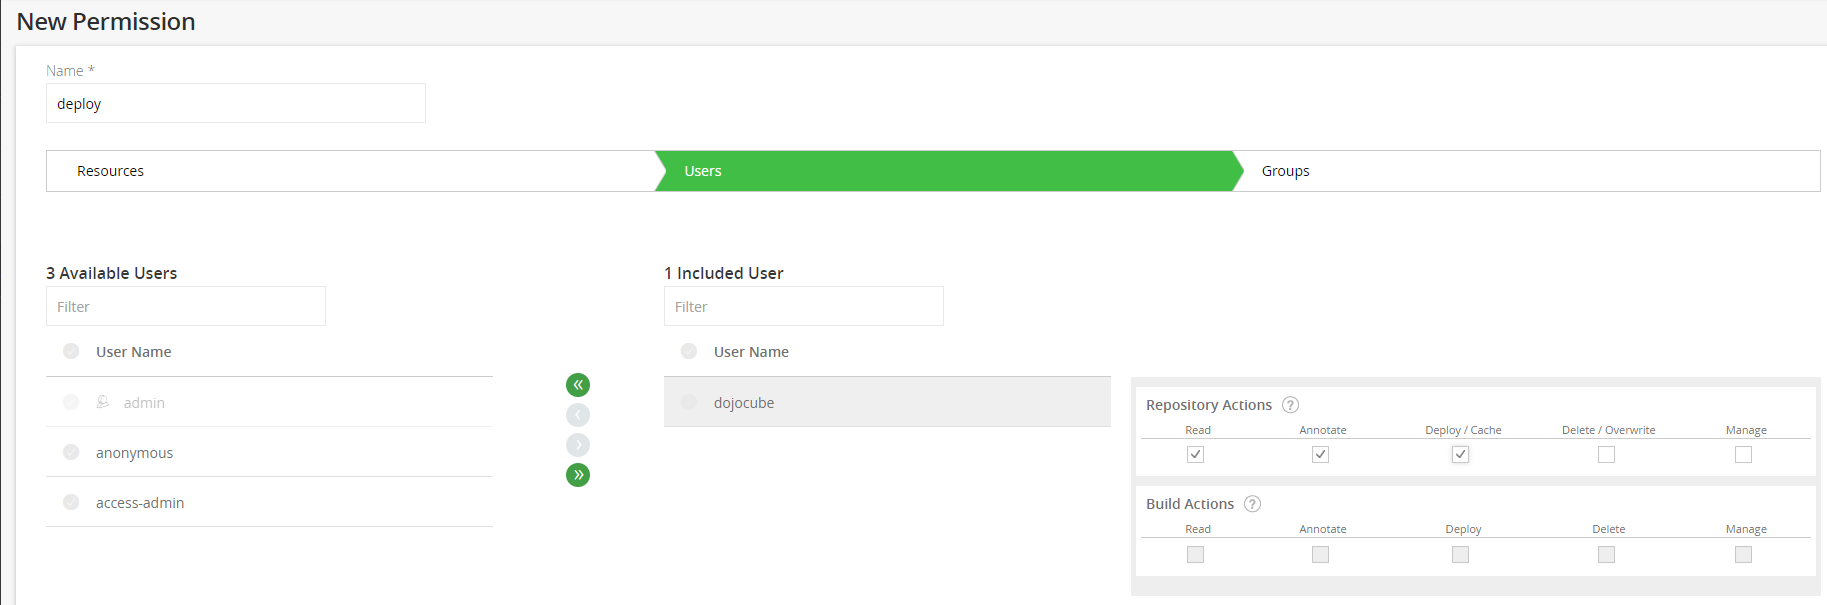
Third, creates your own account and from Admin > Security > Permission menu. Adds a permission:

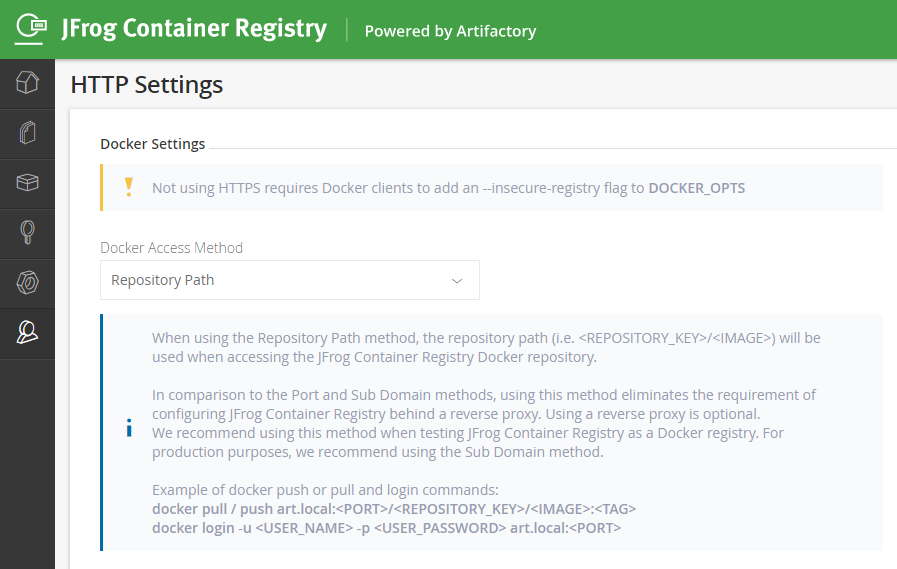
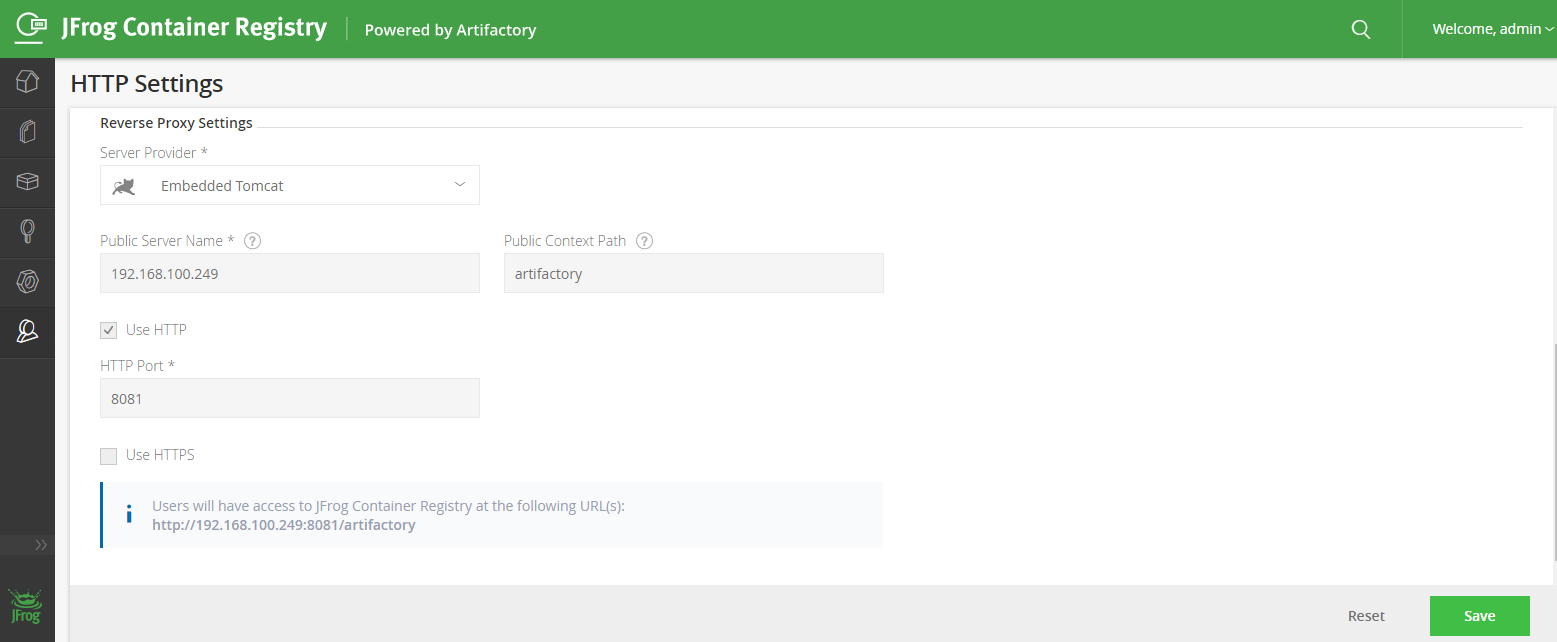
Fourth, clicks Admin > Configuration > HTTP Settings menu item. Selects Repository Path and uses Embedded Tomcat. With this setting, you will not require reverse proxy server.
JFrog Container Registry Setup
(2 mins)
First, from testing insecure registry, adds insecure-registries setting in your /etc/docker/daemon.json:
{
  "exec-opts": ["native.cgroupdriver=systemd"],
  "log-driver": "json-file",
  "log-opts": {
    "max-size": "100m"
  },
  "storage-driver": "overlay2",
  "insecure-registries": ["art.local:8081"]
}
Second, adds art.local into your /etc/hosts, similar to this entry:
192.168.100.249 art.local
Third, logs into JFrog Container Registry with this command:
docker login -u seehiong art.local:8081

# Tags and pushs artifactory-jcr image into JFrog Container Registry
docker tag seehiong/artifactory-jcr:1.0 art.local:8081/seehiong/artifactory-jcr:latest
docker push art.local:8081/seehiong/artifactory-jcr:latest
Fourth, referencing pull an image from a private registry, creates your own registry secrets.
kubectl create secret generic regcred --from-file=.dockerconfigjson=/root/.docker/config.json --type=kubernetes.io/dockerconfigjson

# Generates the output yaml
kubectl get secret regcred --output=yaml
# Saves the output as registry-secrets.yaml and add namespace accordingly
apiVersion: v1
data:
  .dockerconfigjson: ...
kind: Secret
metadata:
  name: regcred
  namespace: seehiong
type: kubernetes.io/dockerconfigjson
# Applies the registry secrets with namespace defined
kubectl delete secret regcred
kubectl apply -f registry-secrets.yaml
Fifth, updates yaml file accordingly and pushes the image to container registry:
# Updates jfrog-jcr-deployment.yaml
...
    spec:
      containers:
      - name: jfrog-jcr
        image: art.local:8081/seehiong/artifactory-jcr:latest
        imagePullPolicy: IfNotPresent
        ...
      imagePullSecrets:
      - name: regcred
...
# Tags and pushes image
docker tag seehiong/artifactory-jcr:1.0 art.local:8081/seehiong/artifactory-jcr:latest
docker push art.local:8081/seehiong/artifactory-jcr:latest

# Removes unneeded local docker images
docker image ls
docker image rm <IMAGE-ID>
Finally, you complete Building a CI/CD pipeline on a Raspberry PI Cluster (Part 3), with JFrog Container Registry supporting all your Docker images!
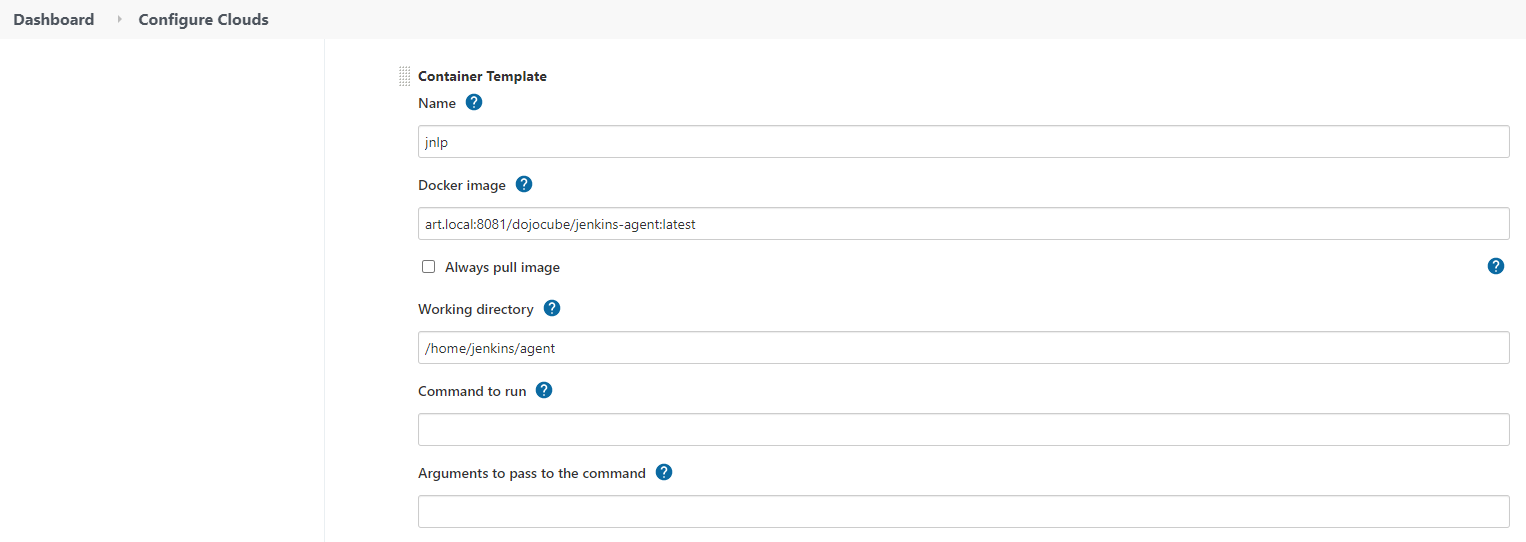
Configuring Jenkins (Optional)
(1 min)
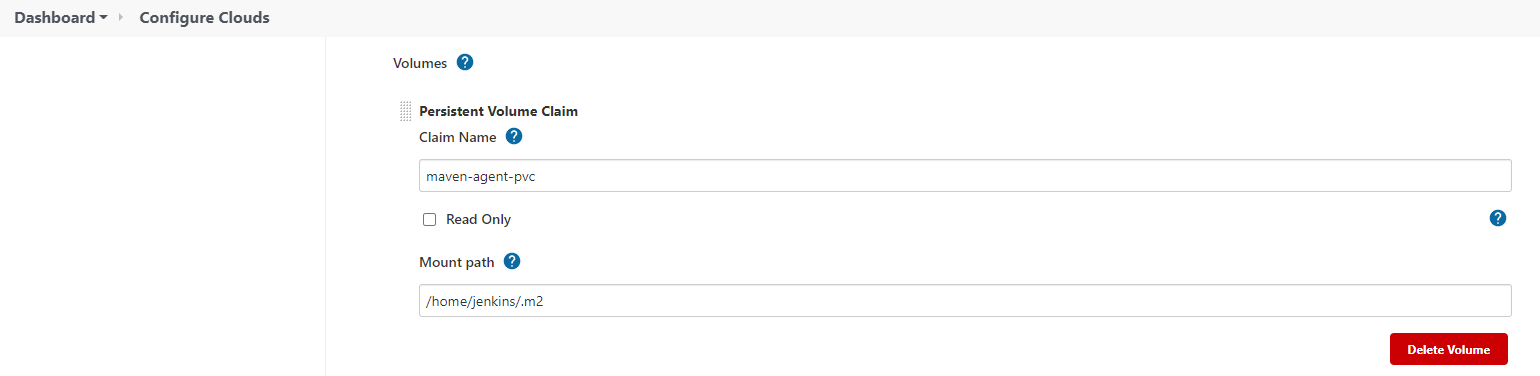
You need to set Jenkins up if you wish to push maven-agent (setup in part 1).
From Manage Jenkins > Manage Nodes and Clouds > Configure Clouds, clicks on Pod Template and on Pod Template details… button. Updates Docker Image and Image Pull Secrets as follows: