NAS Server
Your own personal NAS server using OpenMediaVault on Raspberry Pi
OpenMediaVault on Pi
(Total Setup Time: 90 mins)
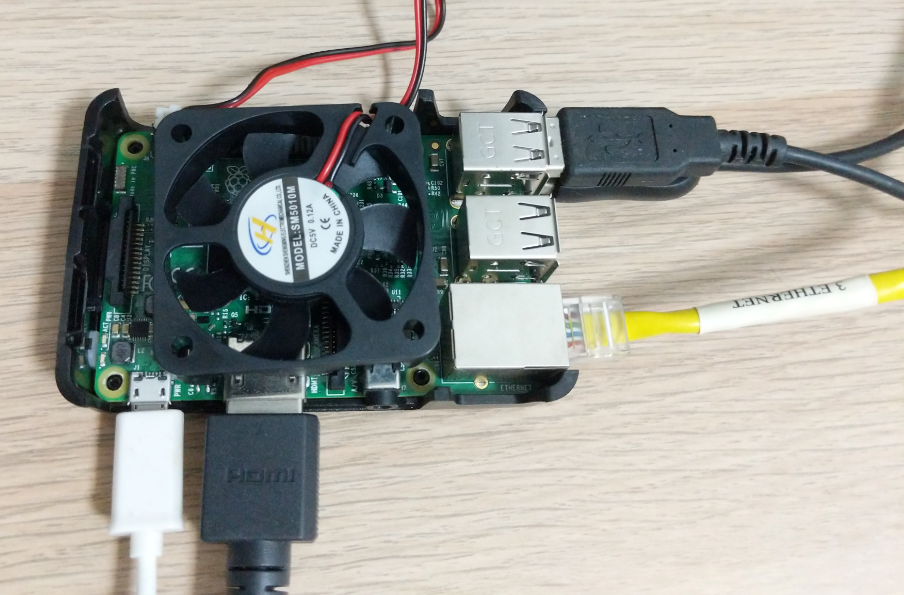
With my old Raspberry Pi 3 Mobel B V1.2 laying around, I plan to re-purpose it into a NAS server. OpenMediaVault (OMV) is a network attached storage (NAS) solution based on Debian Linux. So, let’s start trying openmediavault on Raspberry Pi out.
This tutorial lists my steps for setting OMV, referencing from Installing OMV5 On a Raspberry Pi.
Pi OS Preparation
(15 mins)
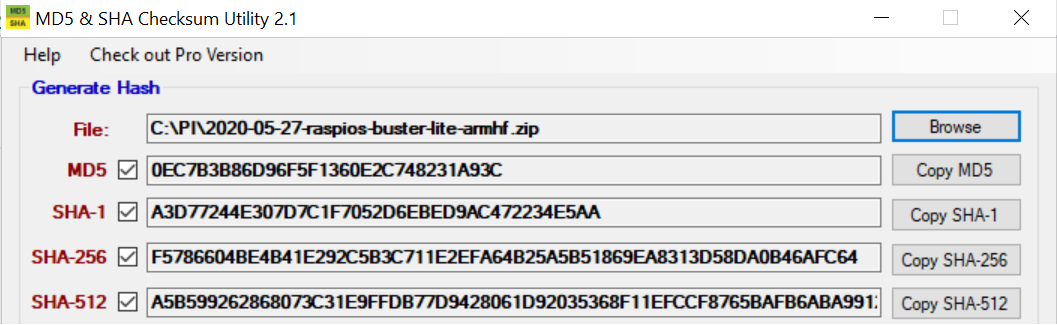
For the OS, I choose Raspberry Pi OS (32-bit) Lite. Next, after downloading, you may check the file’s integrity using MD5 & SHA CheckSum Utility.
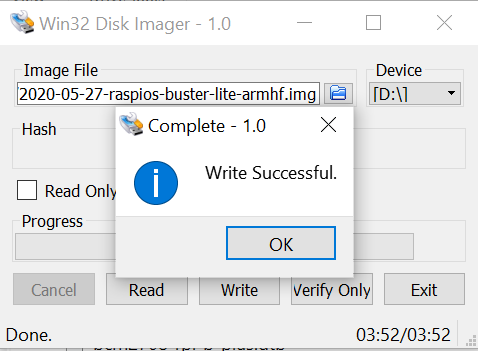
To write the raspberry Pi OS (previously called Raspbian) image or other operating system onto my 16GB SD card, I use Win32DiskImager. Alternatively you may use the official Raspberry Pi Imager.
Powering Up
(10 mins)
After powering the Pi up, you can patch the OS to the latest by running the commands:
sudo apt update
sudo apt upgrade
You may change the password by:
sudo passwd
Next, configure the keyboard and perform a reboot:
sudo dpkg-reconfigure keyboard-configuration
sudo reboot
Installing openmediavault
(45 mins)
Now, the Pi is ready for openmediavault installation. With thanks to the OMV developers, I install OMV by using the commands:
wget -O - https://github.com/OpenMediaVault-Plugin-Developers/installScript/raw/master/install | sudo bash
The above scripts will install openmediavault, omv-extras, and flashmemory and will take quite a while. A reboot is performed once installation is completed.
Configuring openmediavault
(20 mins)
To access the openmediavault on Raspberry Pi, you can either use the Pi’s IP address or by its default hostname (http://raspberrypi)

From the left menu, navigate to System > General Settings > Web Administrator Password and change the default password.
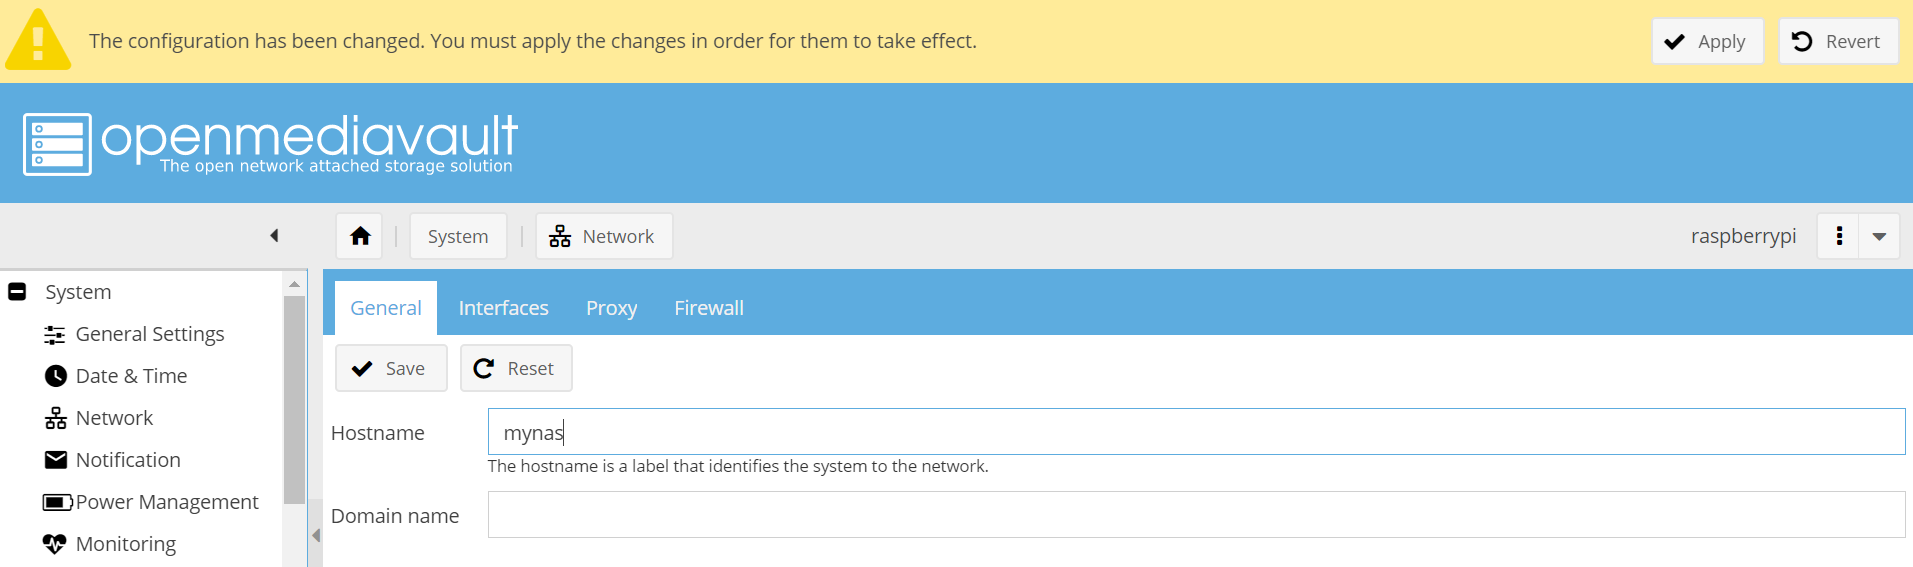
Next, I change the hostname by navigating to System > Network > General and enters the new hostname. After clicking on the Save button, wait for the dialog to appear and apply changes.
Alternatively, you can change the hostname by issuing the commands and replace the default raspberrypi to the new hostname:
sudo nano /etc/hostname
sudo nano /etc/hosts
sudo reboot
Next, I attached my 600GB hard disk to the Pi. With the official Pi 2.5A power adapter, I tried attaching a higher capacity hard disk but the Pi was not able to handle the load and OMV cannot detect the HDD at all.
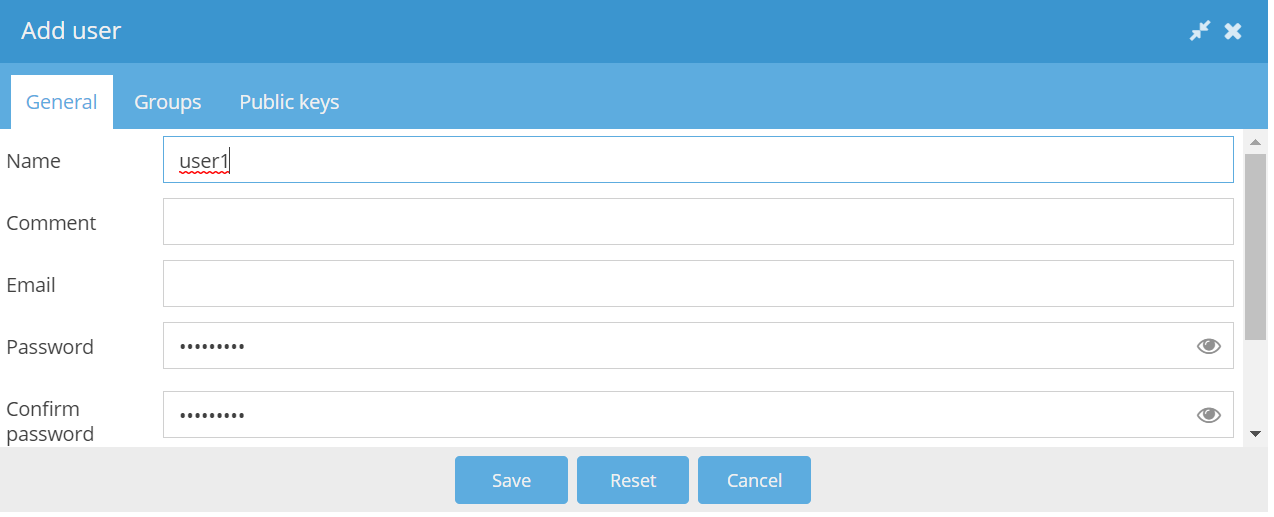
Adding a User
To add a user, navigate to Access Rights Management > User and click on Add button. Enters the user information, click on Save button and apply the changes:
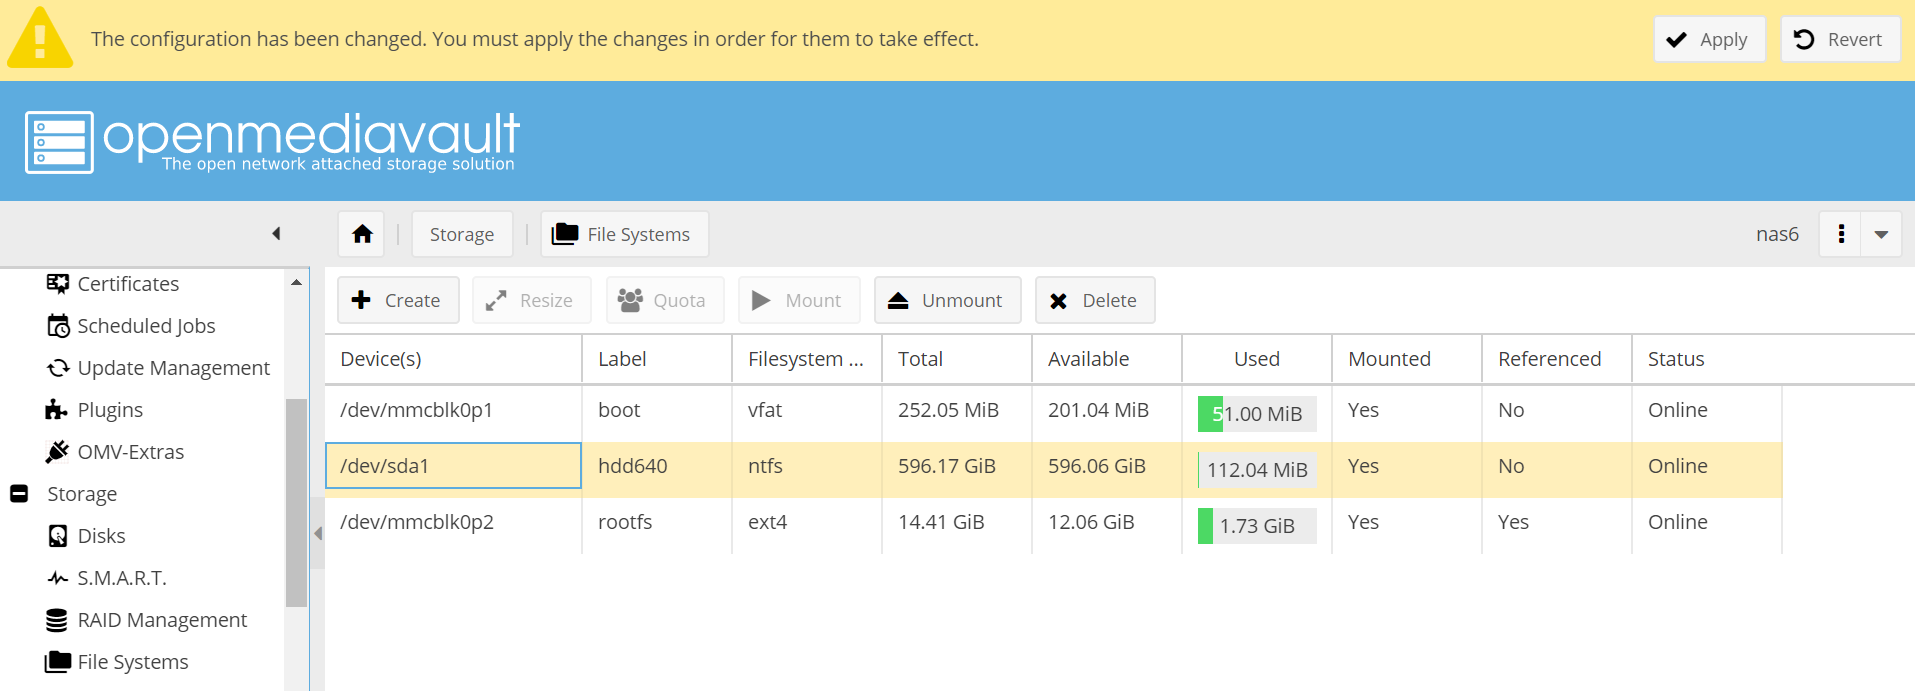
Adding a File System
For adding a file system, navigate to Storage > File systems, select on the external HDD (/dev/sda1). Next, click on the mount button and apply the changes:
Adding a Shared Folder
To add a shared folder, navigate to Access Rights Management > Shared Folders and click on the Add button. After entering the shared folder name and selected the HDD, click on Save button and apply the changes.

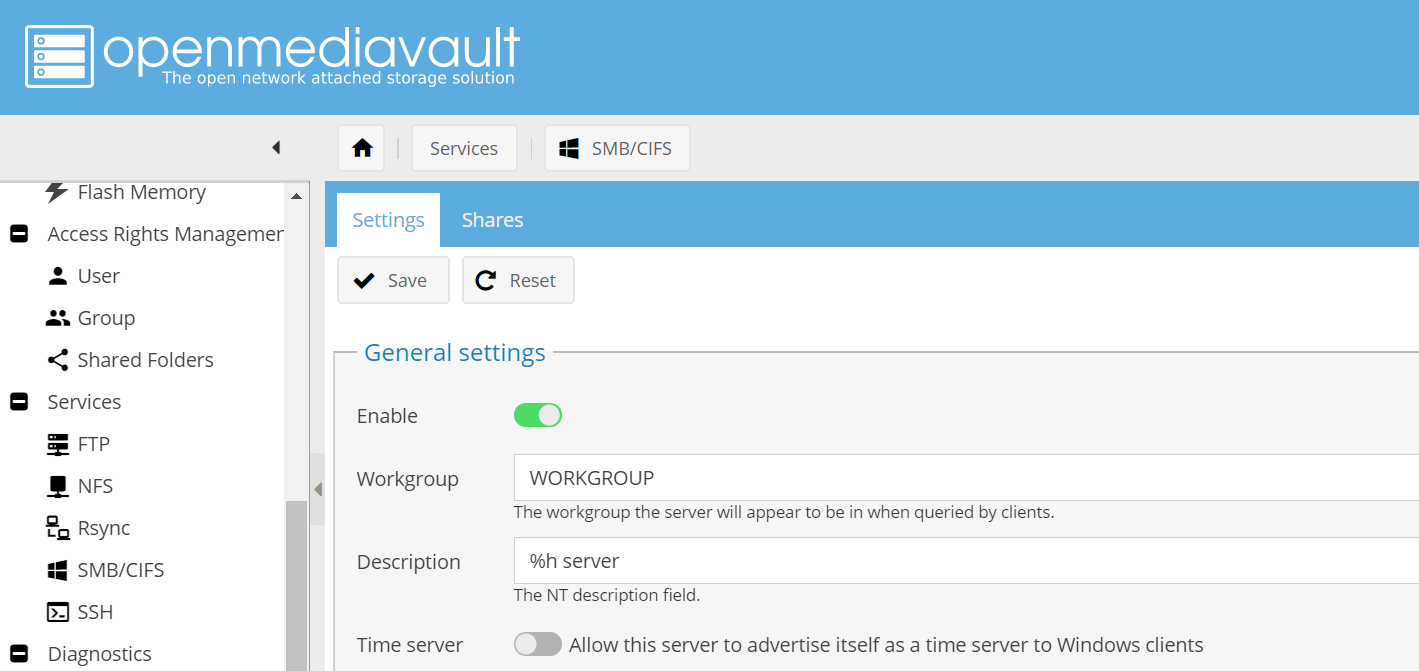
Enabling SMB/CIFS Service
Next, to enable the SMB/CIFS service, navigate to Services > SMB/CIFS > Settings, toggle ON Enable radio button, click on the Save button and apply the changes.
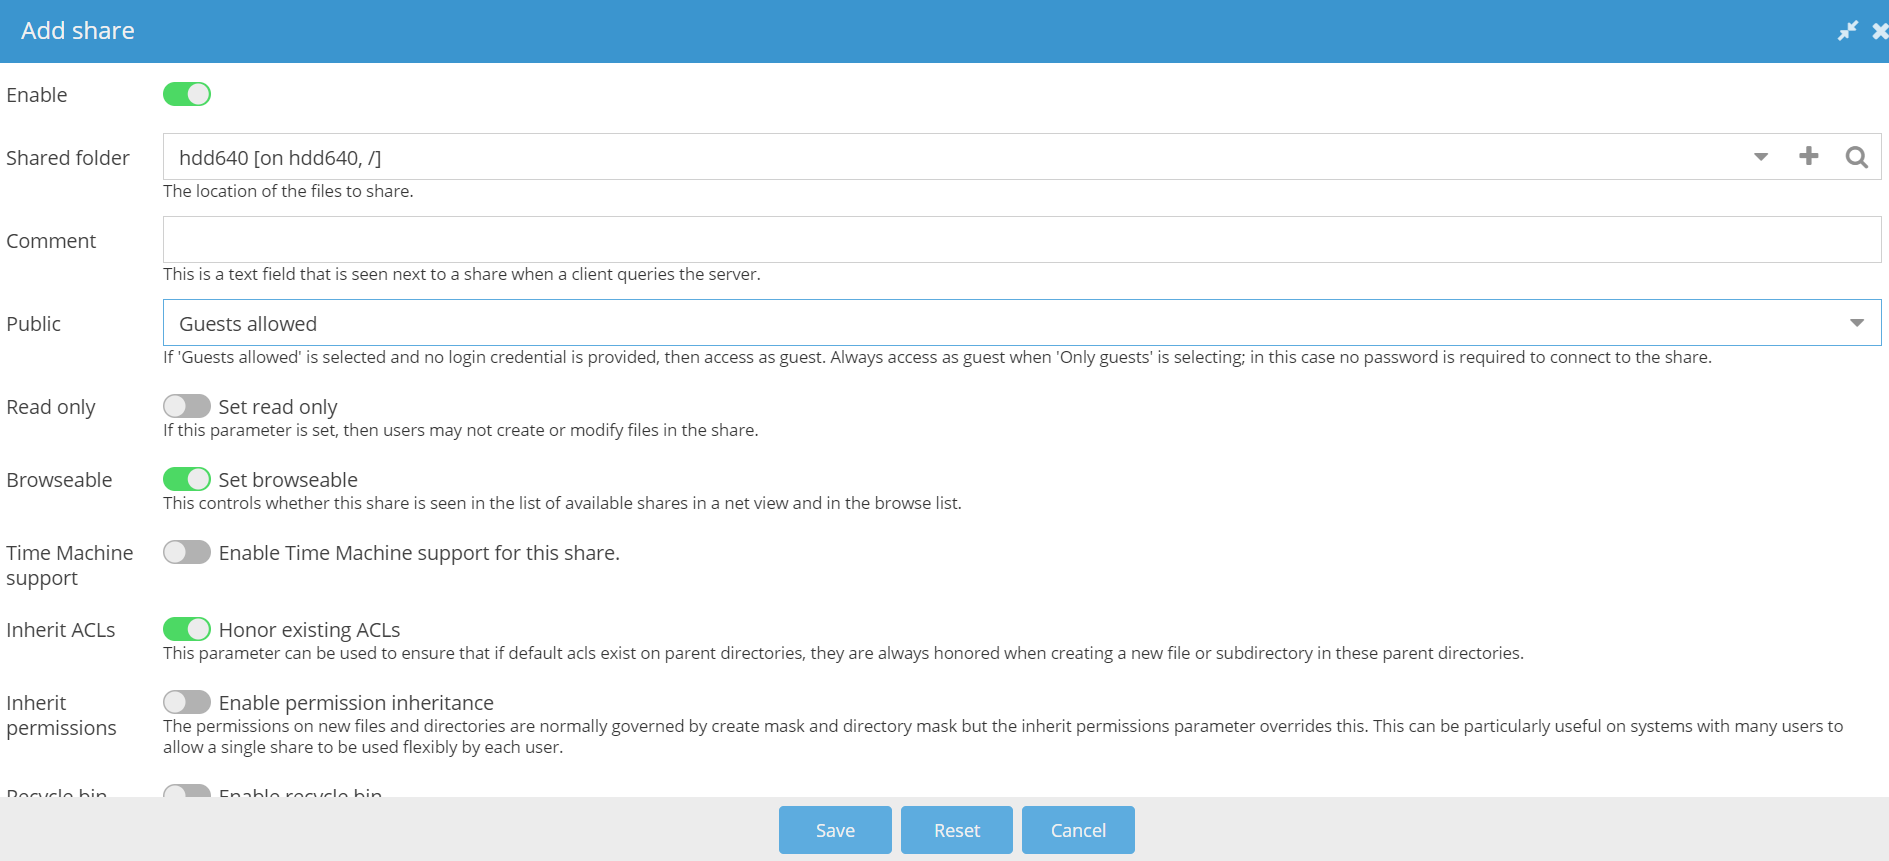
Adding File Share
Finally, to add a file share, navigate to Services > SMB/CIFS > Shares, and click on the Add button. Select the shared folder, choose Guest allowed, click on Save button and apply the changes.
And that’s it! By following through this long post till here, you have finally created and own your personal openmediavault on Raspberry Pi!
Troubleshooting OpenMediaVault
Failed to start Wait for Network to be Configured
It shows enx{mac address} when running this command:
ifconfig -a
To solve this, add the following to end of the line at /boot/cmdline.txt:
net.ifnames=0

To fix the networking issue, I go for the following changes to /etc/network/interfaces
# source-directory /etc/network/interfaces.d
auto lo
iface lo inet loopback
auto eth0
iface eth0 inet dhcp
After the above is done and Pi reboot is completed, this following command will show my new hostname:
hostname --all-fqdns