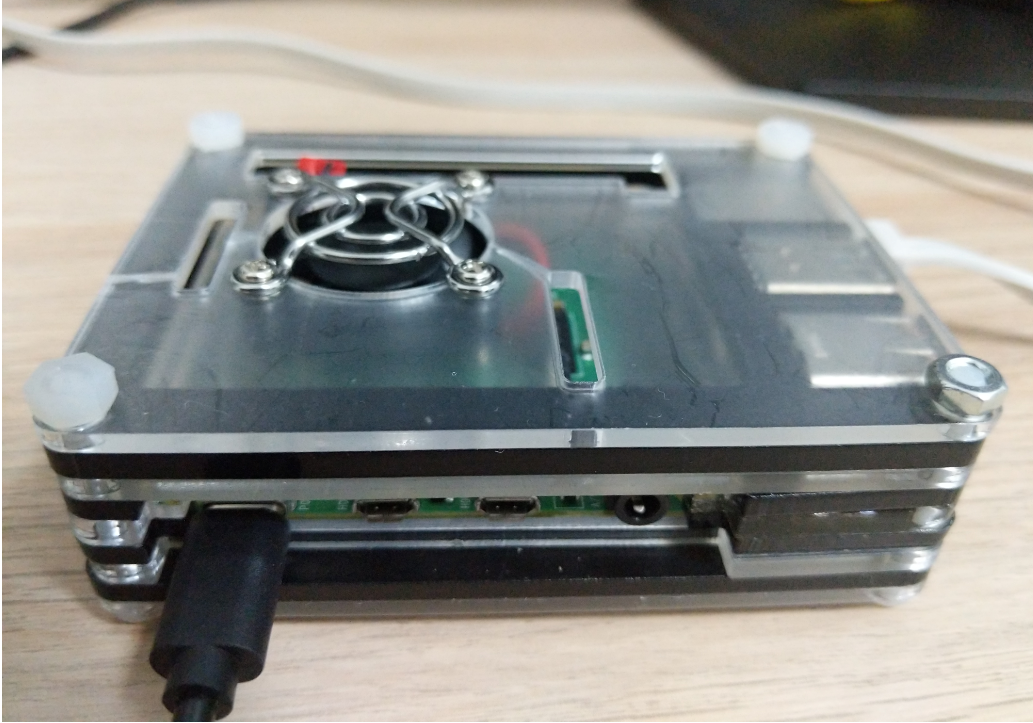
Making your Raspberry Pi works for your MicroK8s cluster
MicroK8s Cluster on Raspberry Pi 4 Model B 8GB (Part I)
(Total Setup Time: 40 mins)
I am very excited to receive my Raspberry Pi 4 today. Since I do not have the microHDMI cable, I decided to go for a headless install. With this new Pi 8GB, I plan to check out on the MicroK8s, a lightweight upstream K8s. This tutorial shows my steps for setting up the MicroK8s Cluster on Raspberry Pi 4 Model B 8GB.
Raspberry Pi OS Preparation
(15 mins)
Due to the 64-bit requirements for MicroK8s, I am using Ubuntu Server (64-bit) as my OS. Since this is going to be a headless install, after burning the image onto my 32GB SD card, I created an empty file named ssh at d:/boot (you may notice that I am working on a Windows PC).
Powering Up
(10 mins)
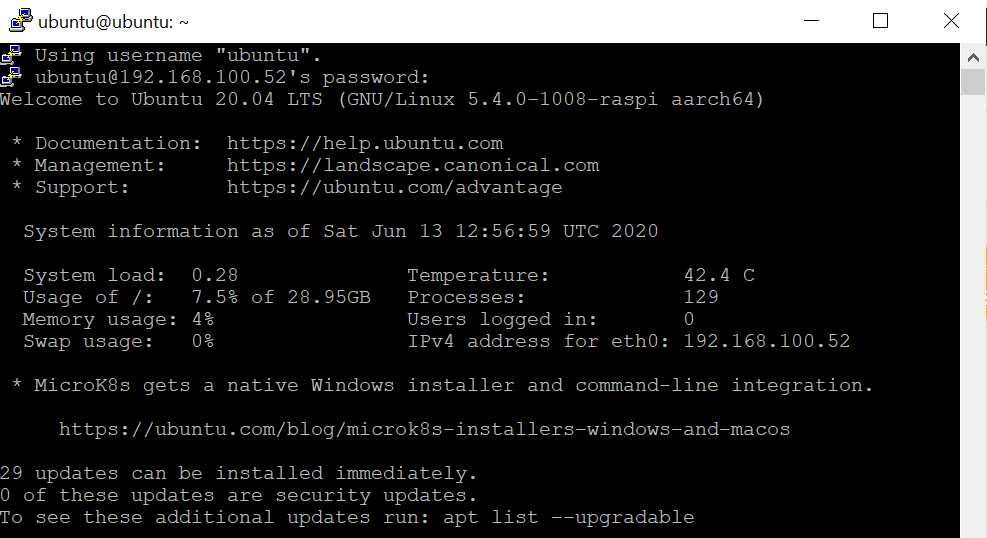
After powering the Raspberry Pi up with the USB-C power adapter, it can be accessed via PuTTy:

The default username is ubuntu and password is ubuntu, be sure to change password as always. Update the OS to the latest by:
sudo apt update
sudo apt upgrade
Change its hostname by running:
sudo nano /etc/hostname
sudo nano /etc/hosts
Enable memory cgroup, by opening the file:
sudo nano /boot/firmware/cmdline.txt
Next, add the following at the end of the line:
cgroup_enable=memory cgroup_memory=1
Reboot after the above modification and check that memory group is enabled (“1”):
grep mem /proc/cgroups | awk '{ print $4 }'
Installing MicroK8s on Raspberry Pi
(10 mins)
After the reboot, install microK8s:
sudo snap install microk8s --classic
Add the ubuntu user to the microk8s group:
sudo usermod -a -G microk8s ubuntu
sudo chown -f -R ubuntu ~/.kube
Ensure that the ubuntu node is ready (without setting the cgroup memory, it will always report as not ready):
su - ubuntu
microk8s kubectl get nodes
Using MicroK8s
(5 mins)
For checking MicroK8s status and ensure that all services are up:
microk8s status --wait-ready
If you wish to turn on any extra services that you want (microk8s enable –help for more options), for example enabling dashboard, dns and registry:
microk8s enable dashboard dns registry
In order to access dashboard without a token, add –enable-skip-login option to the spec section (microk8s edit uses the vim editor):
sudo microk8s kubectl -n kube-system edit deploy kubernetes-dashboard -o yaml
spec:
  progressDeadlineSeconds: 600
  replicas: 1
  revisionHistoryLimit: 10
  selector:
    matchLabels:
      k8s-app: kubernetes-dashboard
  strategy:
    rollingUpdate:
      maxSurge: 25%
      maxUnavailable: 25%
    type: RollingUpdate
  template:
    metadata:
      creationTimestamp: null
      labels:
        k8s-app: kubernetes-dashboard
    spec:
      containers:
      - args:
        - --auto-generate-certificates
        - --namespace=kube-system
        - --enable-skip-login
Next, to serve the dashboard in the background (the skip button will appear only after a reboot or by running microk8s stop, followed by microk8s start):
microk8s kubectl proxy --accept-hosts=.\* --address=0.0.0.0 &
Finally, for viewing dashboard from my windows laptop (the grey text below denotes IP of your Pi). Hit the skip button to view the dashboard:
http://192.168.xx.xx:8001/api/v1/namespaces/kube-system/services/https:kubernetes-dashboard:/proxy

To add leaf nodes to the MicroK8s Cluster on Raspberry Pi 4 Model B 8GB, please check this out.
Troubleshooting
microk8s is not available on stable for this architecture (armhf)
Since MicroK8s is only available on 64-bit architecture (amd64, arm64, ppc64el), I have switched to using 64-bit OS instead.
Finding IP address of the Pi
Mac addresses are assigned by device manufacturers and you can find those from here. To find out the IP, you can use the following command:
# You may try e4-5f-01 too
arp -a | findstr dc-a6-32
Depending on your network configuration, if you are still unable to figure out the IP, you can use nmap to scan your network (replacing the IP accordingly):
nmap -sn 192.168.xx.0/24
Below is the sample nmap output:
MAC Address: DC:A6:32:xx:xx:xx (Raspberry Pi Trading)
Nmap scan report for 192.168.xx.xx