Integrating Jenkins and Gitea

By integrating Jenkins and Gitea with webhook, you have full control over your own self-hosted continuous integration (CI) environment
Integration between Jenkins and Gitea
(Total Setup Time: 8 mins)
Following up with my previous posts, I will integrate Jenkins and Gitea in this guide.
Installing Gitea Plugin on Jenkins
(2 mins)
Navigate to Manage Jenkins > Manage Plugins, click on the Available tab. Search for Gitea, check on it and start installation.

Next, restart Jenkins upon installation completes.
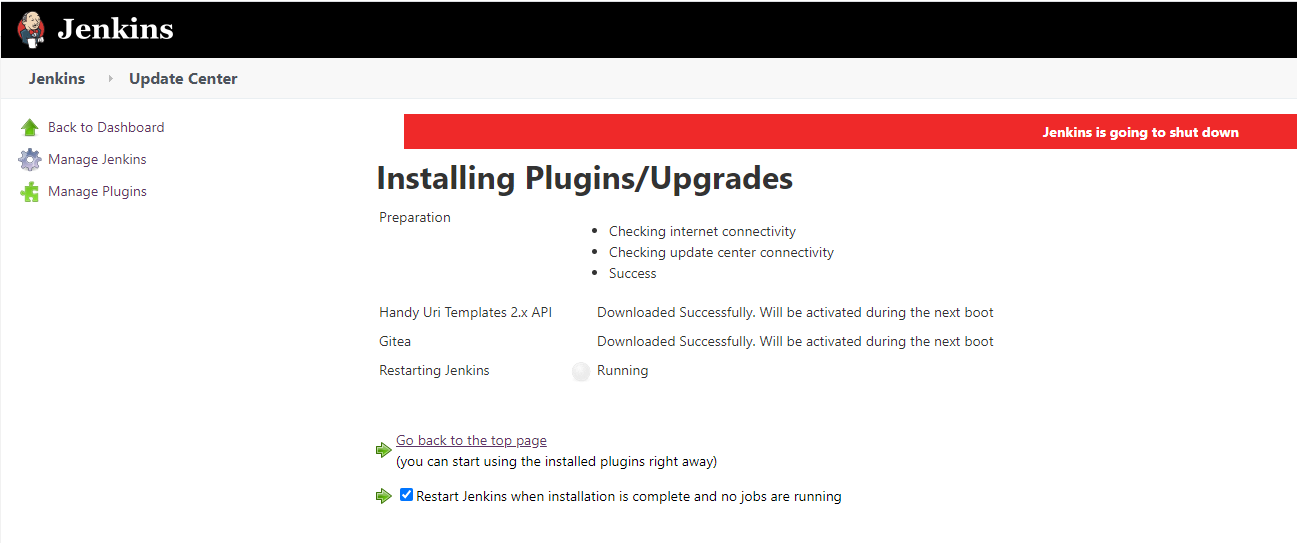
Configuring Gitea
(2 mins)
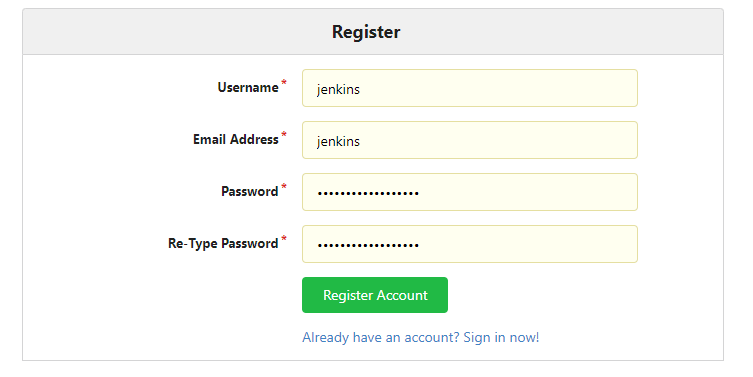
Firstly, following the initial setup, register a new Jenkins user.
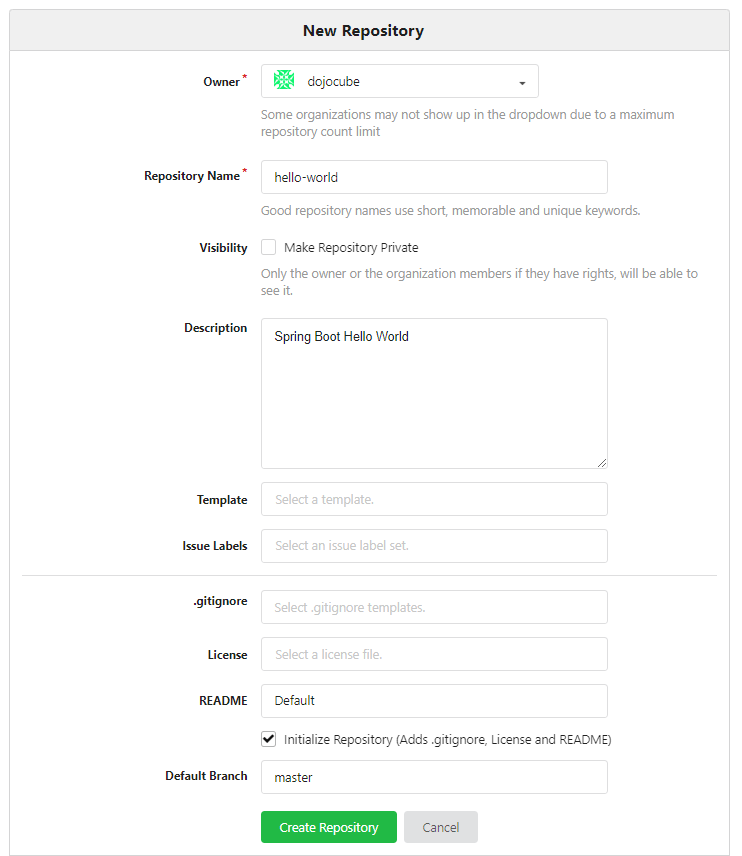
Secondly, create a new Hello-World repository under seehiong account.
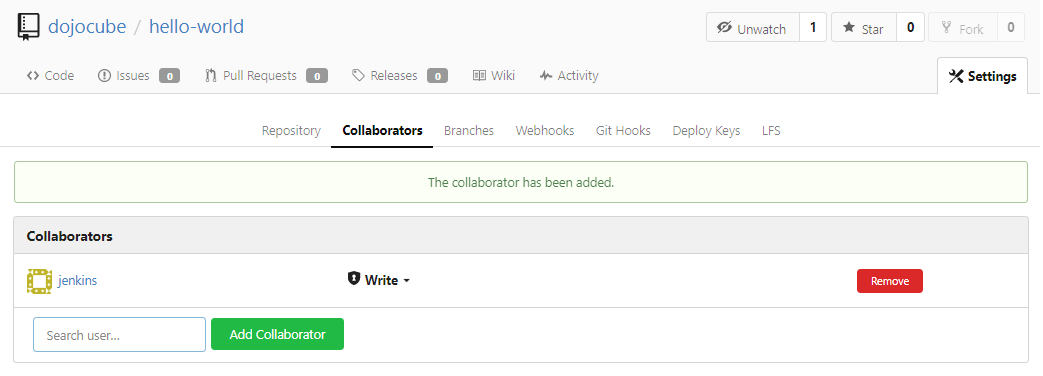
Thirdly, add the newly created Jenkins user as the Collaborator.
Configuring Jenkins
(2 mins)
First, navigate to Manage Jenkins > Configure System, enter the following at the Gitea Servers section:
Name: Gitea
Server URL: http://192.168.100.51:30080/

Second, select on the Gitea Organization, and enter the item name as seehiong:
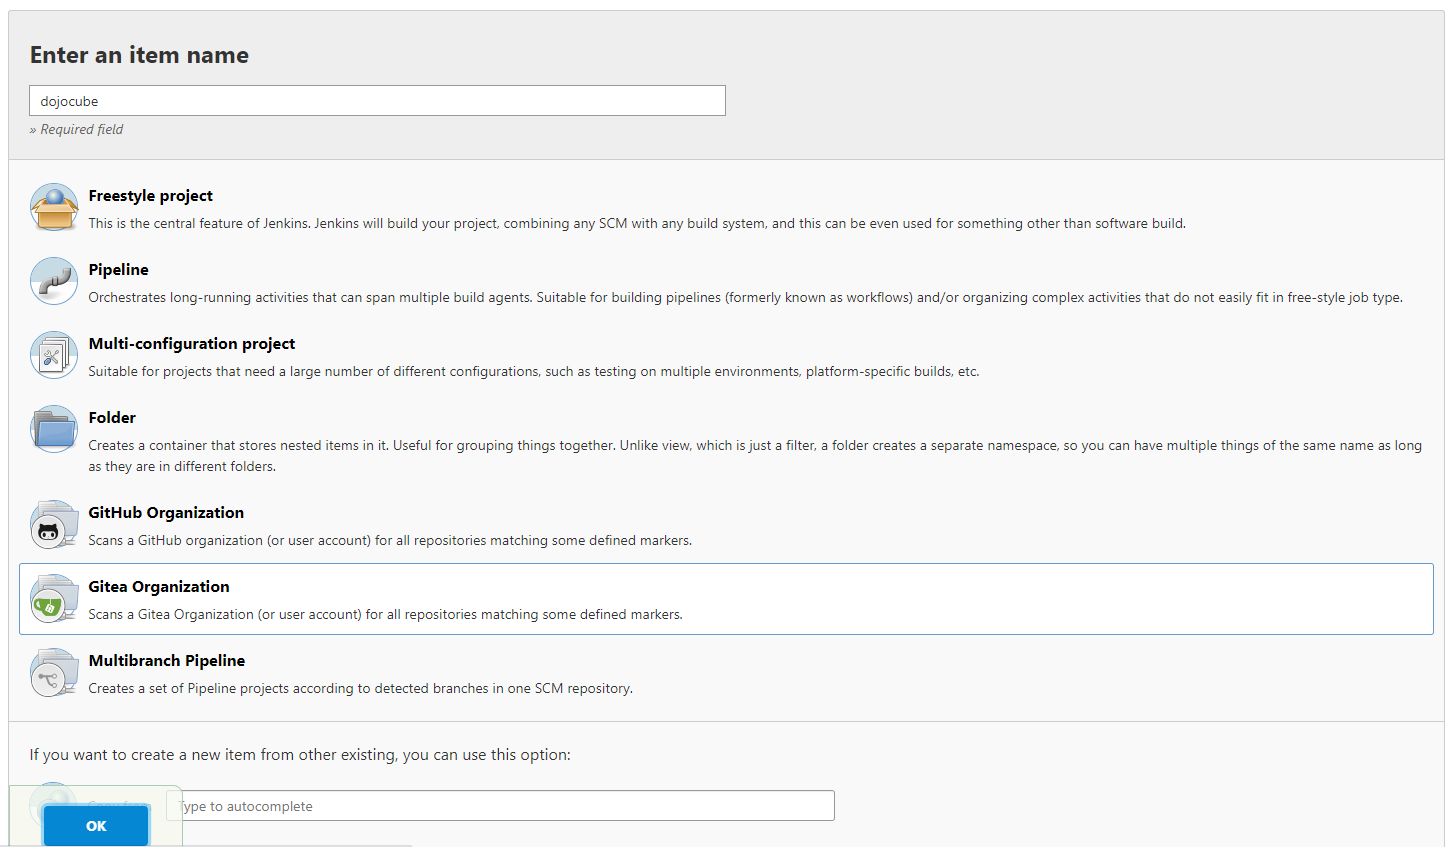
Third, select on the Gitea server and add seehiong (Folder Credentials Provider):

Last, enter owner as seehiong and save configuration:
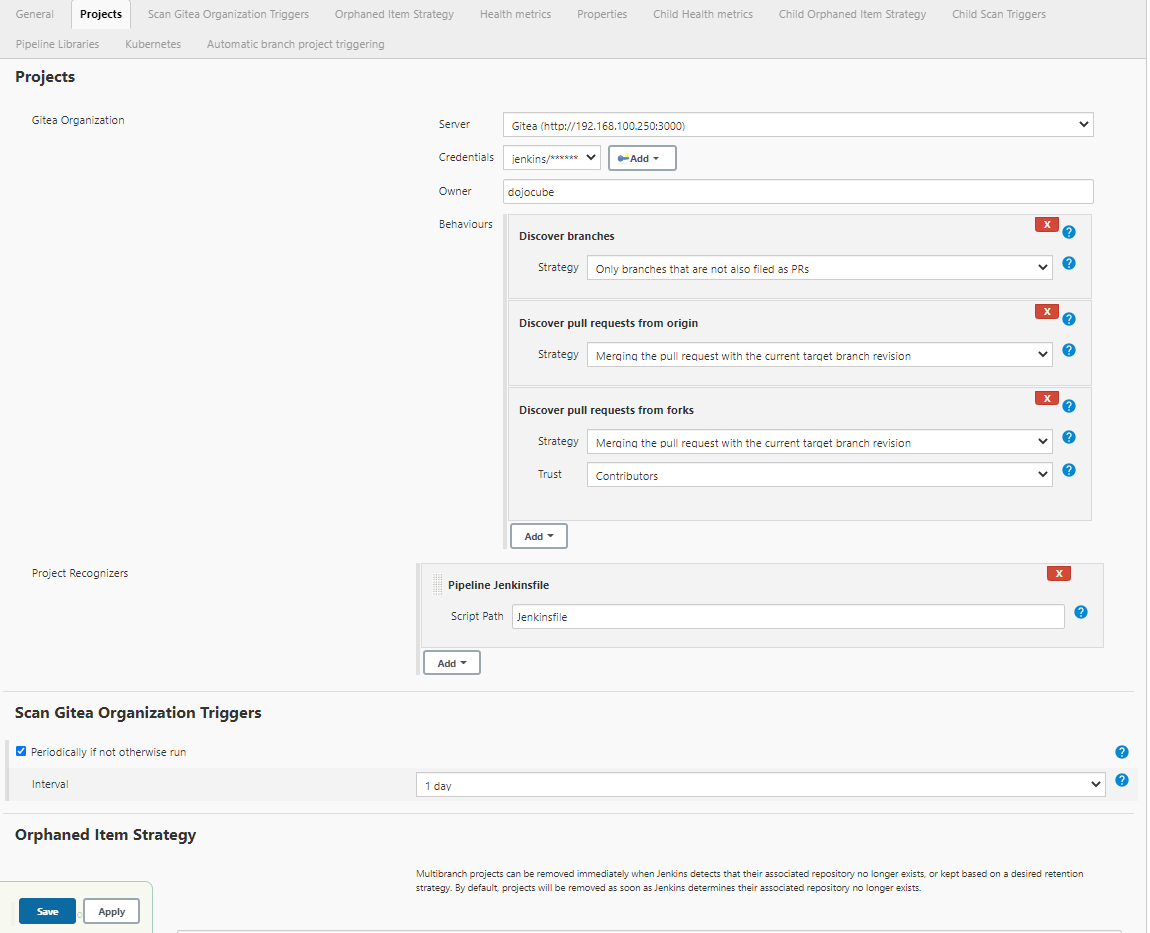
Jenkins will start the scan and this is the sample result:
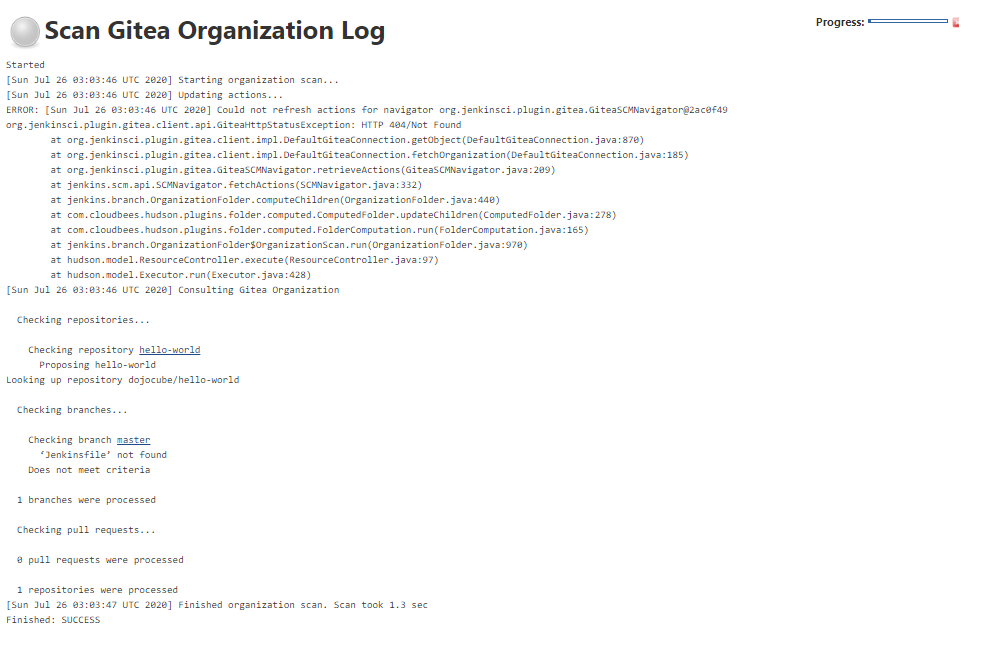
Once the Jenkinsfile is added to the repository, my repo appears under the status selection:

Configuring and Testing Webhook in Gitea (Optional)
(2 mins)
In this section, I will add Webhook to Jenkins so that it will automatically trigger a build each time we commits to the repo.
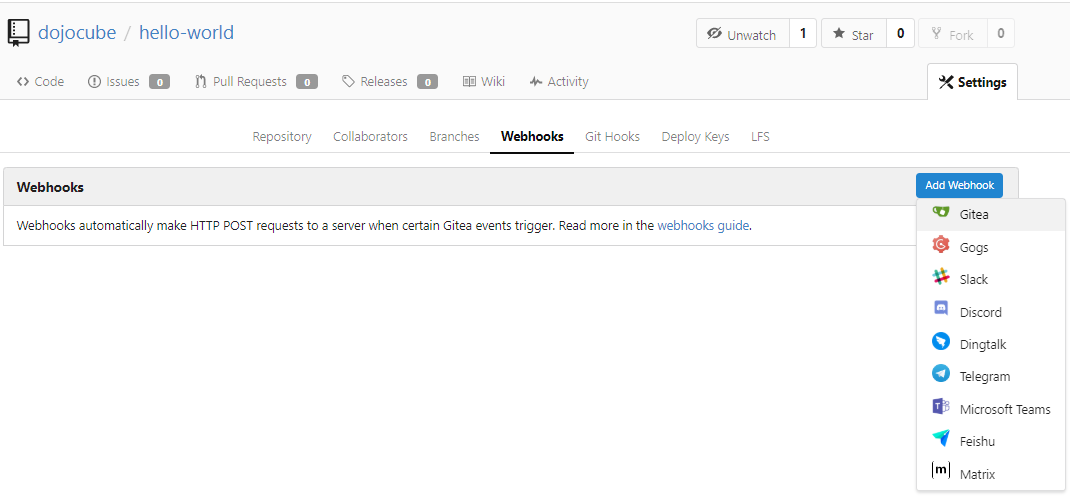
For my setup, the target URL is set as follows:
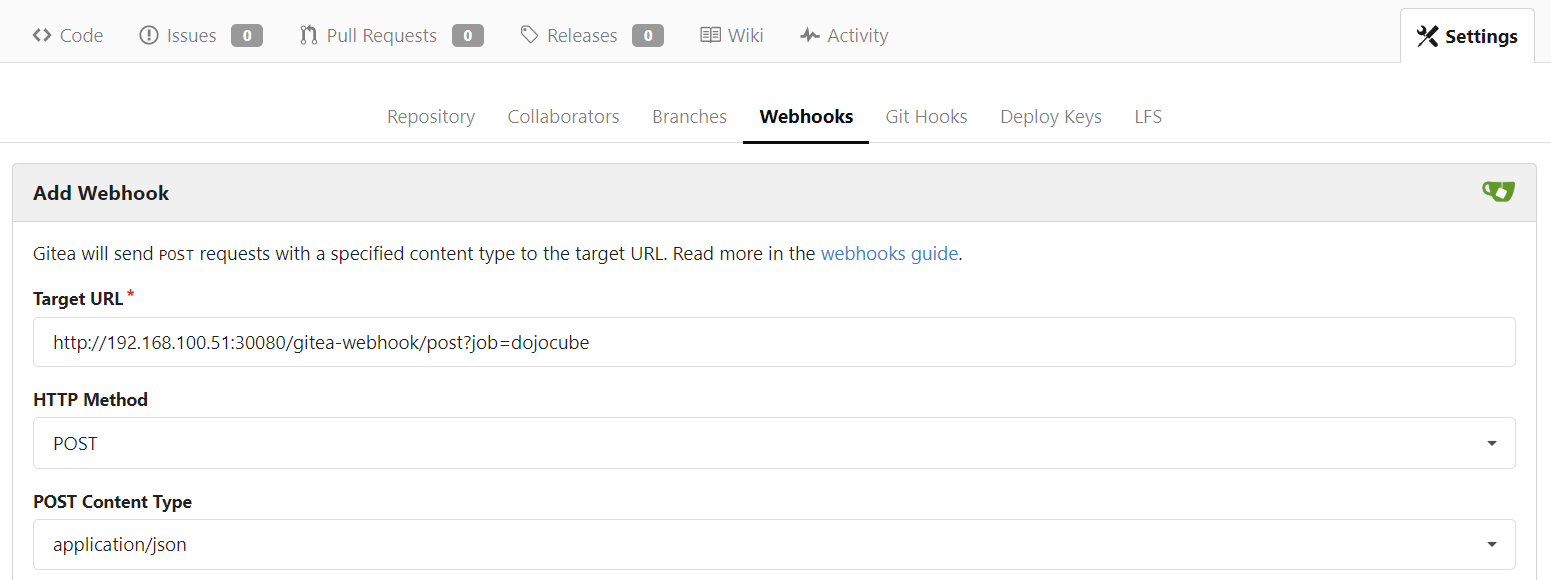
First, save the Webhook:

Second, click on the Test Delivery button to test the connection:

Third, after a while you will see that the Test Deliver is success:

Finally, I complete the setup for integrating Jenkins and Gitea. In the next post, I will describe on the CI workflow for our Spring Boot application. Stay tuned!