Wave Rover with Raspberry Pi 4
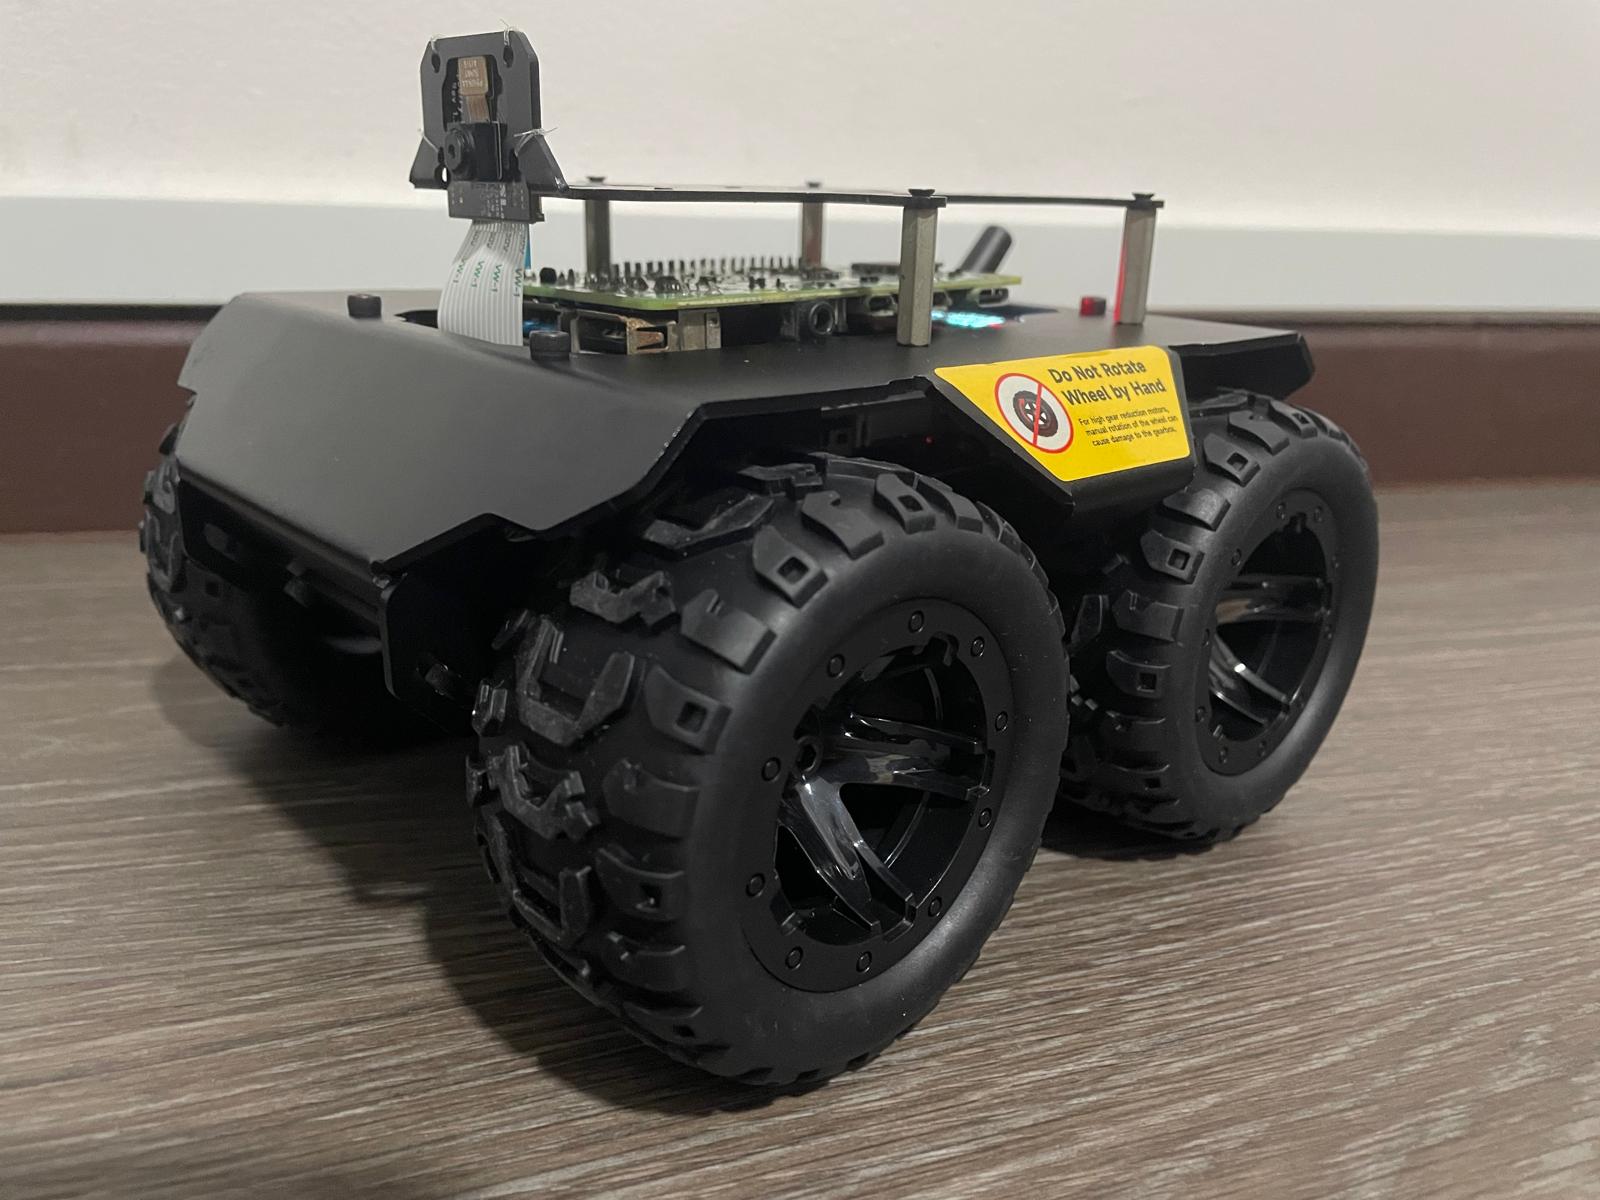
Continuing my previous journey with the Wave Rover, this post documents how I used a Raspberry Pi 4 as the main controller for the project.
Preparation
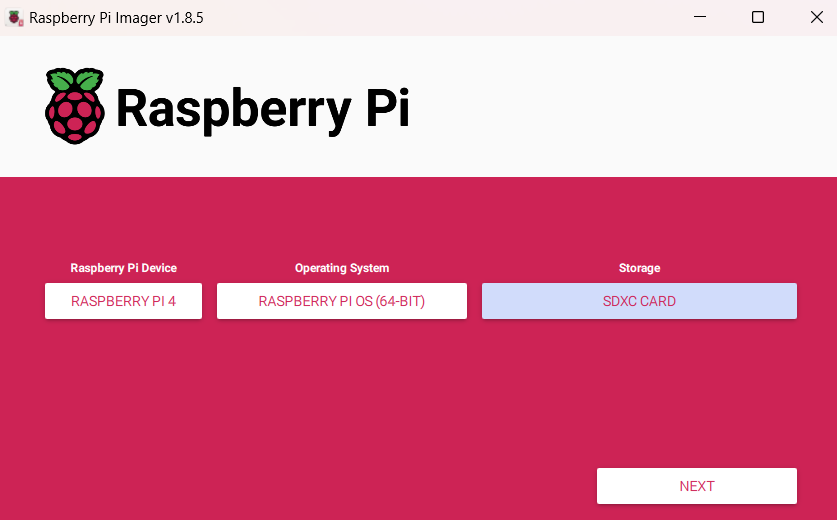
Using the Raspberry Pi Imager, I installed the 64-bit Raspberry Pi OS on a 64GB microSD card. I customized the installation by setting the hostname, username, password, and configuring the wireless LAN.
Installation
Installing UGV_RPI
- Clone the Raspberry Pi example and install the necessary components:
# Clone the repository
git clone https://github.com/waveshareteam/ugv_rpi.git
# Grant execution permissions
cd ugv_rpi/
sudo chmod +x setup.sh
sudo chmod +x autorun.sh
# Install the app
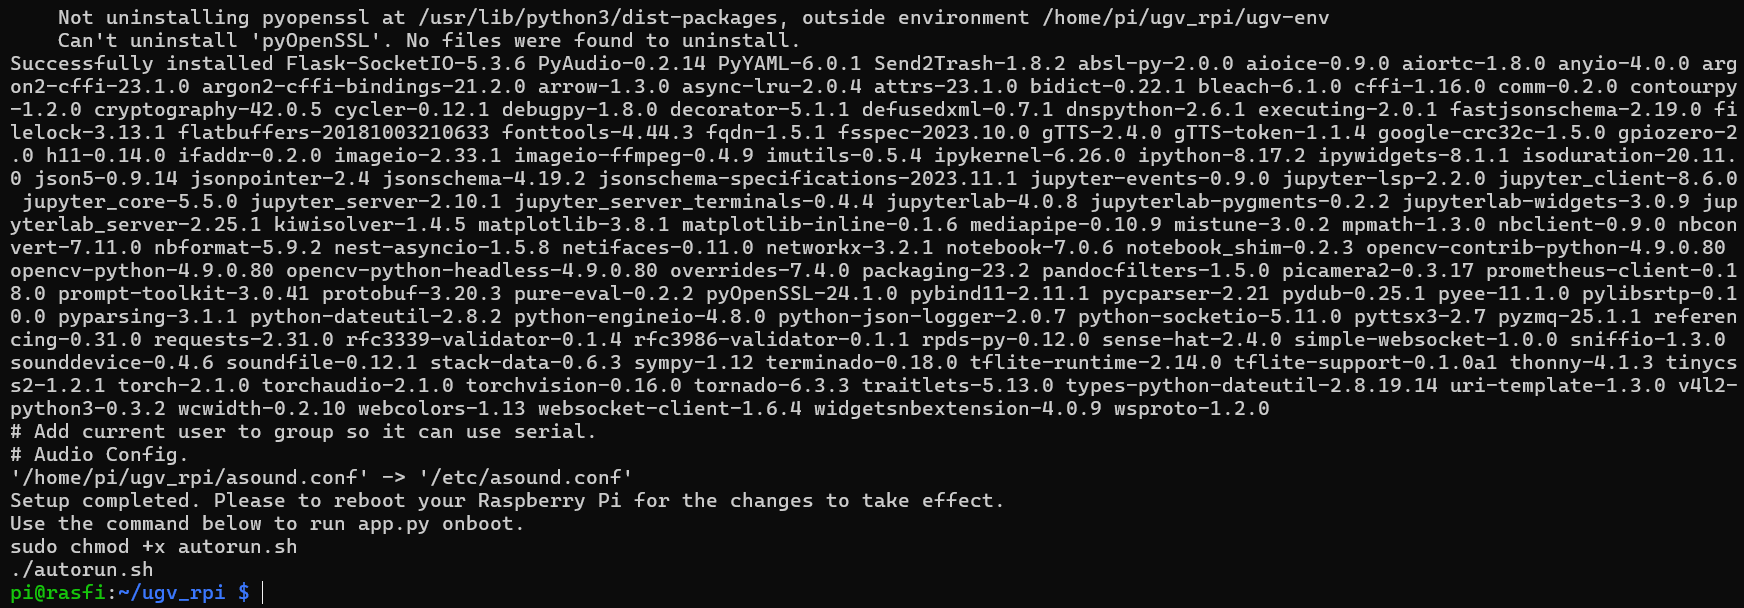
sudo ./setup.sh
- After rebooting the Pi, autorun the setup:
cd ugv_rpi/
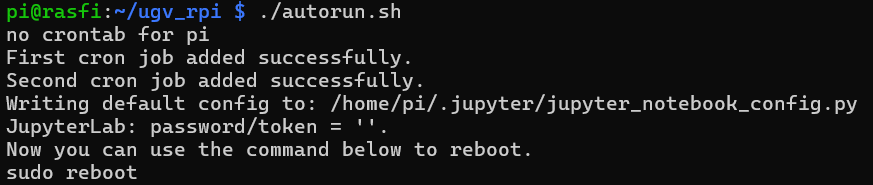
./autorun.sh
# Reboot Pi
sudo reboot
- Install AccessPopup by selecting option 1, then exit the installconfig.sh script by pressing 9:
cd ugv_rpi/AccessPopup
sudo chmod +x installconfig.sh
sudo ./installconfig.sh

# Reboot Pi to activate the cron job
sudo reboot
Installing VNC Server
Enable VNC using the following command. Go to “Interface Options” and enable VNC:
sudo raspi-config

Installing RealVNC Viewer
On your PC, download RealVNC Viewer and connect to your Raspberry Pi using the Pi’s credentials:

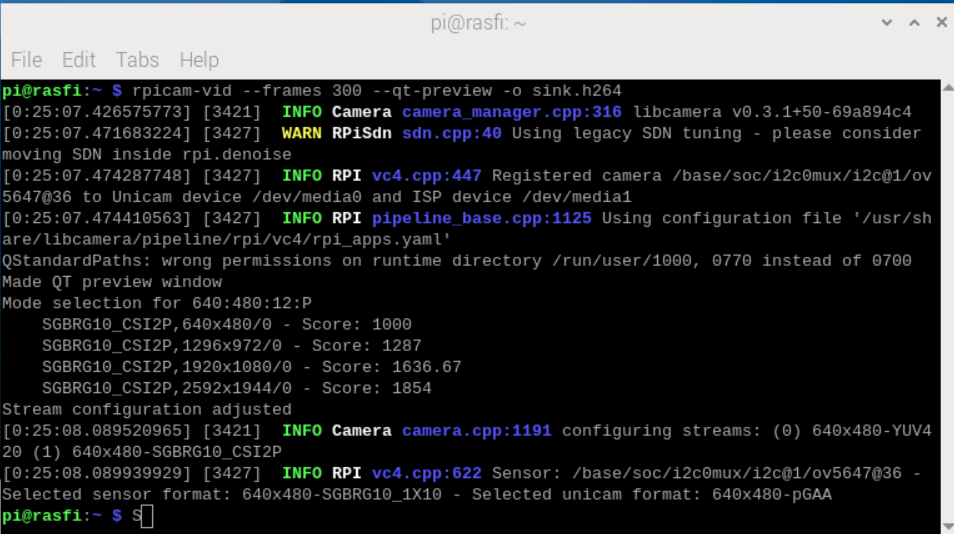
Installing Raspberry Pi Camera
For the camera setup, use the The Picamera2 Library. After connecting the Pi Camera Rev 1.3, run the following command to set up video recording:
rpicam-vid --frames 300 --qt-preview -o sink.h264
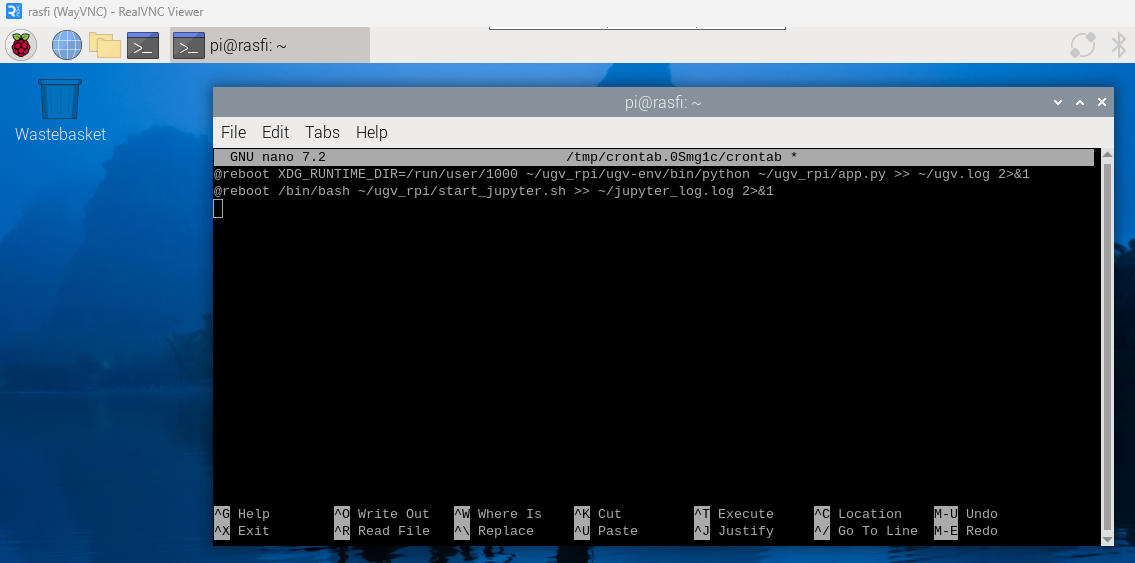
JupyterLab on Boot
JupyterLab has been configured to start automatically via crontab:
crontab -e
Navigate to http://rasfi:8888/lab to explore the tutorial.
Python Chassis Motion Control
Here’s an example of Python code to control the Wave Rover’s movement:
from base_ctrl import BaseController
import time

# GPIO Serial Device on Raspberry Pi 4
base = BaseController('/dev/serial0', 115200)

# Move forward at 0.2 m/s for 2 seconds
base.send_command({"T":1,"L":0.2,"R":0.2})
time.sleep(2)
base.send_command({"T":1,"L":0,"R":0})
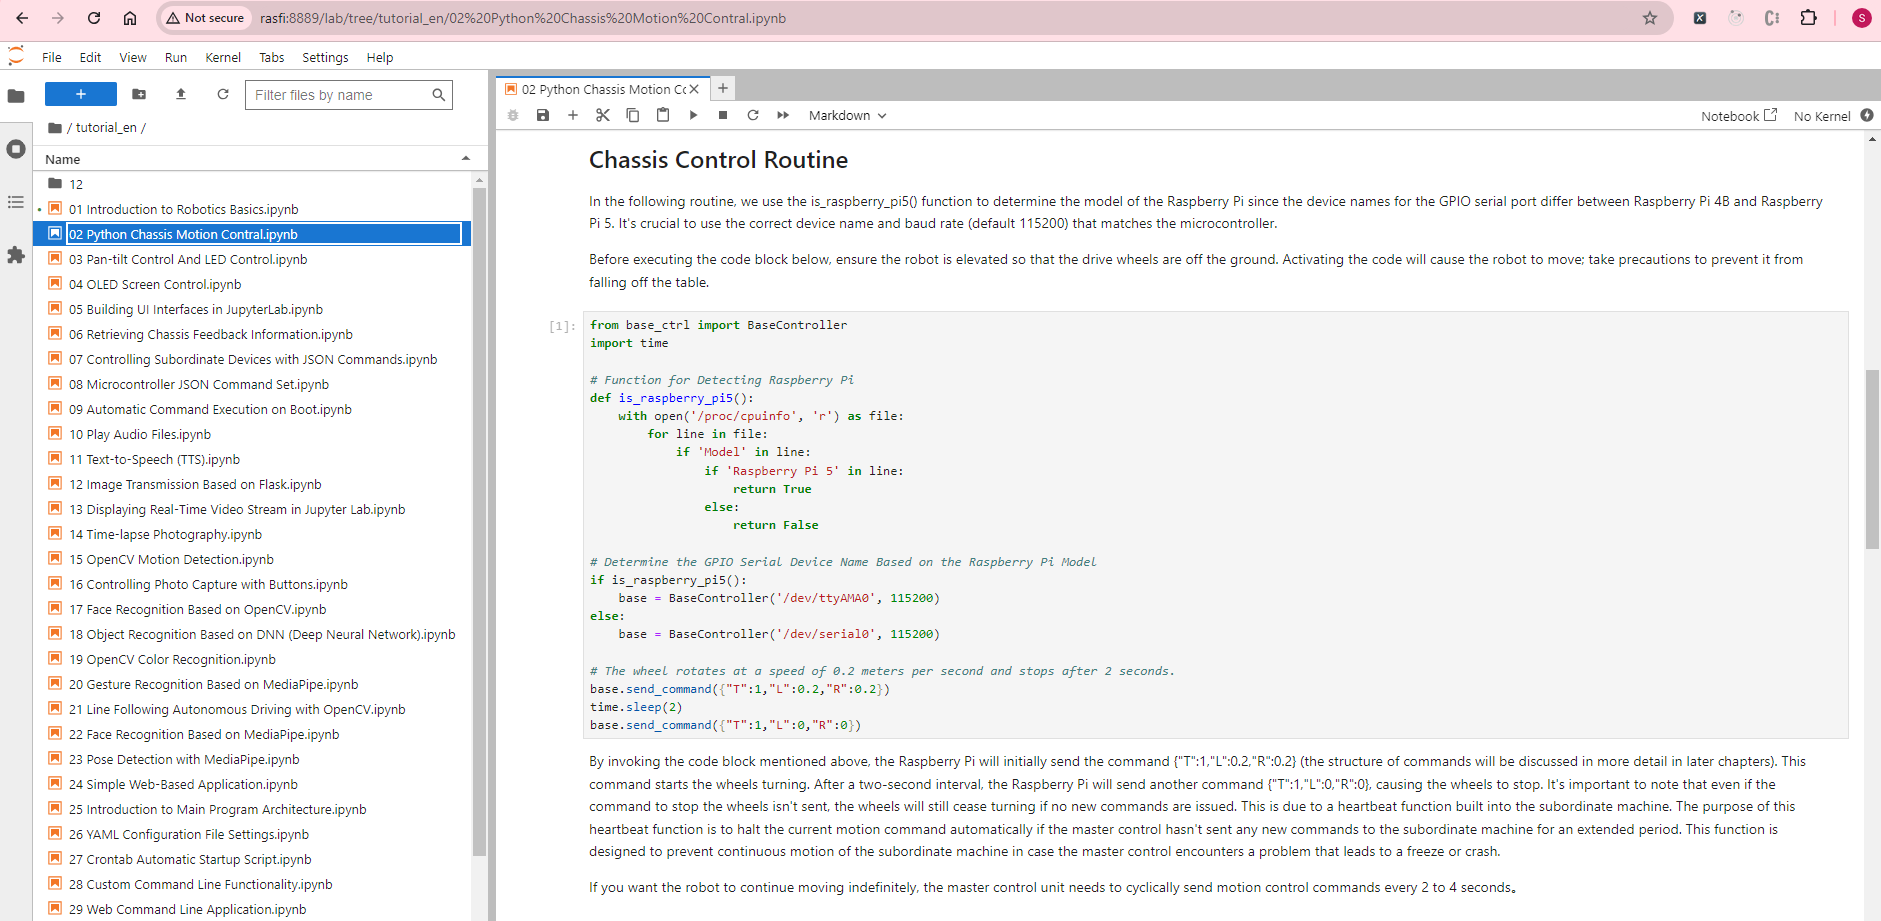
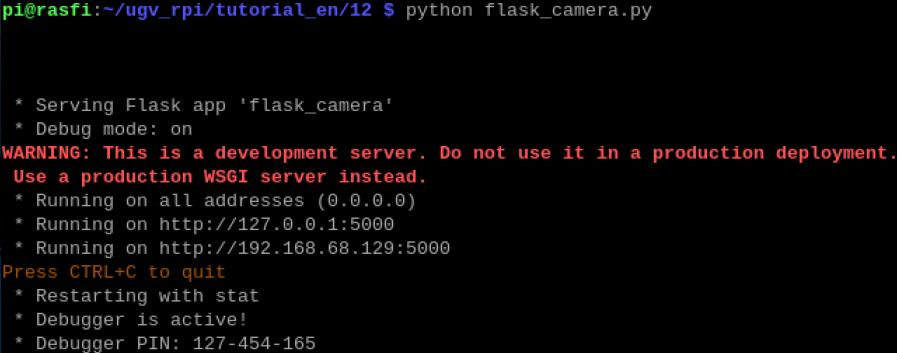
Image Transmission with Flask
You can stream the Pi camera feed using Flask. Navigate to http://rasfi:5000 after running the following:
cd ugv_rpi/tutorial_en/12
python flask_camera.py
PiCam and Movement Test
For this test, I created a new virtual environment:
cd ugv_rpi/tutorial_en/12
python -m venv --system-site-packages picam
source picam/bin/activate

pip install PyYAML
After that, copy the config.yaml and base_ctrl.py files into this folder and edit the config.yaml to disable unused sensors:
base_config:
  ...
  use_lidar: false
  extra_sensor: false
The following simple index.html file provides an interface for controlling the rover:
<!DOCTYPE html>
<html lang="en">
<head>
    <meta charset="UTF-8">
    <meta name="viewport" content="width=device-width, initial-scale=1.0">
    <title>Camera Stream</title>
    <style>
        body {
            display: flex;
            justify-content: space-between;
            align-items: center;
            height: 100vh;
            margin: 0;
            padding: 0;
            font-family: Arial, sans-serif;
        }
        .controls {
            display: flex;
            flex-direction: column;
            align-items: center;
            gap: 10px;
        }
        .controls button {
            width: 60px;
            height: 60px;
            font-size: 16px;
            border: none;
            border-radius: 5px;
            background-color: #007BFF;
            color: white;
            cursor: pointer;
        }
        .controls button:hover {
            background-color: #0056b3;
        }
        .video-container {
            flex-grow: 1;
            display: flex;
            justify-content: center;
            align-items: center;
        }
        .middle-button {
            margin: 10px 0;
        }
    </style>
</head>
<body>
    <div class="controls">
        <button onclick="sendCommand('up')">Up</button>
        <div>
            <button onclick="sendCommand('left')">Left</button>
            <button class="middle-button" onclick="sendCommand('stop')">Stop</button>
            <button onclick="sendCommand('right')">Right</button>
        </div>
        <button onclick="sendCommand('down')">Down</button>
    </div>
    <div class="video-container">
        <img src="{{ url_for('video_feed') }}" alt="Camera Stream">
    </div>

    <script>
        function sendCommand(direction) {
            let command;
            switch(direction) {
                case 'up':
                    command = {"T":1,"L":0.2,"R":0.2};
                    break;
                case 'down':
                    command = {"T":1,"L":-0.2,"R":-0.2};
                    break;
                case 'left':
                    command = {"T":1,"L":-0.3,"R":0.3};
                    break;
                case 'right':
                    command = {"T":1,"L":0.3,"R":-0.3};
                    break;
                case 'stop':
                    command = {"T":1,"L":0,"R":0};
                    break;
            }
            // Send the command to the server
            fetch('/send_command', {
                method: 'POST',
                headers: {
                    'Content-Type': 'application/json'
                },
                body: JSON.stringify(command)
            });
        }

        document.addEventListener('keydown', function(event) {
            switch(event.key) {
                case 'ArrowUp':
                    sendCommand('up');
                    break;
                case 'ArrowDown':
                    sendCommand('down');
                    break;
                case 'ArrowLeft':
                    sendCommand('left');
                    break;
                case 'ArrowRight':
                    sendCommand('right');
                    break;
                case ' ':
                    sendCommand('stop');
                    break;
            }
        });
    </script>
</body>
</html>
In your flask_camera.py file, add the following to handle control commands:
@app.route('/send_command', methods=['POST'])
def send_command():
    command = request.json
    base.send_command(command)
    return '', 204

if __name__ == '__main__':
    app.run(host='0.0.0.0', port=5000, debug=True)
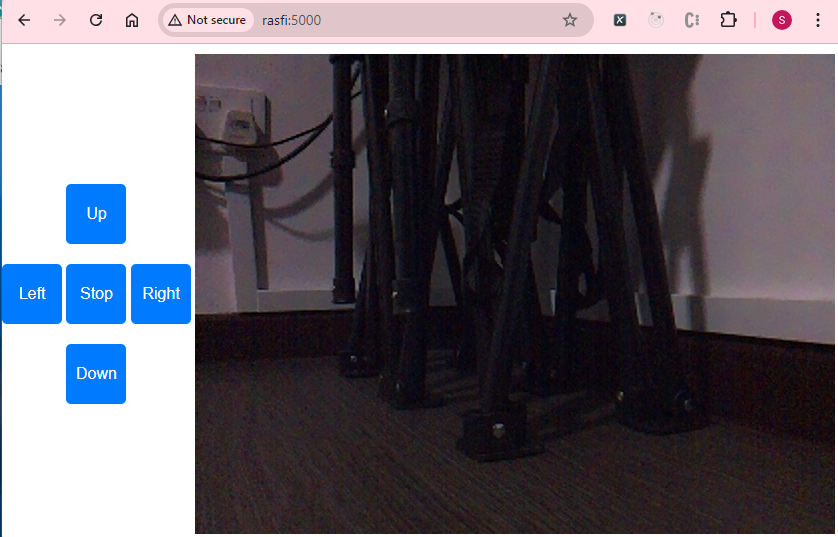
Run the script via python flask_camera.py and access the interface at http://rasfi:5000. You can use the arrow keys or on-screen buttons to control the rover, while the PiCam feed is displayed on the right:
Troubleshooting
ImportError: cannot import name 'V4L2_CID_MPEG_VIDEO_H264_PROFILE' from 'v4l2'
If you encounter encoder errors when using Picamera2, you may follow these steps:
- Remove the previous python environment folder:
cd ugv_rpi
sudo rm -rf ugv-env
- Comment or remove the following resources from requirements.txt:
# picamera2==0.3.17
# v4l2-python3==0.3.2
- Re-install the python requirements:
# Re-installs the app
sudo ./setup.sh
- Comment the cron job via crontab -e that starts app.py (to avoid conflicts with PiCam resources) and reboot:
# @reboot XDG_RUNTIME_DIR=/run/user/1000 ~/ugv_rpi/ugv-env/bin/python ~/ugv_rpi/app.py >> ~/ugv.log 2>&1
sud