Setting Up Kubeflow on Kubernetes: A Step-by-Step Guide
Series: Machine Learning Operations
The car inspection went well, and I will spend the rest of my half-day leave documenting the steps for setting up Kubeflow, the machine learning toolkit for kubernetes.
Preparation
Kustomize introduces a template-free way to customize application configuration, simplifying the use of off-the-shelf application. The simplest way to get started is to download the precompiled binaries:
curl -s "https://raw.githubusercontent.com/kubernetes-sigs/kustomize/master/hack/install_kustomize.sh"  | bash

# Moves kustomize to a system-wide location
sudo mv kustomize /usr/local/bin/

Next, pull the source code from the kubeflow manifests:
git clone https://github.com/kubeflow/manifests.git
cd manifests
Installation
Install all official Kubeflow components and common services with the following command:
while ! kustomize build example | kubectl apply -f -; do echo "Retrying to apply resources"; sleep 20; done
It will take a while for everything to install. Here is the view from the Portainer dashboard after the installation is complete.
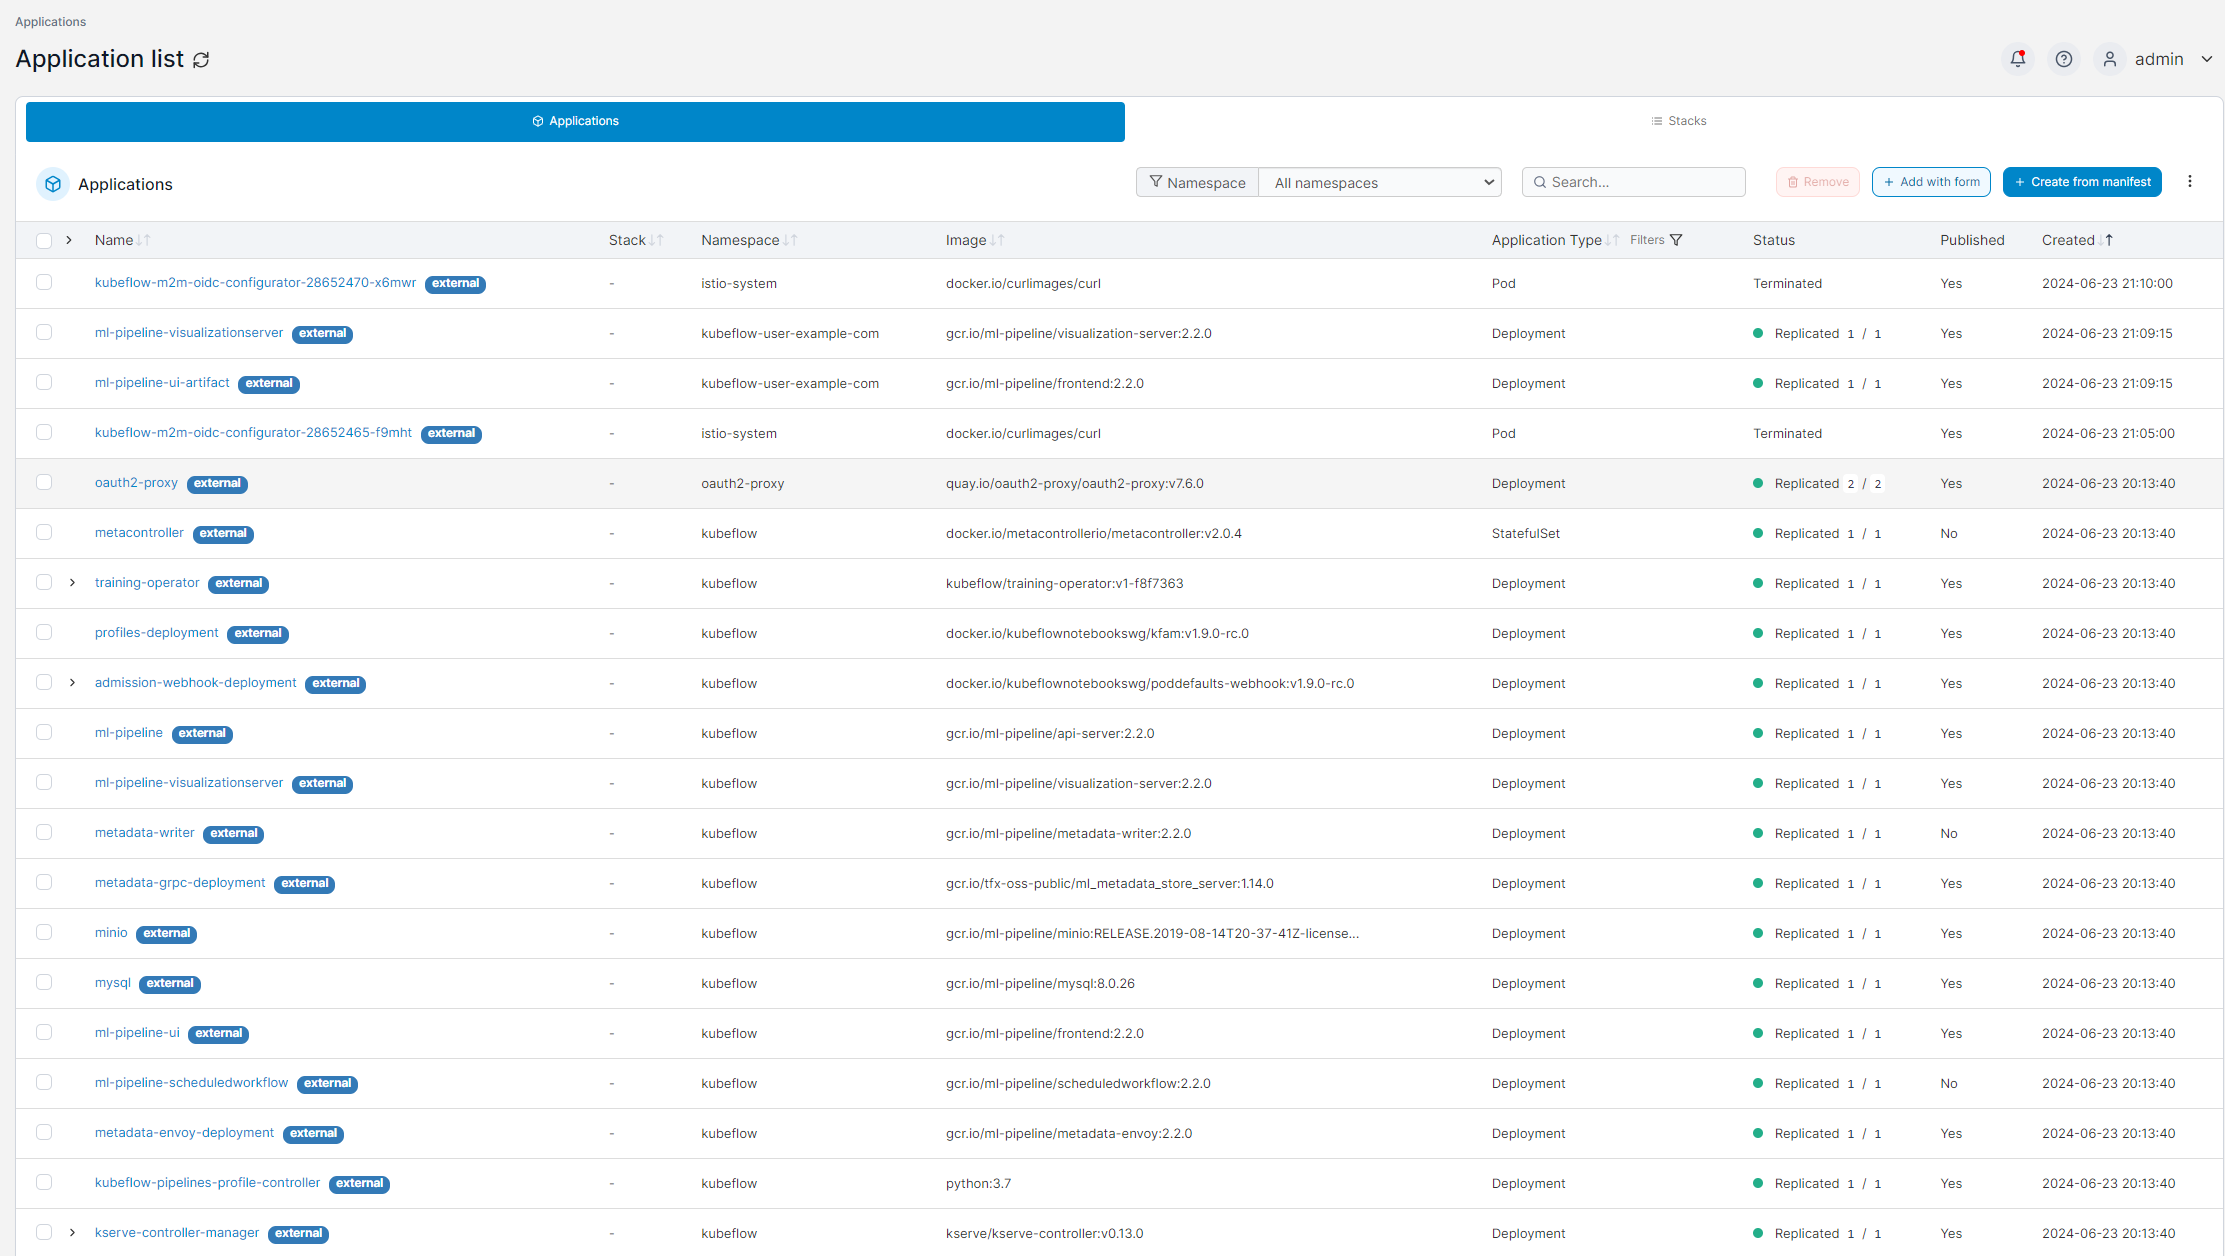
Once installed, you can access the Kubeflow Central Dashboard. On my Windows machine, I used this command:
kubectl port-forward svc/istio-ingressgateway -n istio-system 8080:80
You can visit http://localhost:8080, using the default email address user@example.com and default password 12341234.

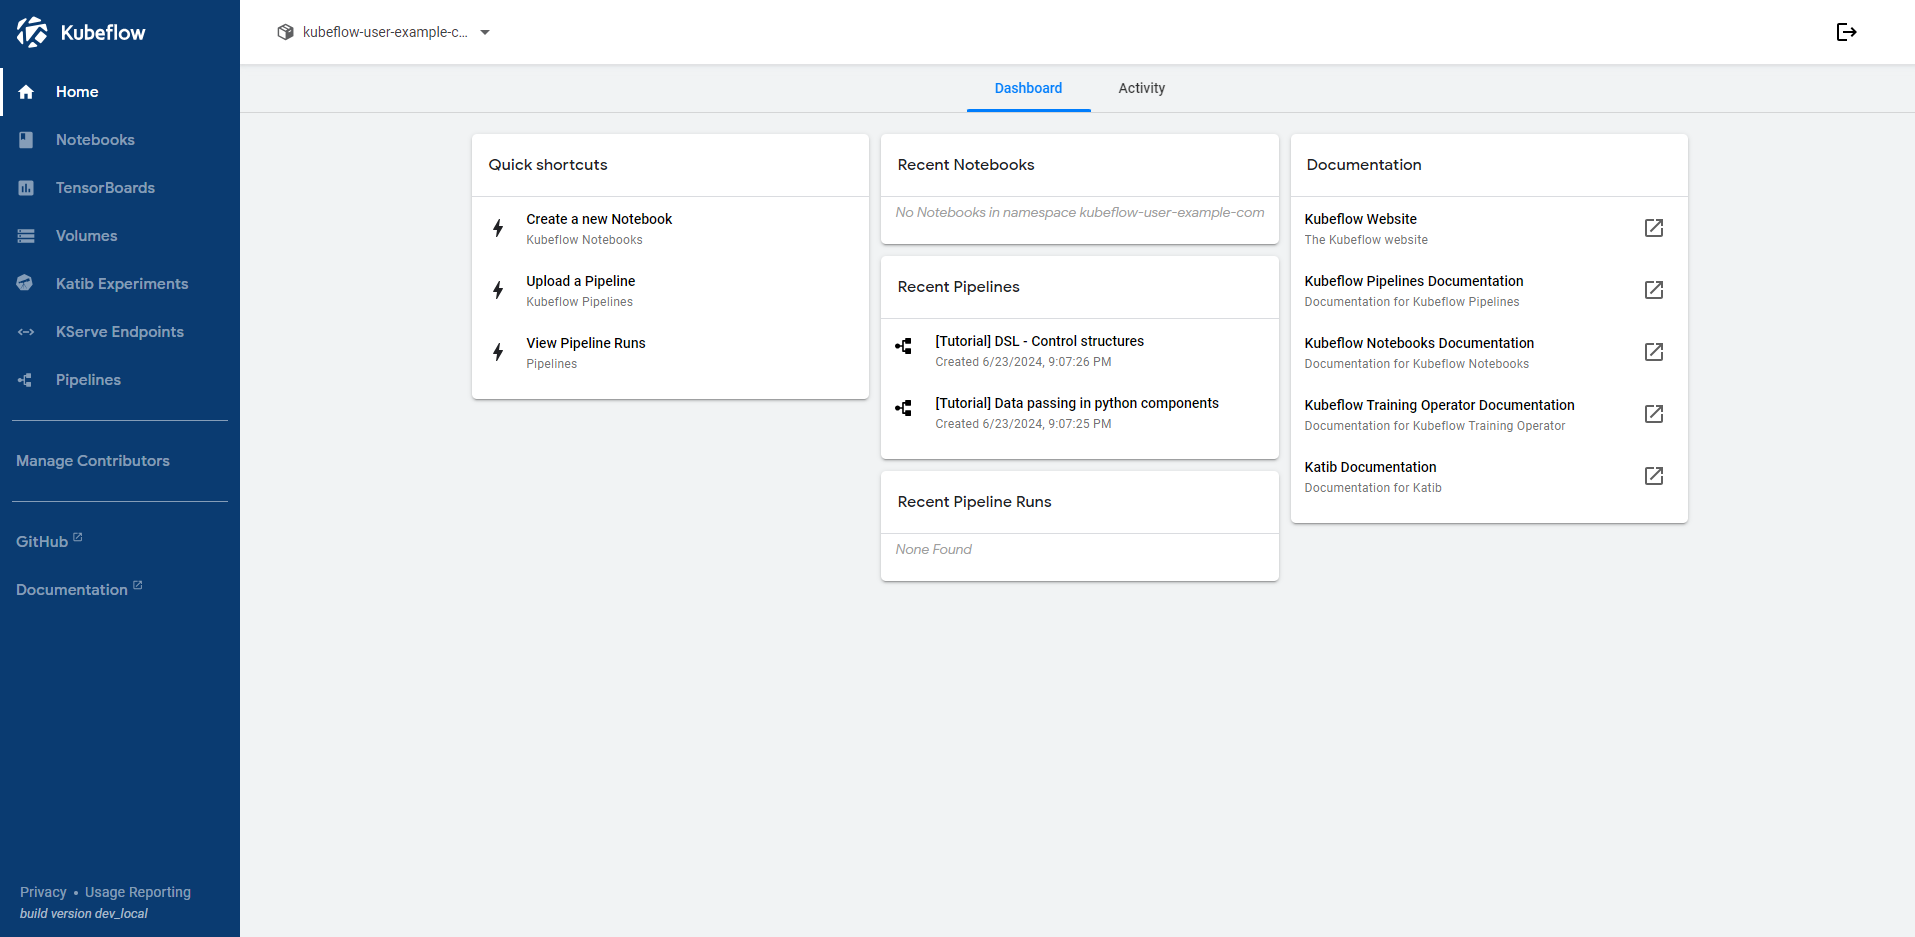
Here is the Kubeflow dashboard upon successful installation:
Notebooks
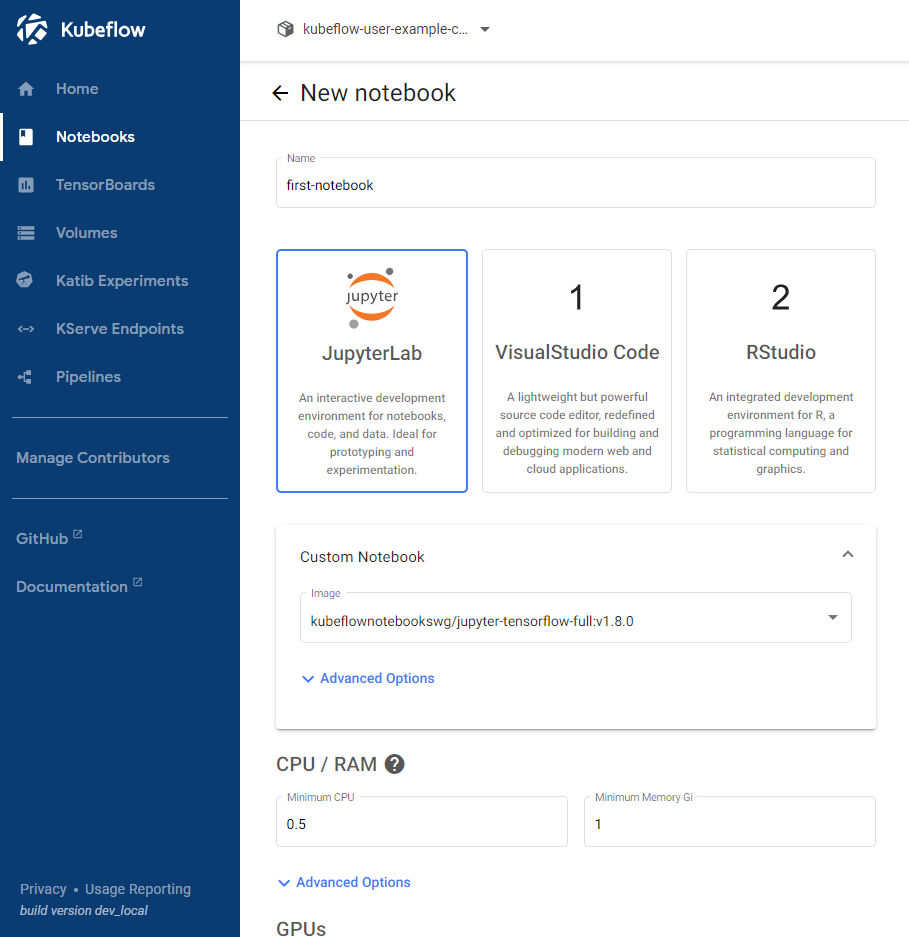
Let’s start by creating a new notebook named first-notebook. Select the image and leave the other settings as default:
The creation of the new notebook will take some time:

To execute the first Python command, enter the following in the first cell and then press shift + Enter:
print("Hello World!")
That’s it! We have successfully created our first working notebook in Kubeflow:

Optional - Add Test User
To add a new test user to Kubeflow, you may restart by removing the current setup with these commands (or just proceed to the next):
# Remain in this folder in subsequent steps
cd manifest

# Delete the entire installs
kustomize build example | kubectl delete -f -

# Delete the remaining namespace
kubectl delete ns kubeflow-user-example-com

# Run this in another terminal if deleting a particular namespace hangs
kubectl get namespace "kubeflow-user-example-com" -o json \
  | tr -d "\n" | sed "s/\"finalizers\": \[[^]]\+\]/\"finalizers\": []/" \
  | kubectl replace --raw /api/v1/namespaces/kubeflow-user-example-com/finalize -f -

while ! kustomize build example | kubectl apply -f -; do echo "Retrying to apply resources"; sleep 20; done
Generate the password hash with this command:
# Install passlib
pip install passlib

# Generate the password hash
python3 -c 'from passlib.hash import bcrypt; import getpass; print(bcrypt.using(rounds=12, ident="2y").hash(getpass.getpass()))'

Add a password for this test user by updating the following file:
vi common/dex/base/dex-passwords.yaml

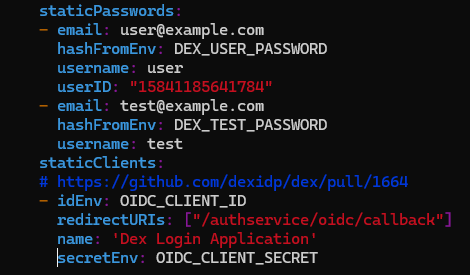
Next, add the new user by updating the file common/dex/base/config-map.yaml with the following:
- email: test@example.com
  hashFromEnv: DEX_TEST_PASSWORD
  username: test
Finally, update the default setting in apps/centraldashboard/upstream/base/params.env with the following:
CD_REGISTRATION_FLOW=true
Reinstall Kubeflow with the same command:
# Execute these to replace the defaults (otherwise test@example.com will not be recognised):
kubectl apply -f common/dex/base/dex-passwords.yaml -n auth
kubectl apply -f common/dex/base/config-map.yaml -n auth
kubectl rollout restart deployment dex -n auth
From Windows, use the same port forwarding command to log in as the newly created test user and grant access:
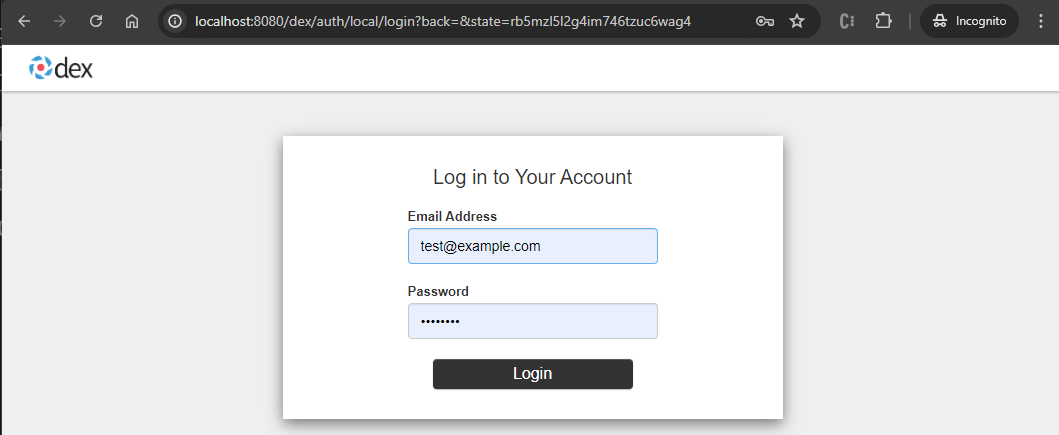
With the registration flow enabled, you will be greeted with:
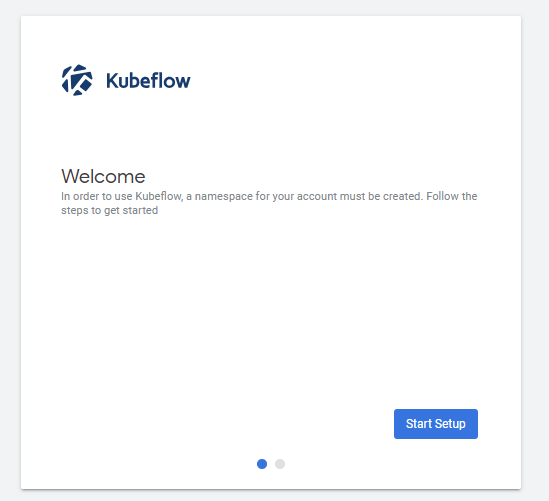
And this:
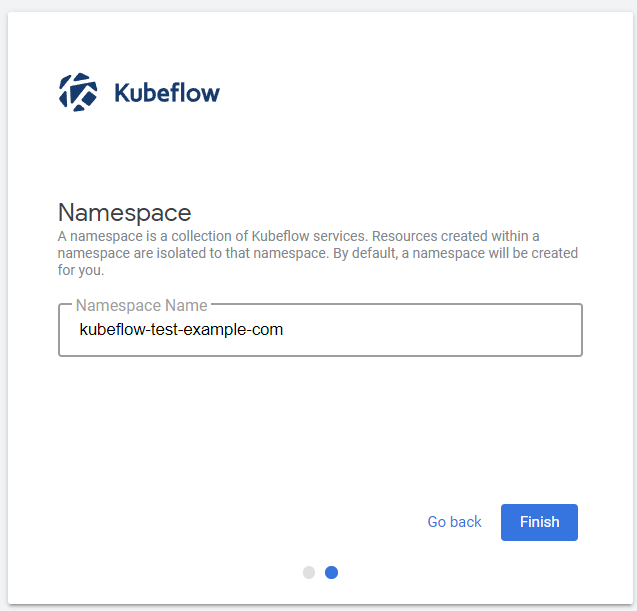
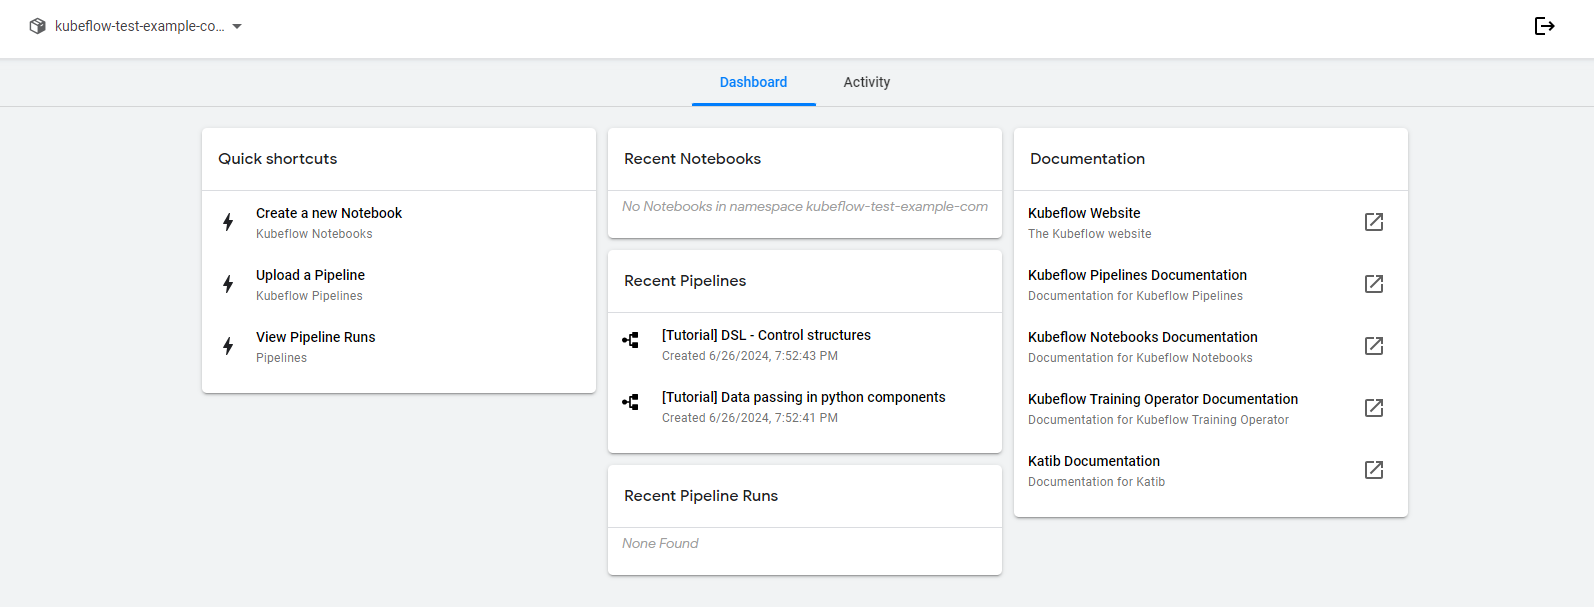
That’s all there is to it! Now you have your own new test user namespace.
Troubleshooting
Too many open files error
If you see a too many open files error, such as:
- In the admission-webhook-deployment pod:

- In the ml-pipeline pod:

- In the training-operator pod:
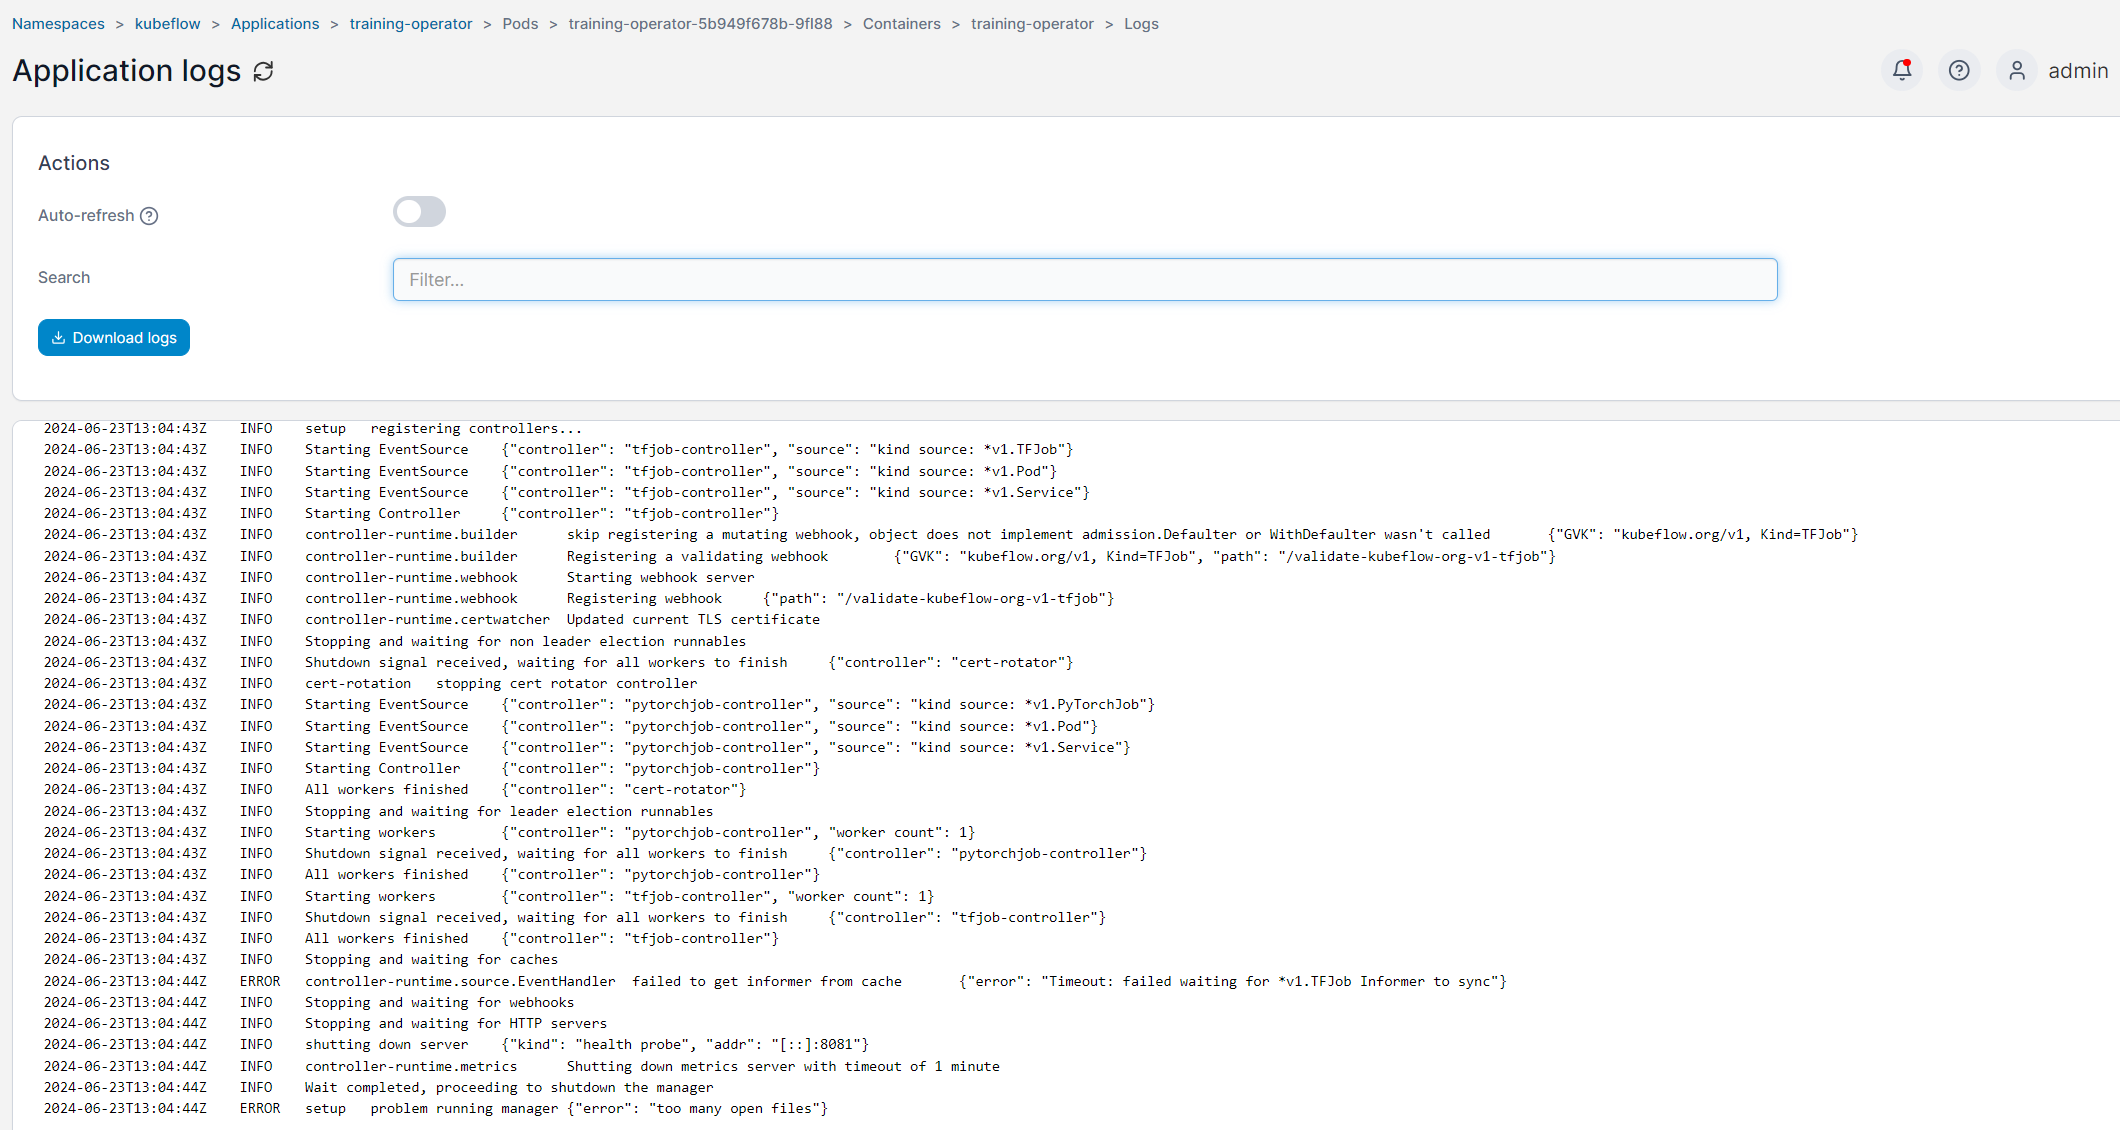
You can temporarily increase the max_user_instances and max_user_watches settings and then redeploy the affected pods (reference):
# default returns a value of 128
cat /proc/sys/fs/inotify/max_user_instances
echo 2280 | sudo tee /proc/sys/fs/inotify/max_user_instances

# default returns a value of around 121865, depending on the current ubuntu host
cat /proc/sys/fs/inotify/max_user_watches
echo 1255360 | sudo tee /proc/sys/fs/inotify/max_user_watches
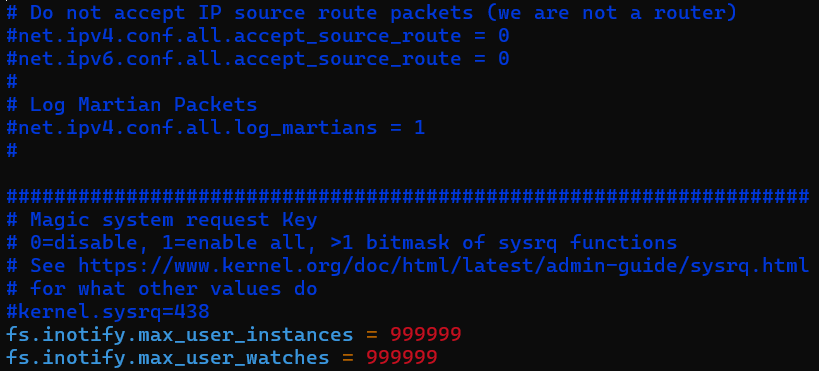
For a permanent fix, add these lines to /etc/sysctl.conf:
fs.inotify.max_user_instances = 2280
fs.inotify.max_user_watches = 1255360
No Namespaces
If you see no namespaces in your Kubeflow dashboard, it could be due to initial errors during installation. Here is my first Kubeflow dashboard without any namespaces:
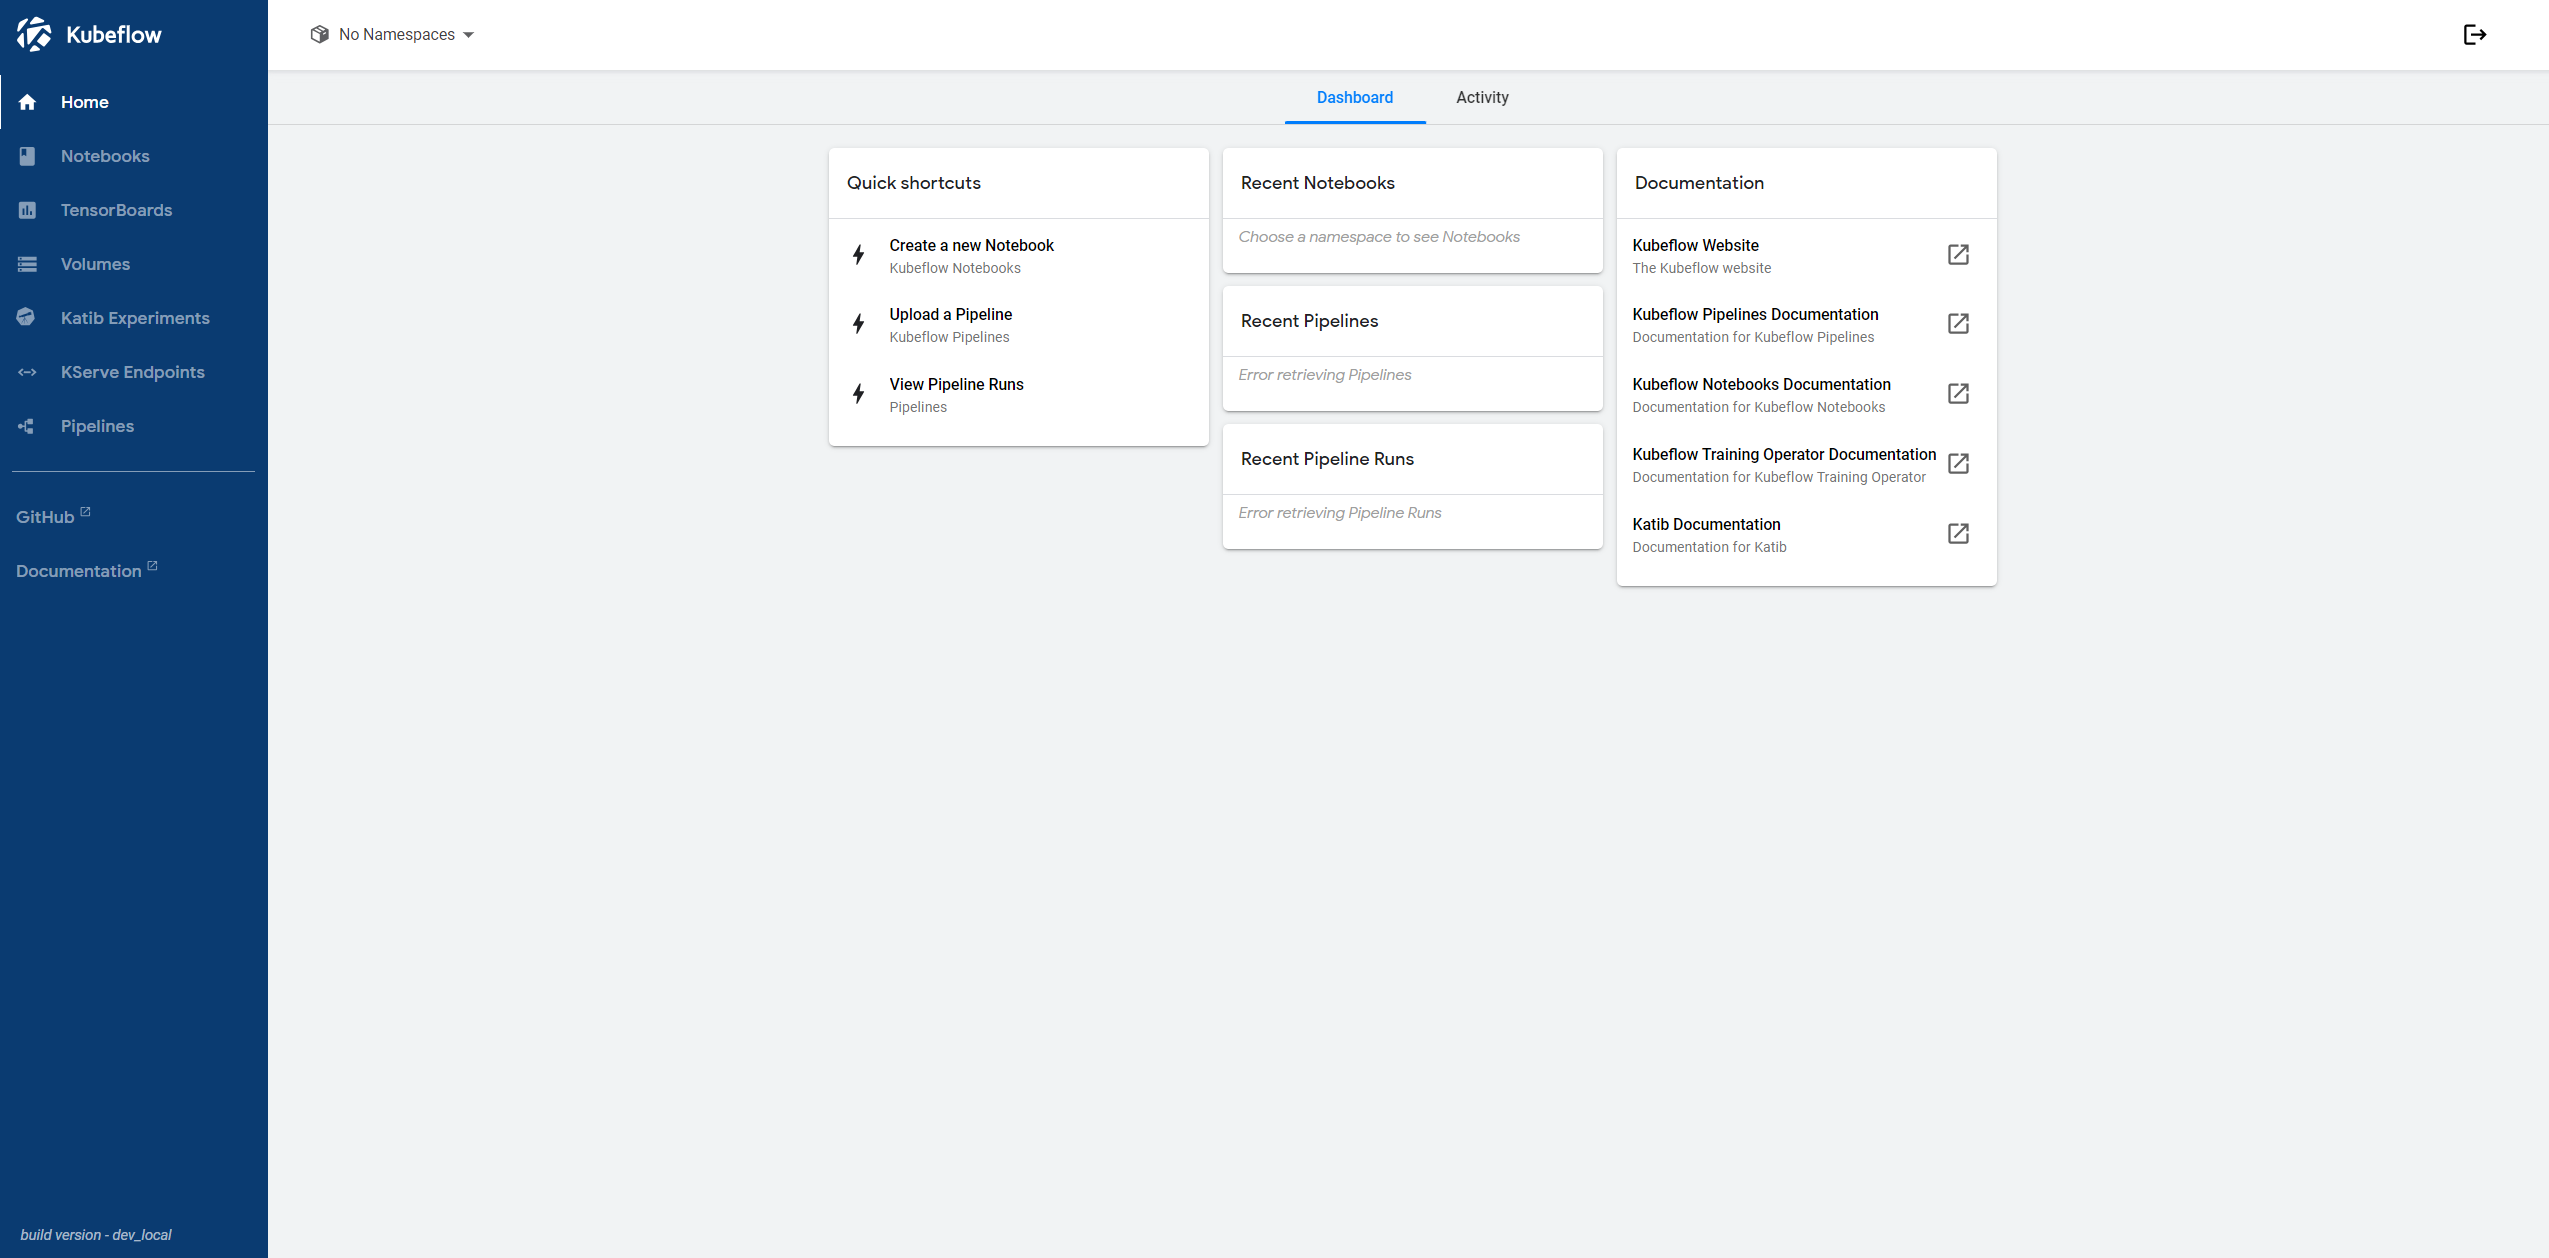
Without namespaces, the LAUNCH button remains disabled when trying to create a new notebook.
To resolve this, I followed these steps:
# Expected result, namespaces "kubeflow-user-example-com" not found
kubectl get ns kubeflow-user-example-com

# Uninstall kubeflow
kustomize build example | kubectl delete -f -

# Ensure that all namespaces are deleted before reinstalling kubeflow
while ! kustomize build example | kubectl apply -f -; do echo "Retrying to apply resources"; sleep 20; done
Jwks doesn't have key to match kid or alg from Jwt
If you encounter the Jwks doesn’t have key to match kid or alg from Jwt error, try logging in using incognito mode. If the error still persists, please clear your browser cache.
