Exploring NVIDIA Jetson Orin NX: Flashing and Setup Guide
Series: NVIDIA Jetson Orin NX
On this special Singapore National Day, I am delighted to extend my best wishes as we celebrate Singapore’s 59th birthday. Today, I’m particularly excited to share that I’ve finally received the long-awaited NVIDIA® Jetson Orin™ NX board. I’ll be documenting the flashing process for this powerful device. NVIDIA Jetson Orin is a game-changer, bringing next-generation products to life with the world’s most advanced embedded AI computers, perfect for generative AI, computer vision, and cutting-edge robotics.
Preparation
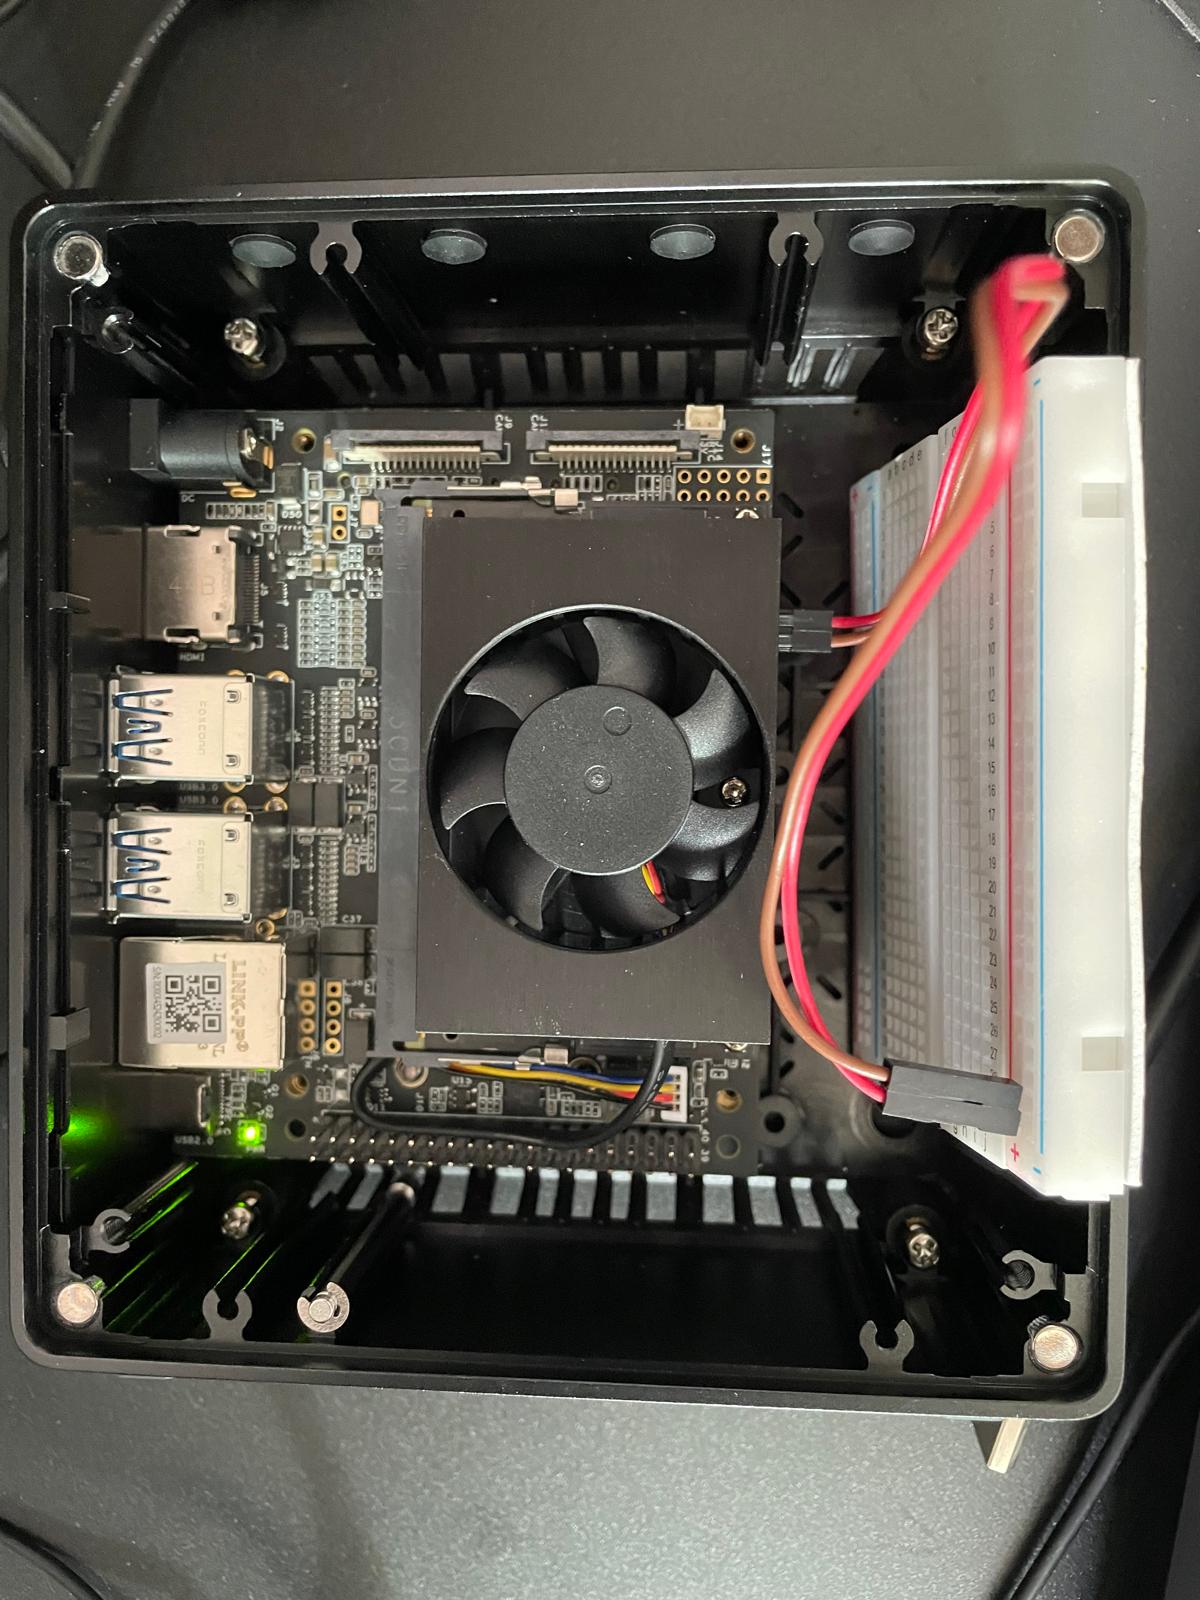
Since the reComputer J40 package does not include a power cord, I managed to find a Type G Power Cord from my storage. Although it comes equipped with a 128GB NVMe SSD, I opted to flash my own Kingston NVMe PCIe Gen 4.0 (2TB) SSD, even though it will run at a slightly reduced performance due to the reComputer J401 carrier board only supporting PCIe 3.0.
To prepare for the Jetson Orin flashing, I downloaded the Ubuntu 20.04.6 LTS ISO Image and used Rufus to burn the image onto a USB drive.
Installation
Following the Install Jetson Software with SDK Manager guide, I downloaded the SDK Manager and installed it on the freshly set up Ubuntu 20.04 host:
sudo apt install ./sdkmanager_2.1.0-11698_amd64.deb

# Starts NVIDIA SDK Manager
sdkmanager
As this is a new installation, I followed the on-screen instructions to connect pins 9 and 10 (located on the backside of the board) to enter Force Recovery mode.
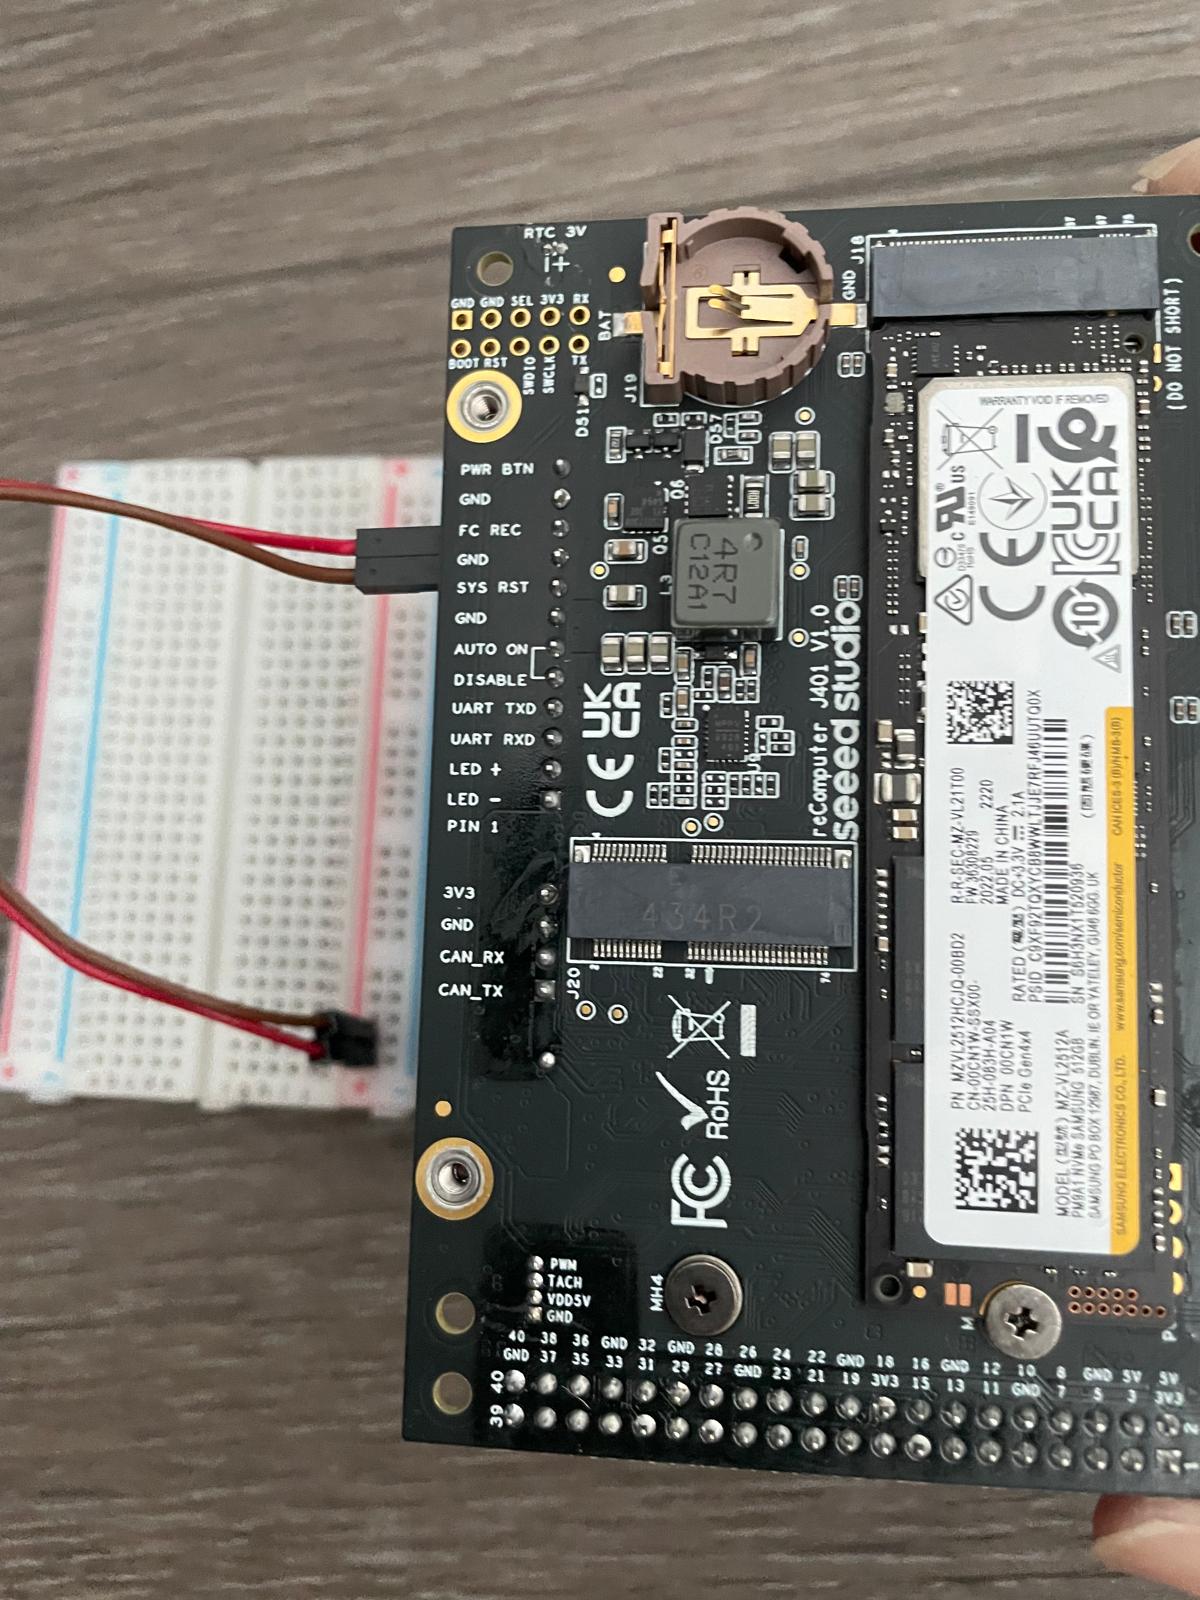
Power off the device first, then connect its USB Type-C connector to the host computer. Short pins 9 (GND) and 10 (FC REC) together, power on the device, and then remove the connection to proceed with the flashing. For a smoother installation, I also connected the device to a monitor, network cable, keyboard, and mouse.
Upon powering up the device, the Target Hardware section automatically recognized it as the Jetson Orin NX board.
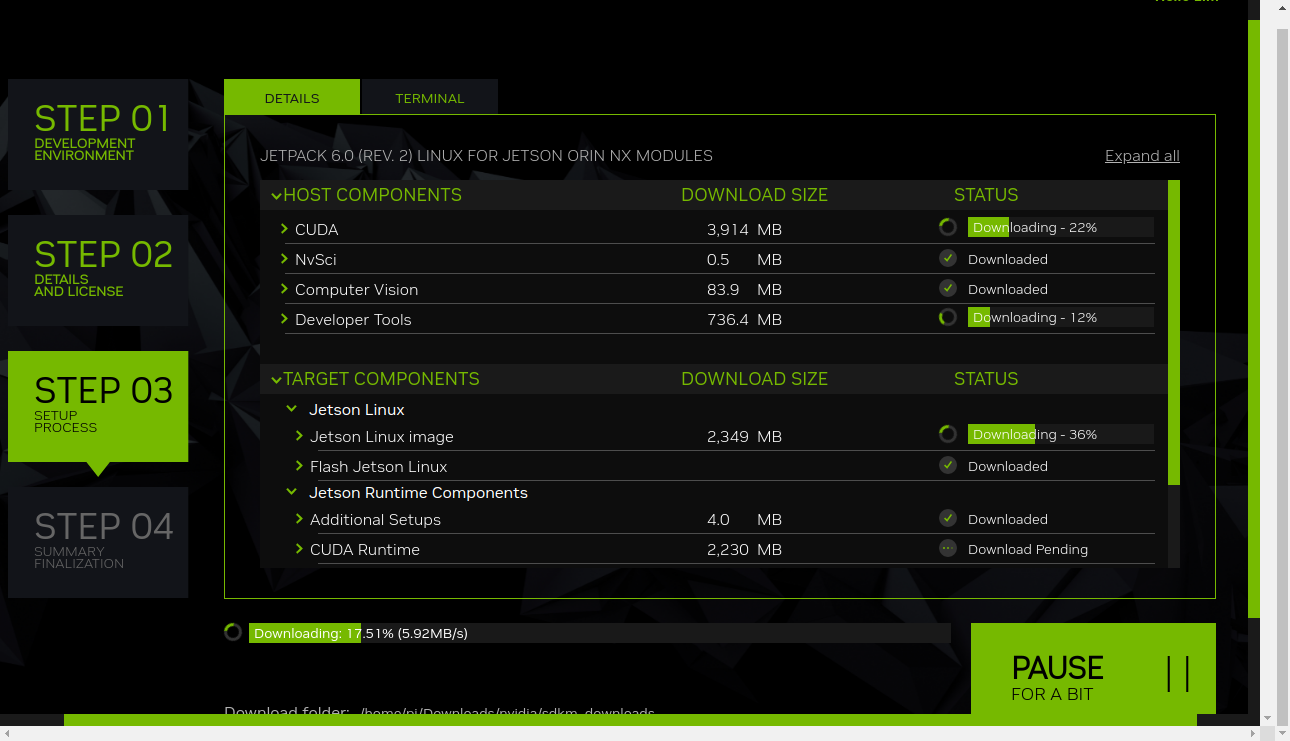
After logging in, I proceeded with downloading the Jetson Linux image:
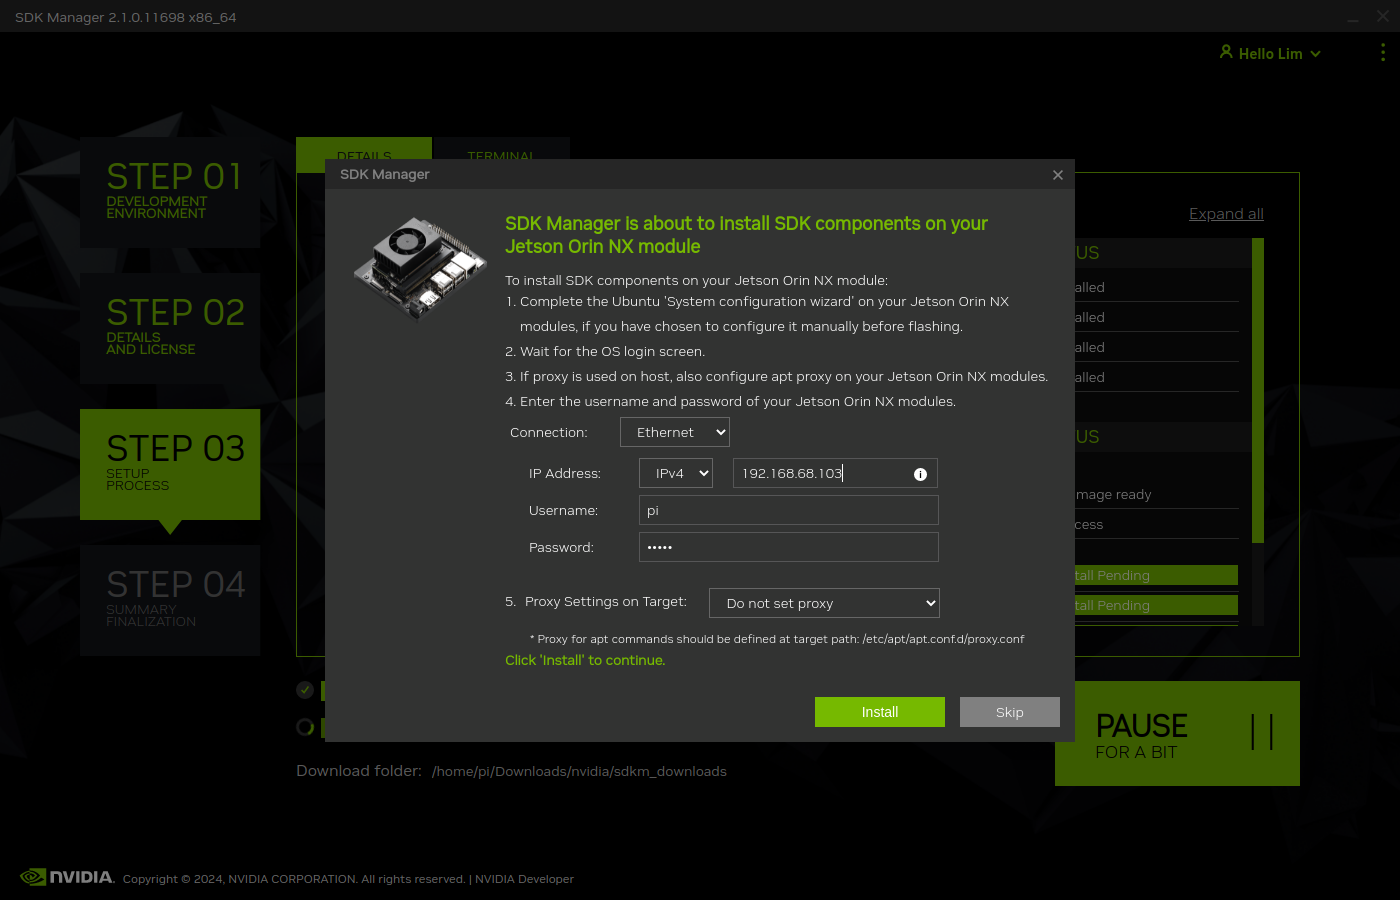
Once the board was successfully flashed, I logged into the Jetson Linux desktop, opened a terminal, and checked the IP address with:
ip addr
From the Host computer, I changed the connection to Ethernet, entered the device’s IP address and proceeded to install the SDK components:
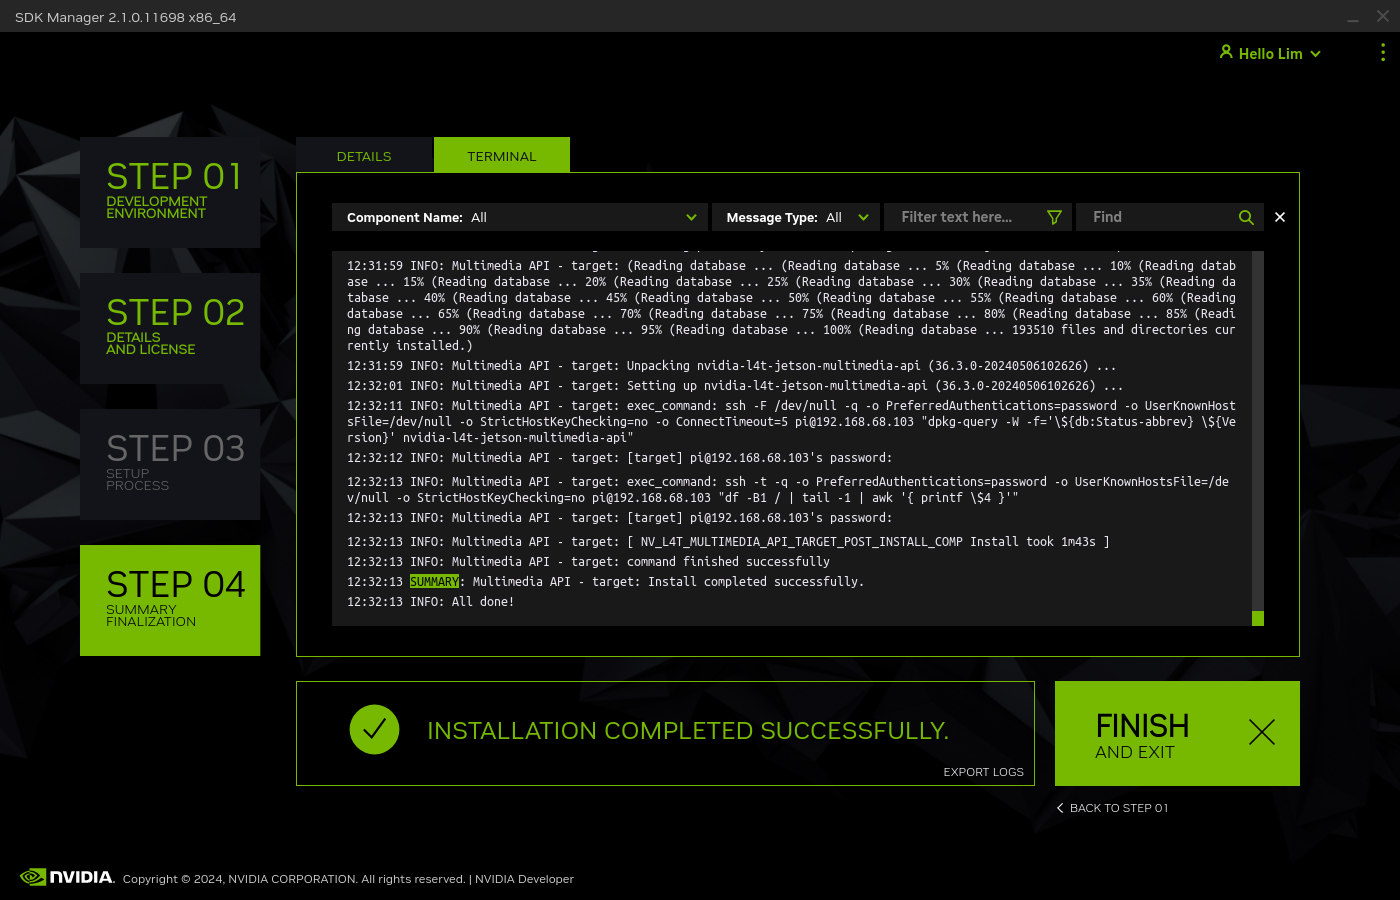
Finally, the installation was completed successfully!
Troubleshooting
Jetson Orin NX Flashing Error
In my case, I initially tried to use Ubuntu 22.04 as the host OS to install SDK Manager, but the flashing process failed.
Ultimately, I had to reformat my Host system and switch to Ubuntu 20.04, which resolved the issue.
