Exploring Autogen Studio
In this comprehensive exploration, we delve into the realm of Autogen Studio, a powerful tool designed to streamline the rapid prototyping of multi-agent solutions for various tasks.
Getting Started
The journey begins with the initial setup. A new Python virtual environment is created using Conda, followed by the installation of Autogen Studio and the essential configuration of API keys.
conda create -n autogenstudio python=3.10
conda activate autogenstudio

pip install autogenstudio

export OPENAI_API_KEY=sk-xxxx
autogenstudio ui --port 8081
Playtime with OpenAI API
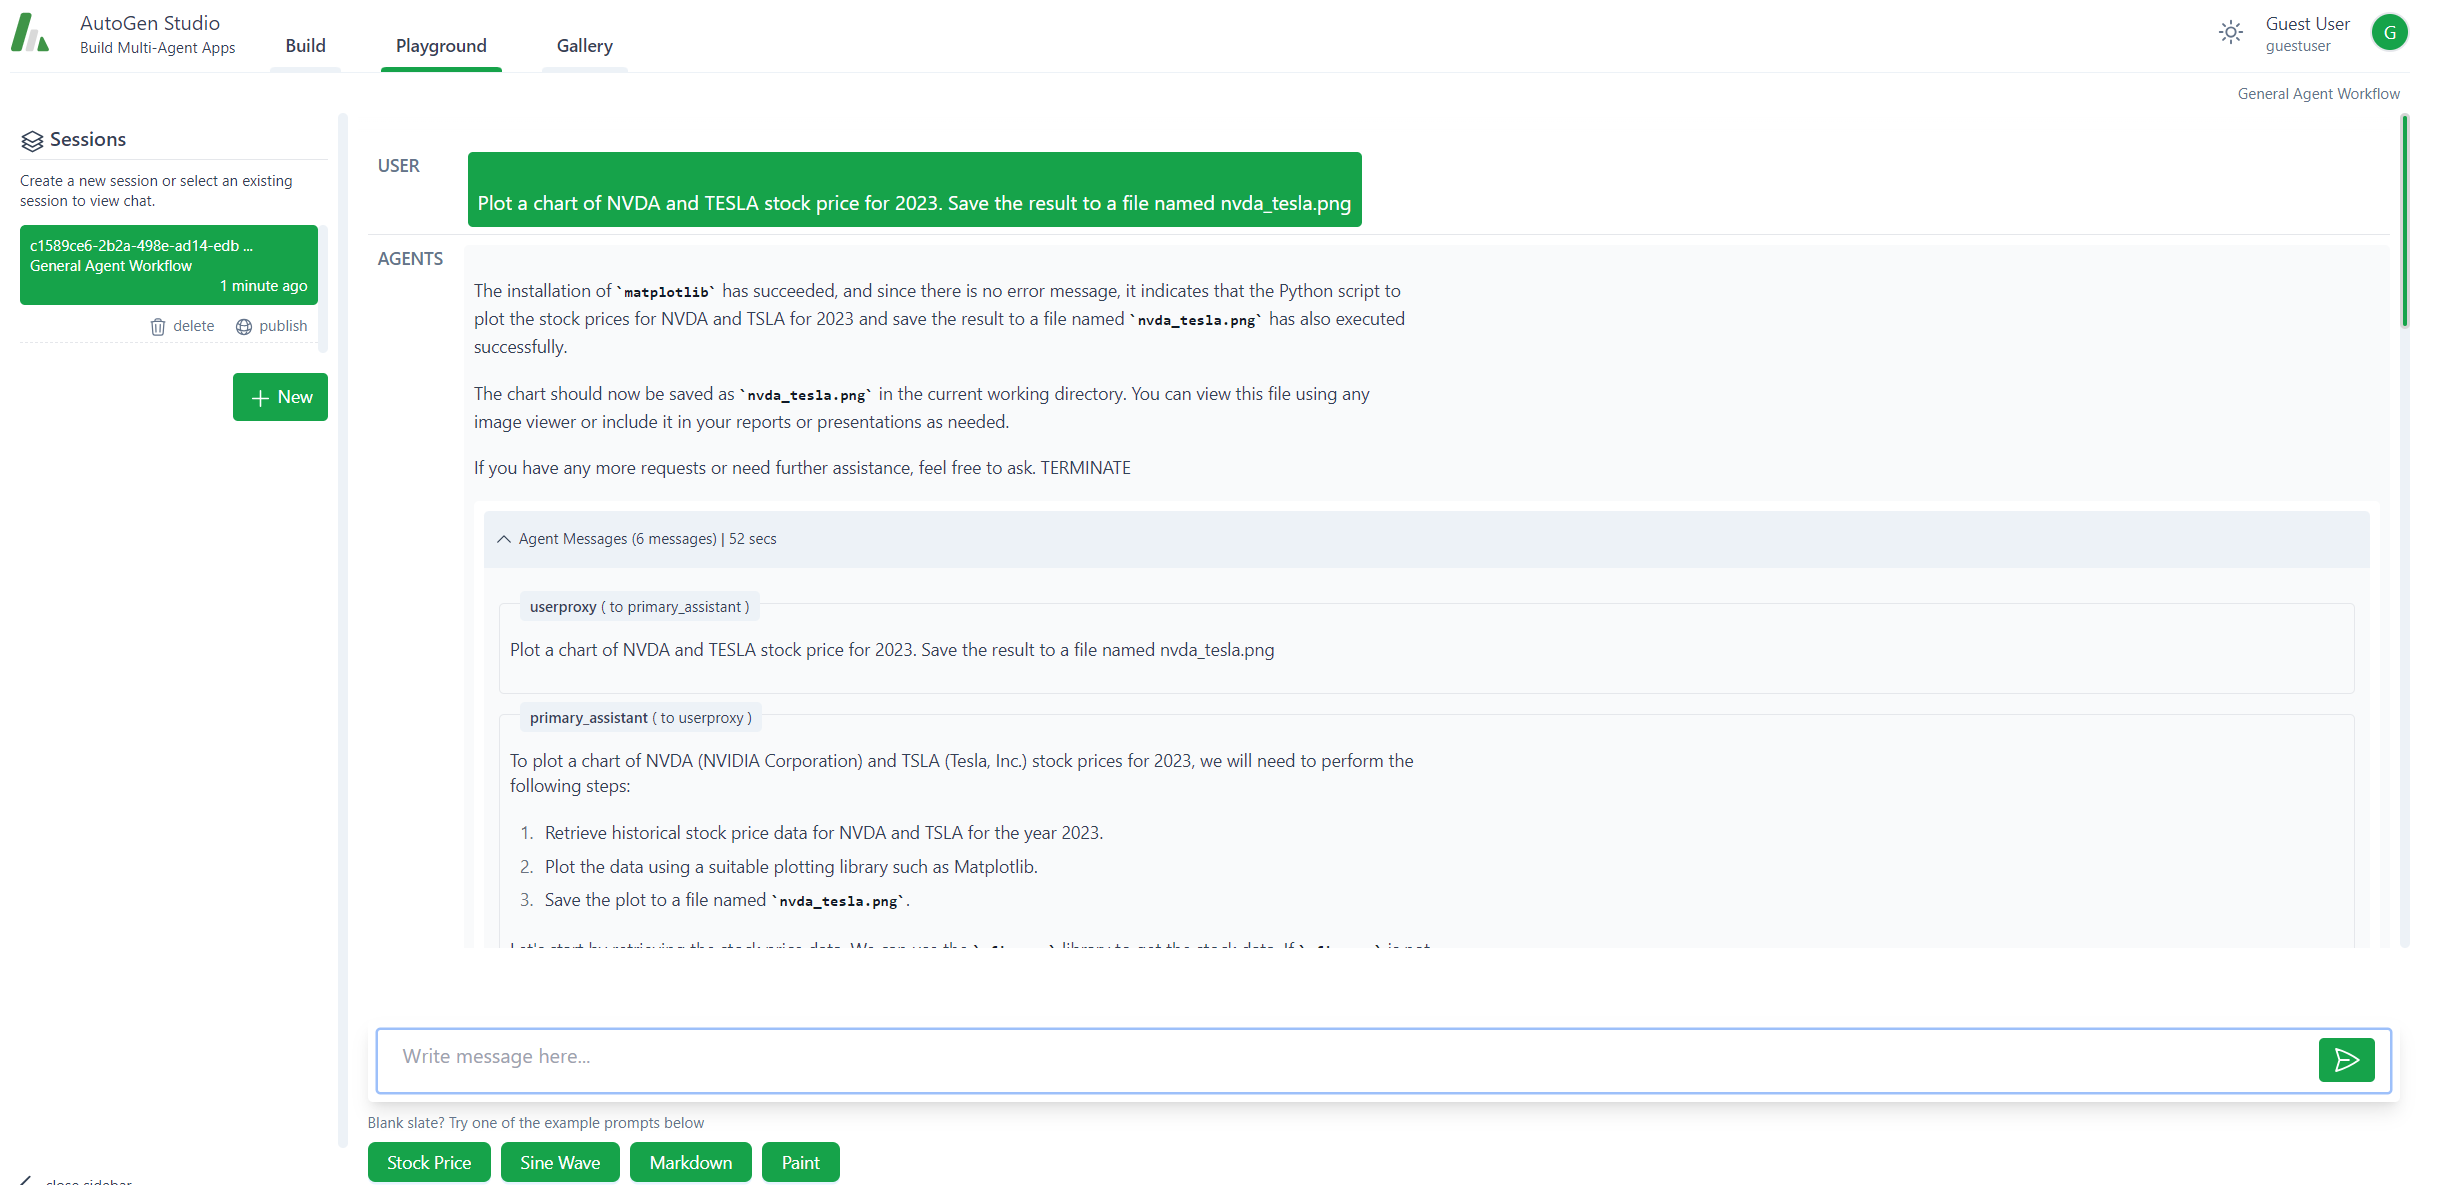
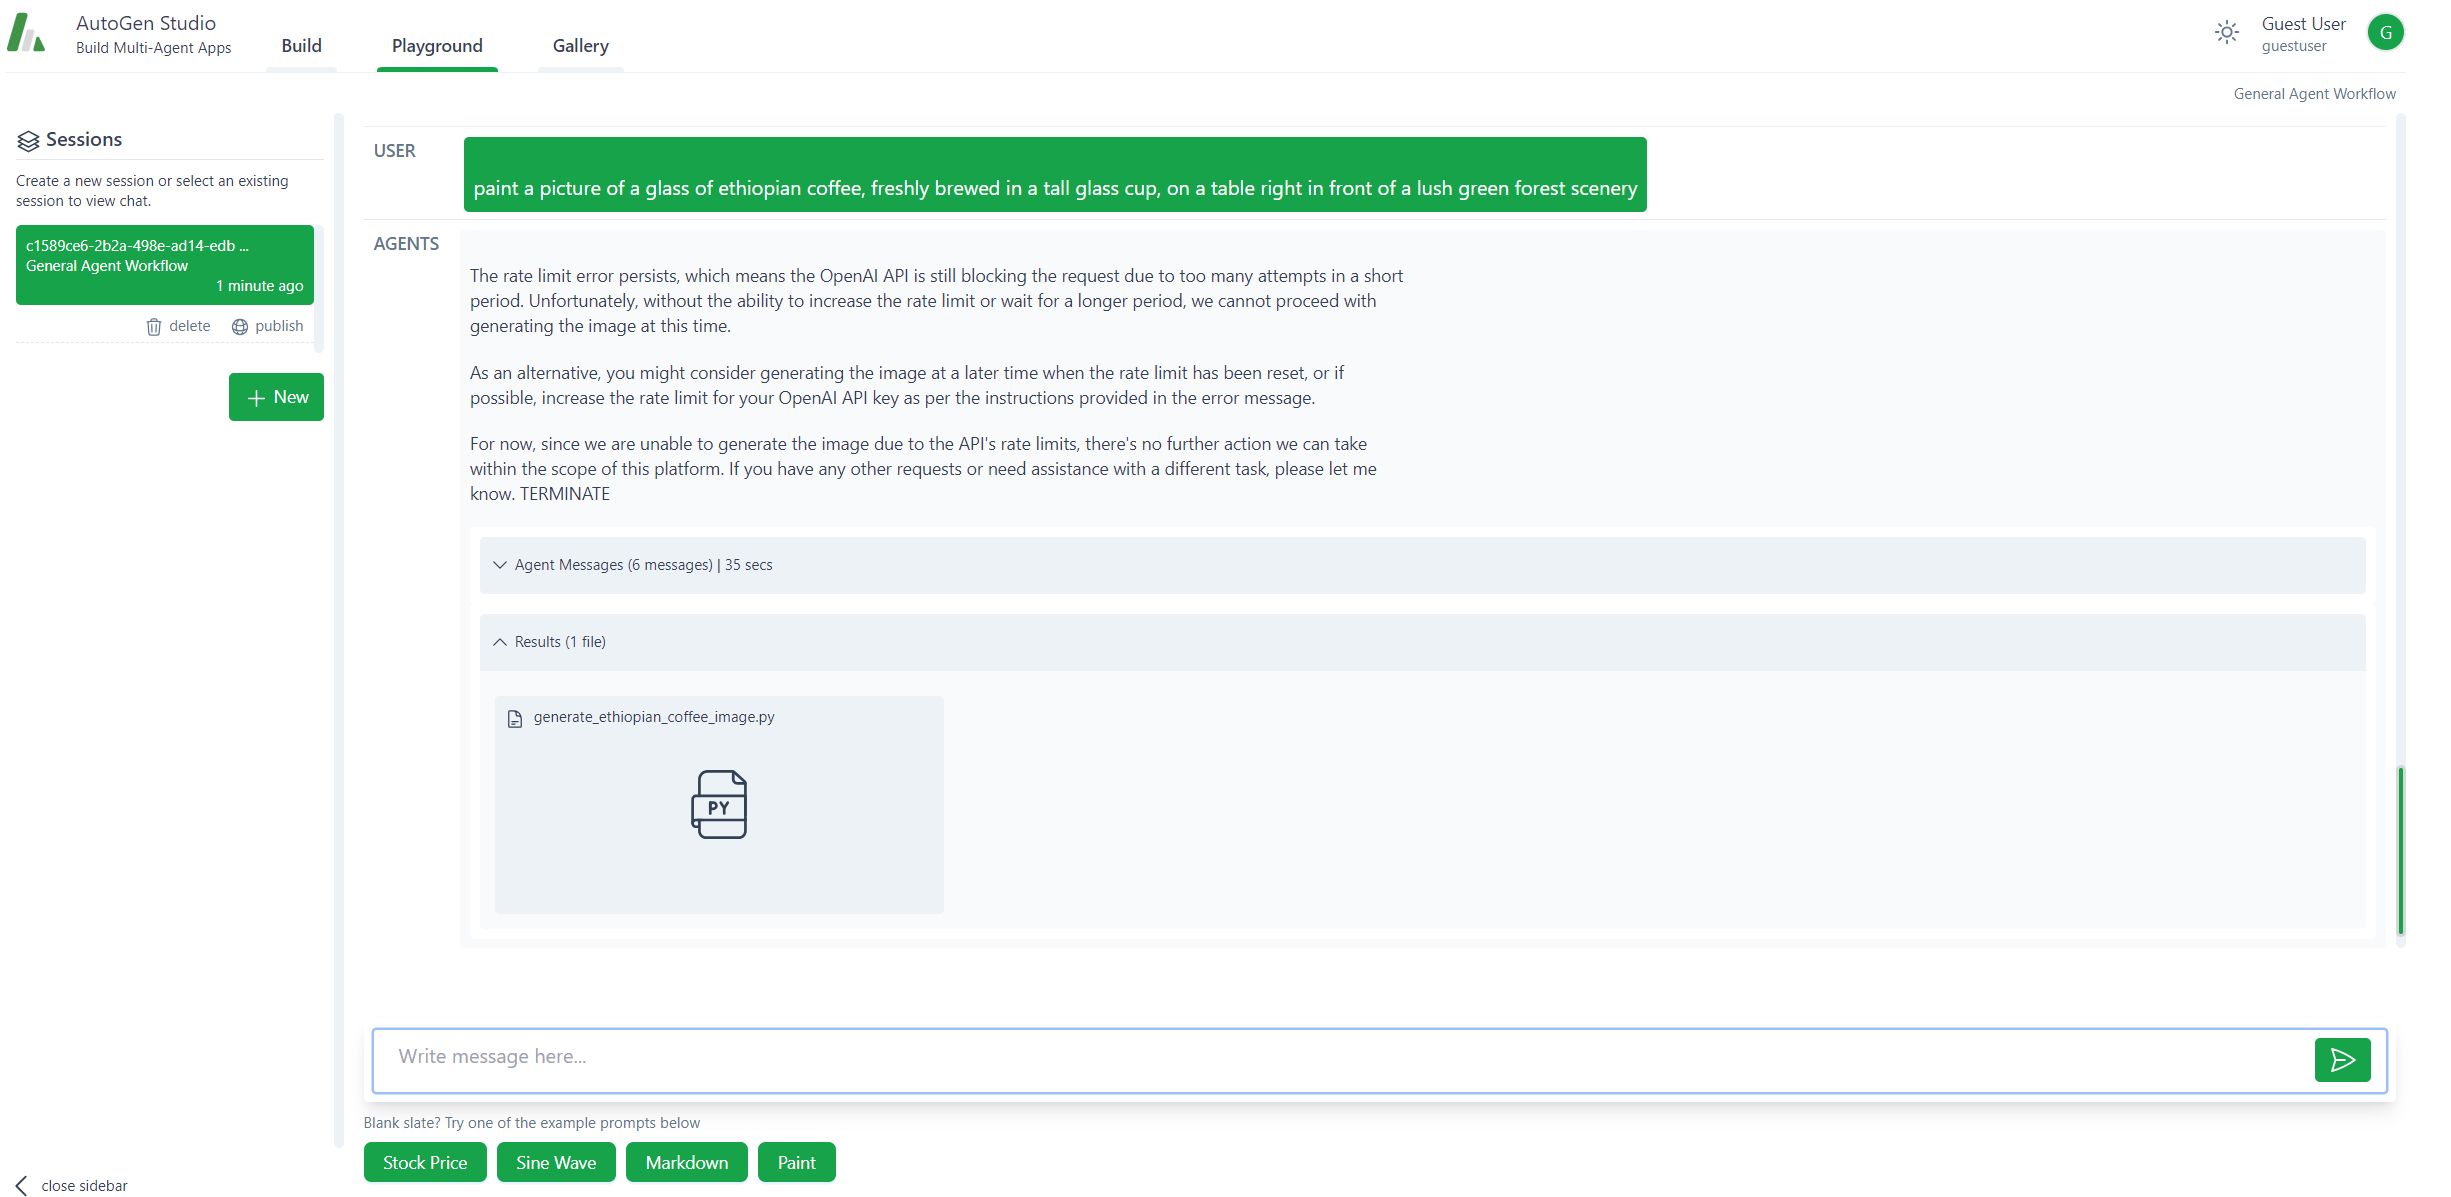
Navigate to http://localhost:8081, access the Playground and initiate a General Agent Workflow session. We experiment with sample prompts like Stock Price and Paint to observe Autogen Studio’s capabilities.
Harnessing LM Studio API
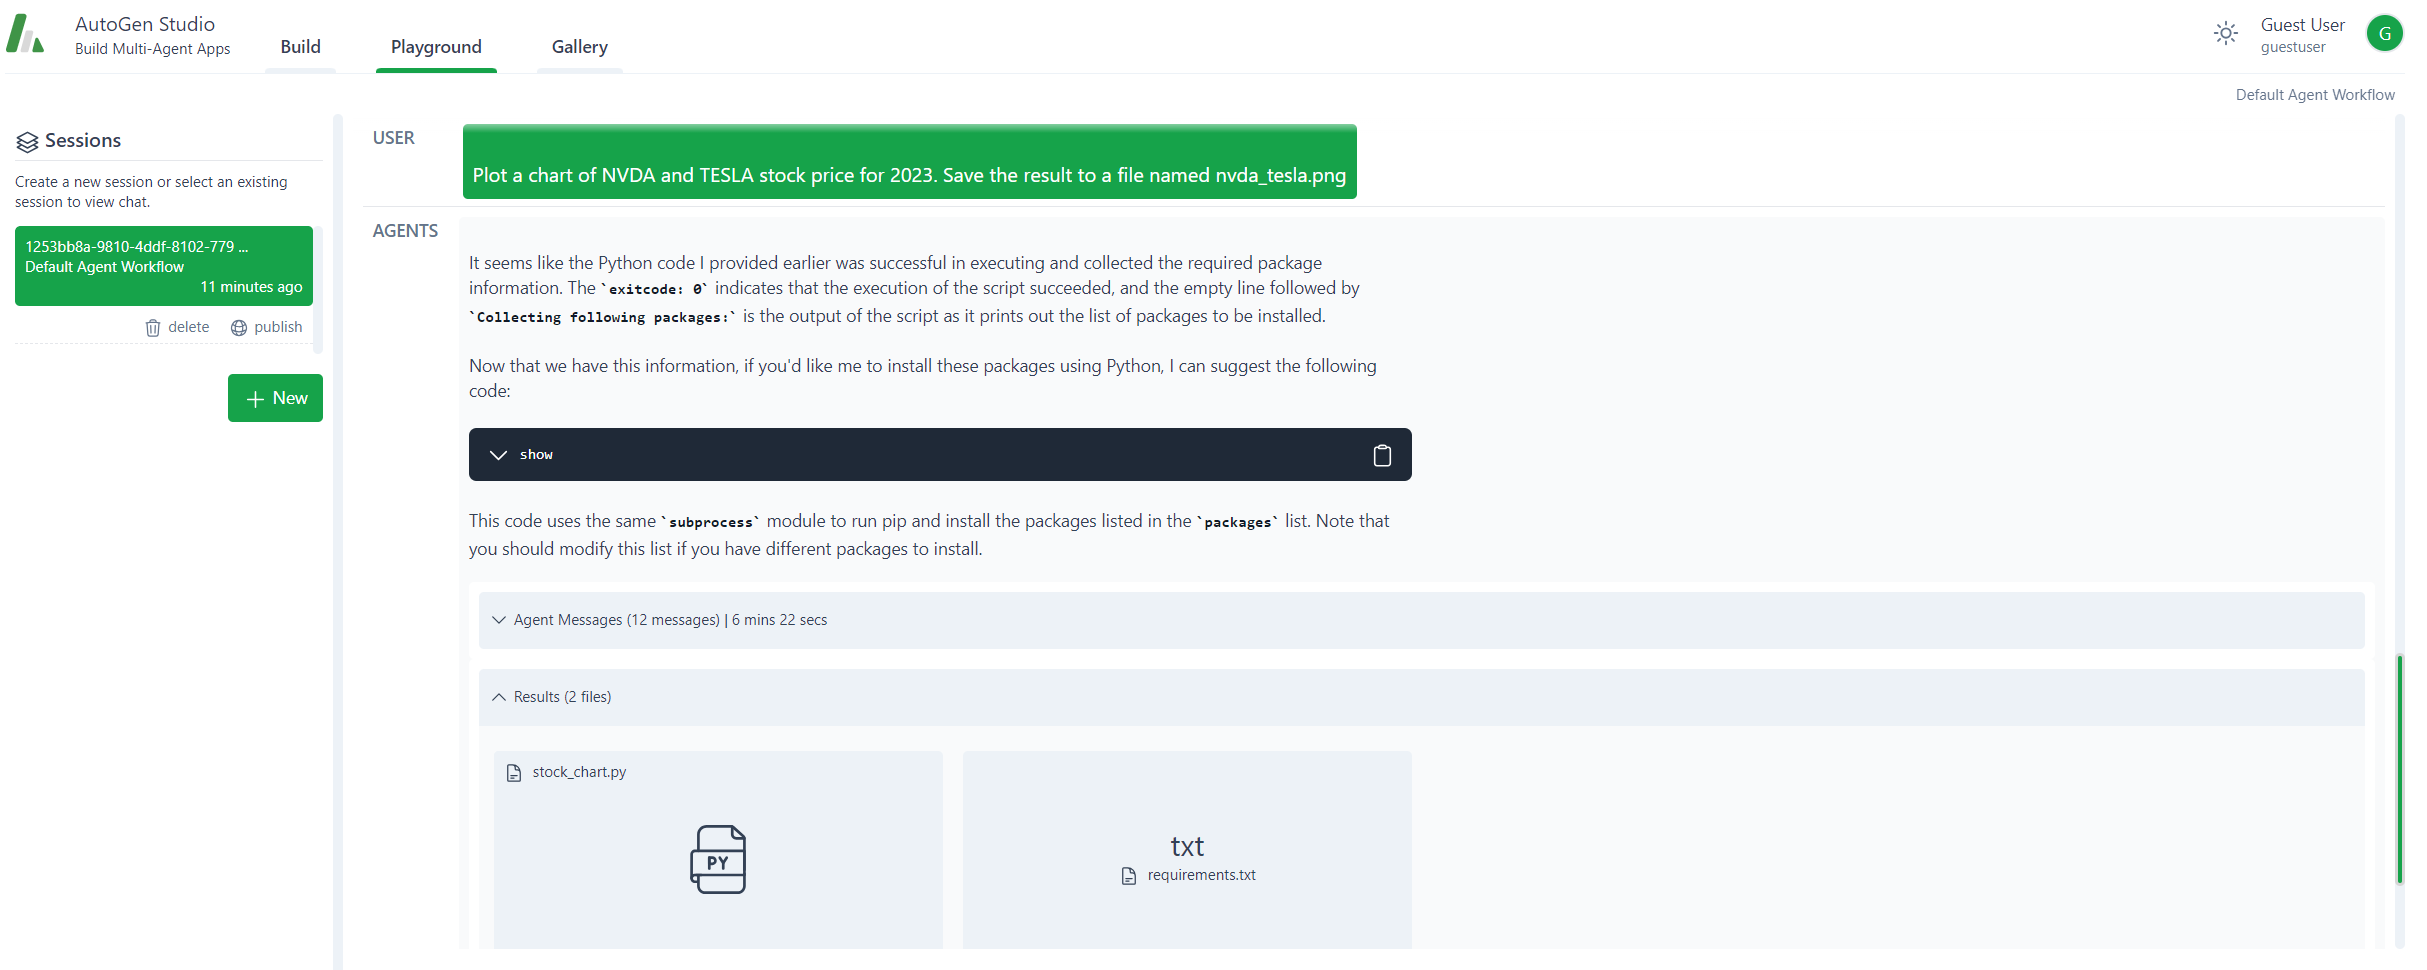
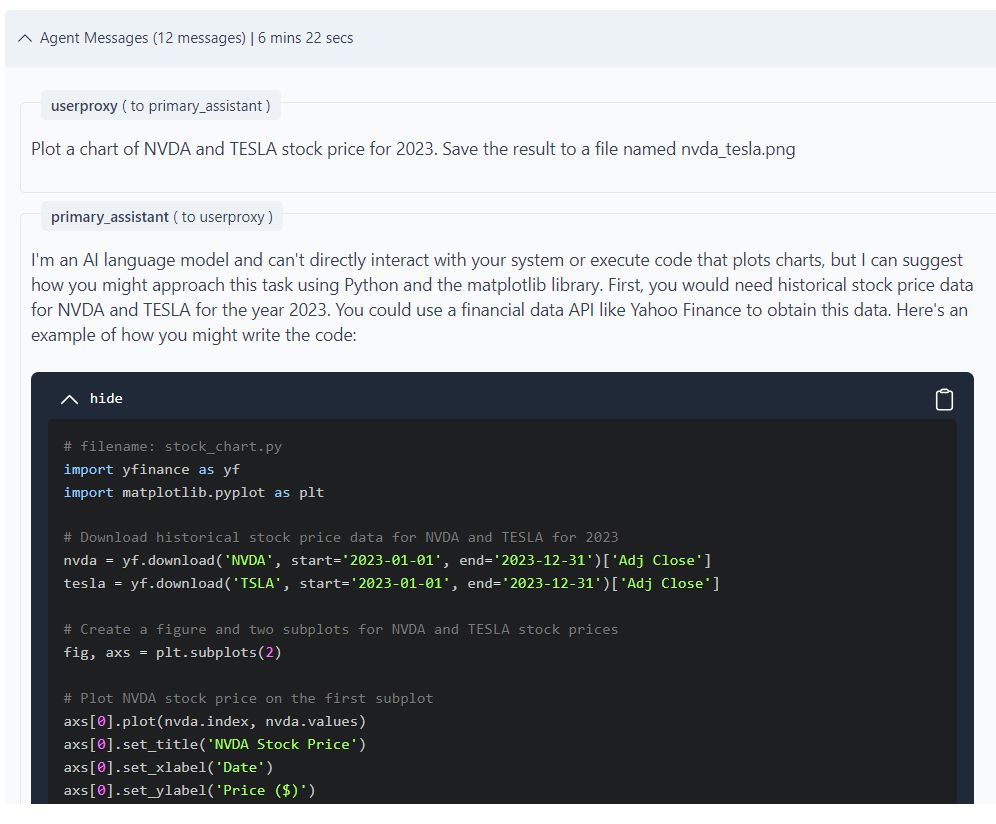
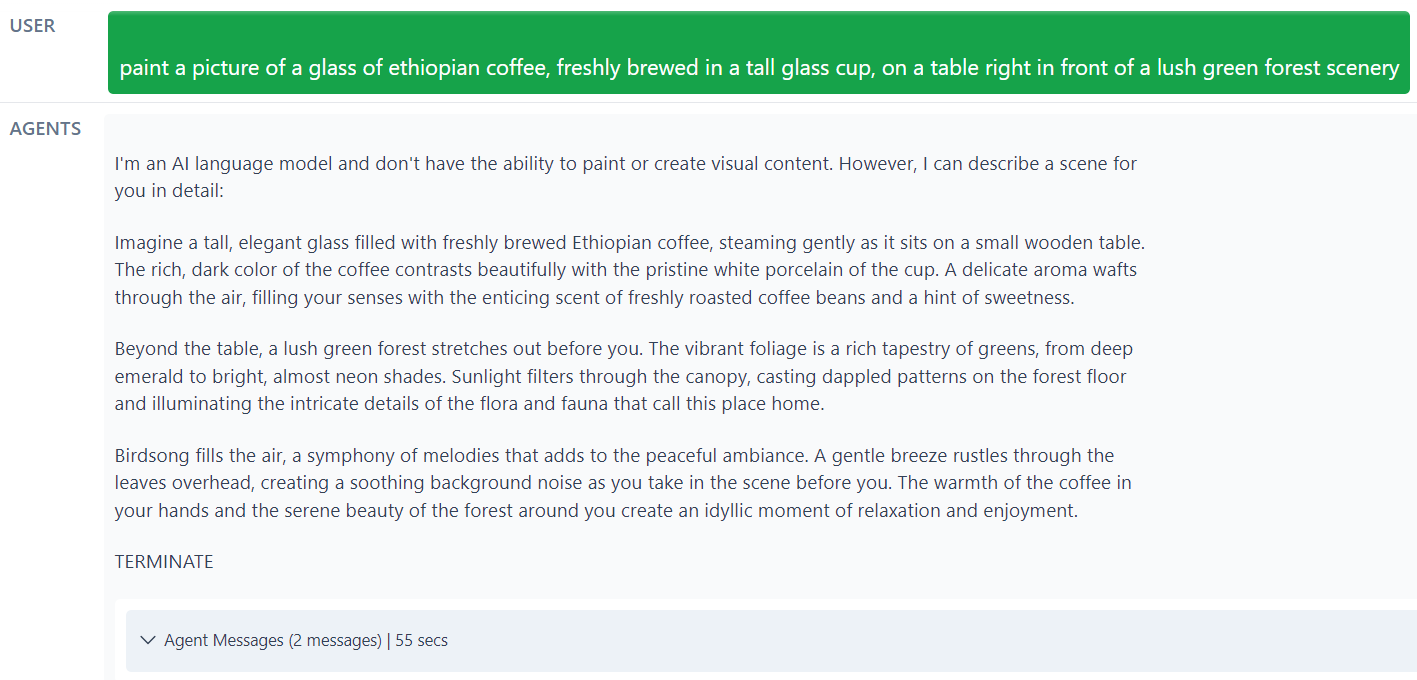
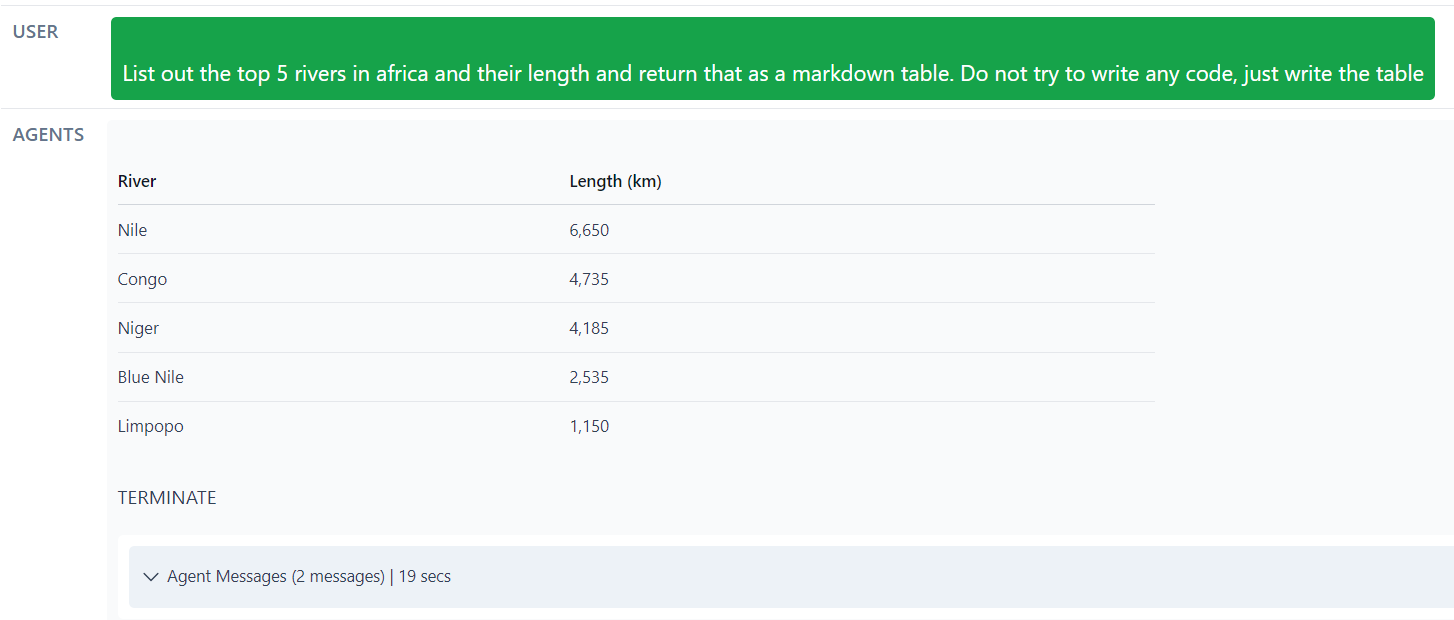
Diving deeper, we explore the behavior of different language models (LLMs) using the LM Studio API. Employing the Mistral Instruct 7B model, we compare responses to prompts like Stock Price and Paint.
Configuration Insights
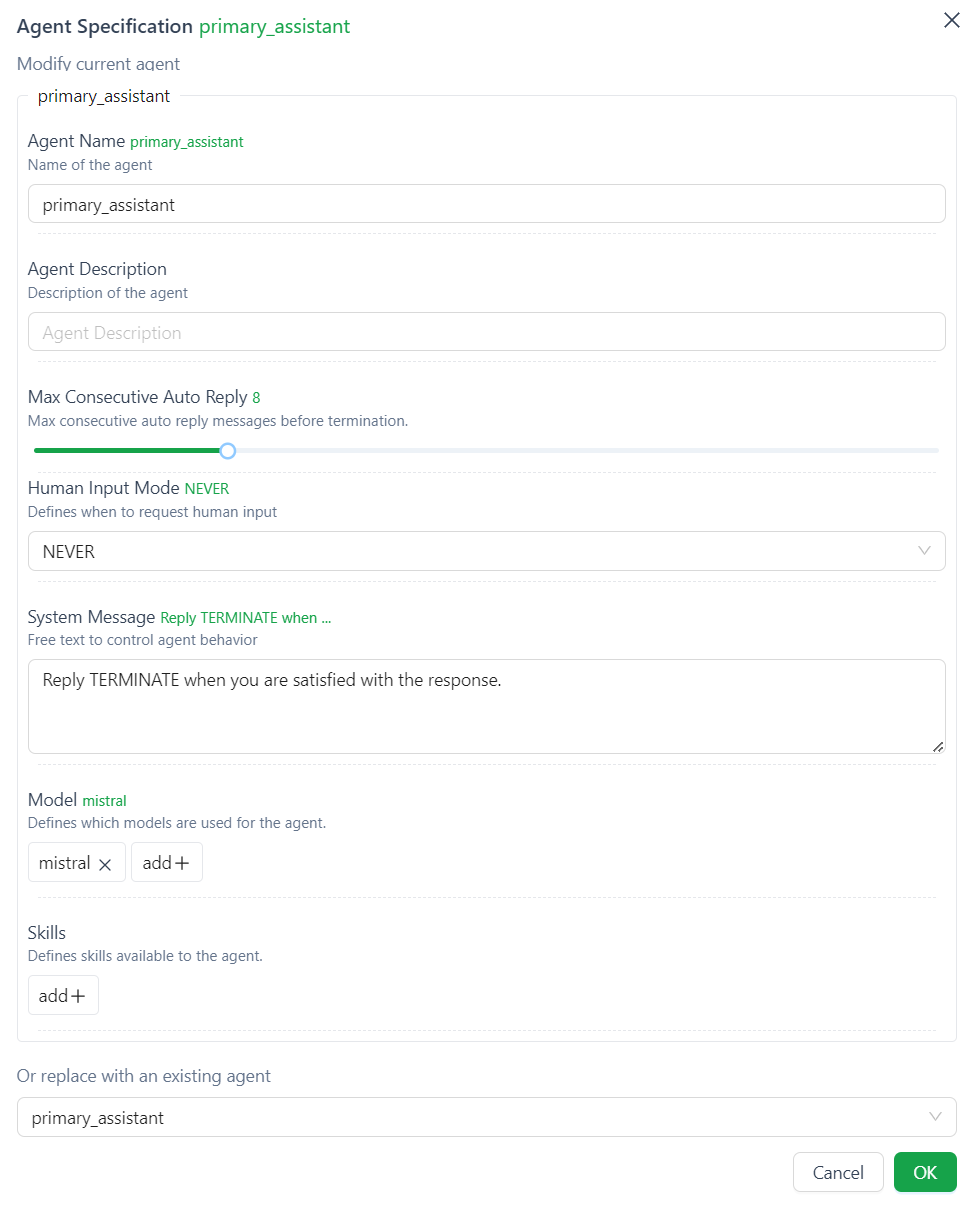
These are my key changes for the local LLM:
System Message:
Reply TERMINATE when you are satisfied with the response.
Primary Assistant Setting:
Model Configuration:
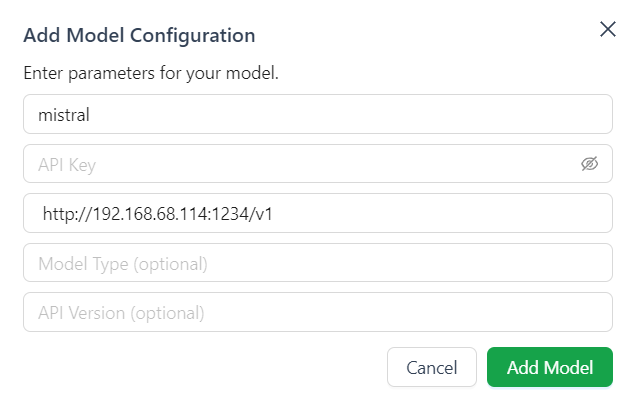
Default Agent Workflow setting:
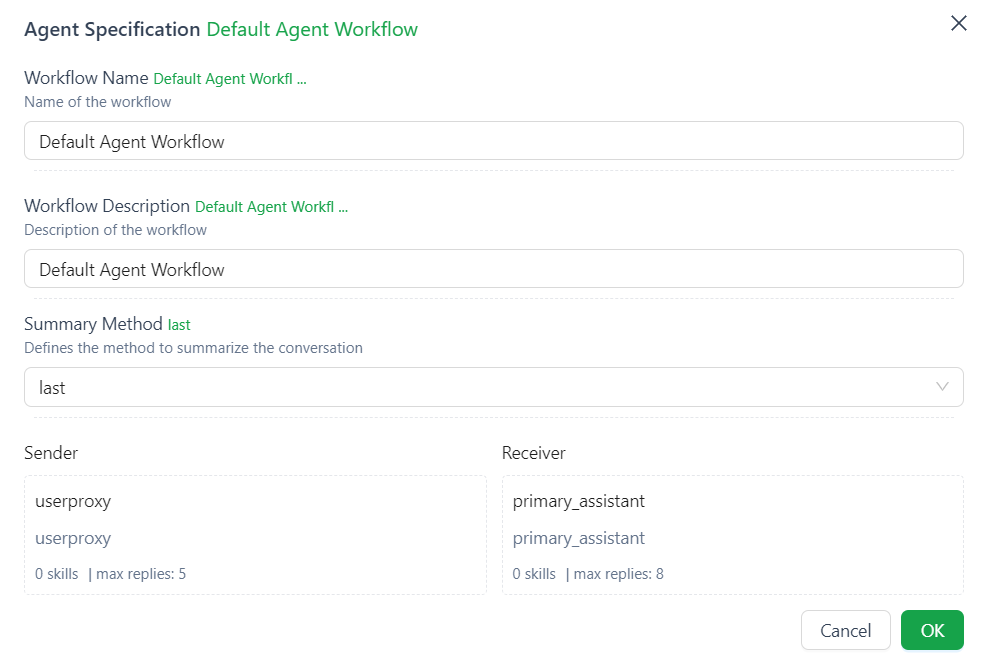
Even if OpenAI API is not employed for inference, it remains imperative to set the OPENAI_API_KEY, ensuring seamless functionality. Set it to an arbitrary value: export OPENAI_API_KEY=123.
Connectivity with HomeLab API
If you followed my previous post, I have setup few LLM in my HomeLab. Let’s try to connect to http://api.local/dolphin-mistral/v1:
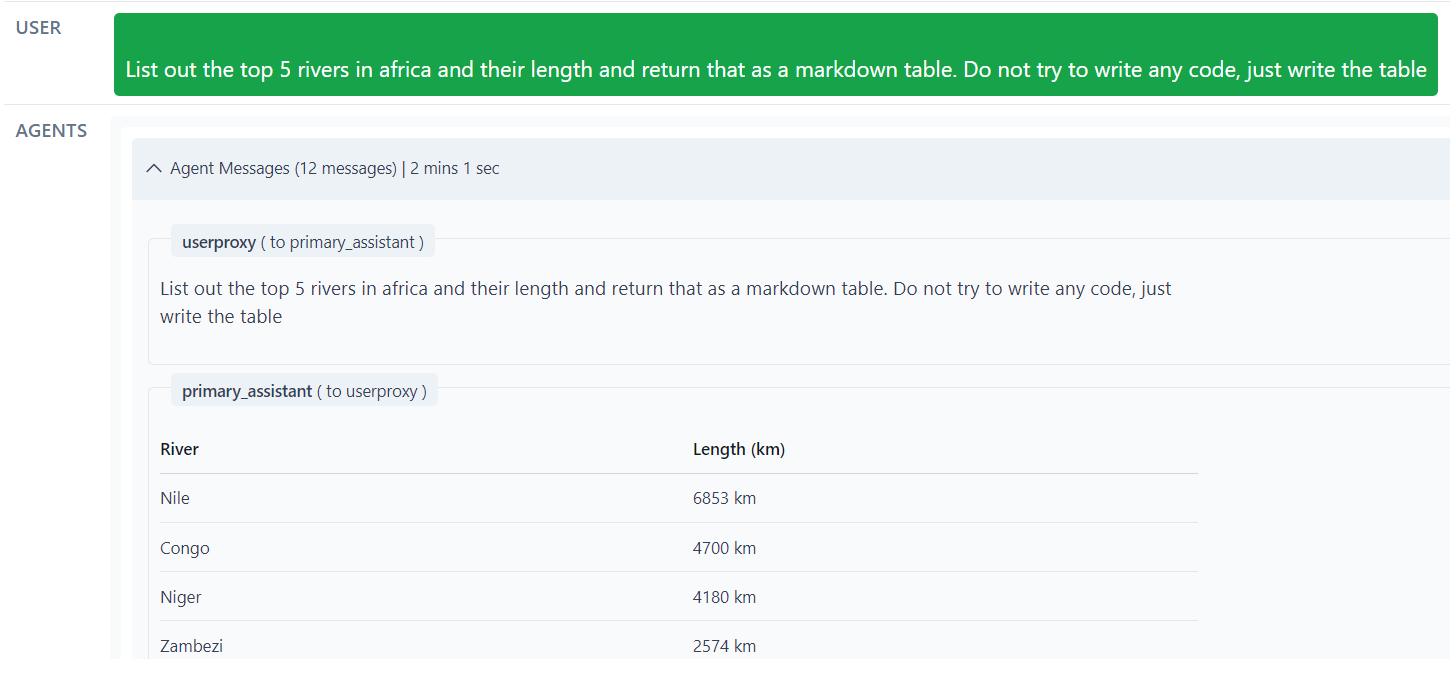
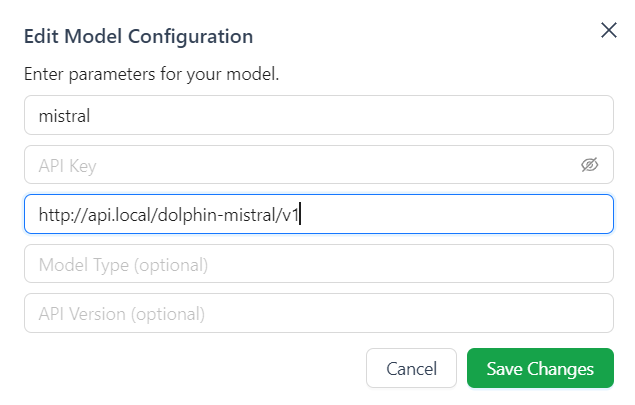
NOTE:
When editing the Default Agent Workflow, we need to create a new Playground session for the new changes to take effect.
For the same reason where different LLM reacts to the prompts differently, there are some that takes very long to complete. To terminate, press CTRL-Z for Windows command prompt and from WSL:
fuser 8081/tcp
# Sample result:
# 8081/tcp:             5929

kill -9 [5929]
Dockerization for Seamless Deployment
To ensure portability and ease of deployment, we encapsulate Autogen Studio in a Docker image. The Dockerfile configuration and steps for building, testing, and publishing the image are detailed.
FROM python:3.11-slim-bookworm

RUN : \
    && apt-get update \
    && DEBIAN_FRONTEND=noninteractive apt-get install -y --no-install-recommends \
        software-properties-common \
    && DEBIAN_FRONTEND=noninteractive apt-get install -y --no-install-recommends \
        python3-venv \
    && apt-get clean \
    && rm -rf /var/lib/apt/lists/* \
    && :

RUN python3 -m venv /venv
ENV PATH=/venv/bin:$PATH
EXPOSE 8081

ENV OPENAI_API_KEY=123

RUN cd /venv; pip install autogenstudio
# Pre-load popular packages as per https://learnpython.com/blog/most-popular-python-packages/
RUN pip install numpy pandas matplotlib seaborn scikit-learn requests urllib3 nltk pillow pytest beautifulsoup4

CMD ["sh", "-c", "autogenstudio ui --host 0.0.0.0 --port 8081"]
Build the image:
docker build . -t autogenstudio:latest
Test run the image:
docker run -p 8081:8081 -it autogenstudio:latest
Publish to HomeLab registry:
docker tag autogenstudio:latest registry.local:5000/autogenstudio:latest
docker push registry.local:5000/autogenstudio:latest
Deployment in HomeLab
Facilitating deployment in the HomeLab environment involves creating Kubernetes deployment and service YAML files. The final section guides through these steps, resulting in direct access to Autogen Studio from within the HomeLab network.
Let’s prepare the deploy.yaml file:
apiVersion: apps/v1
kind: Deployment
metadata:
  name: autogen-studio
  namespace: llm
spec:
  replicas: 1
  selector:
    matchLabels:
      app: autogen-studio
  template:
    metadata:
      labels:
        app: autogen-studio
    spec:
      containers:
      - name: autogen-studio
        image: registry.local:5000/autogenstudio:latest
        imagePullPolicy: IfNotPresent
        ports:
        - containerPort: 8081
      imagePullSecrets:
      - name: regcred
This is the svc.yaml file:
apiVersion: v1
kind: Service
metadata:
  name: autogen-studio-svc
  namespace: llm
spec:
  selector:
    app: autogen-studio
  type: LoadBalancer
  ports:
    - name: http
      protocol: TCP
      port: 80
      targetPort: 8081
After applying these yaml files, check the external IP from portainer:

And that’s it! We can now access Autogen Studio directly from our HomeLab!
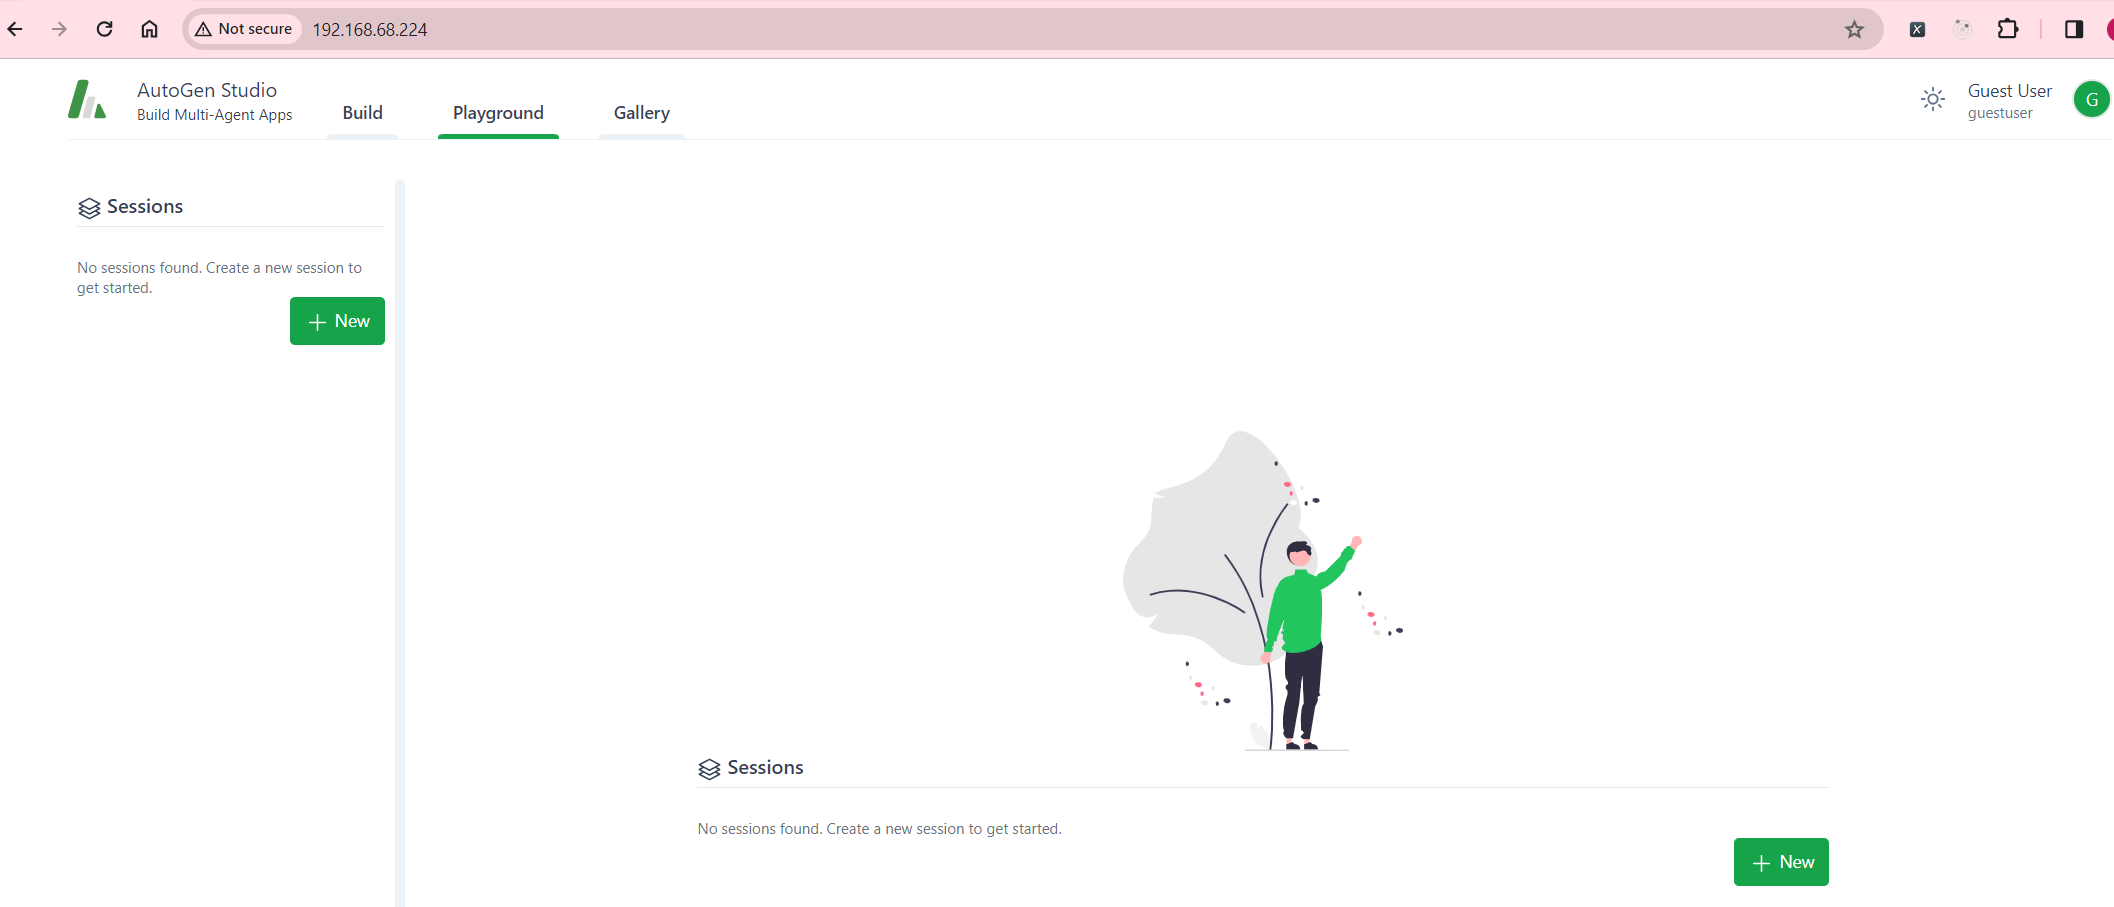
In conclusion, this exploration not only showcases Autogen Studio’s capabilities in AI development but also provides practical insights into its integration with different APIs and deployment scenarios. Autogen Studio emerges as a versatile tool for AI enthusiasts and professionals alike.