Deploying Budibase in HomeLab
In this guide, we’ll delve into the process of installing Budibase within our HomeLab environment. Budibase offers the capability to craft robust applications and workflows from various data sources, enabling the secure deployment of professional-grade solutions across our teams.
Testing Budibase with Docker Desktop
Let’s start our exploration by testing Budibase using Docker compose. To begin, download both the docker-compose.yaml and .env files, then launch the platform with the following command:
docker-compose up
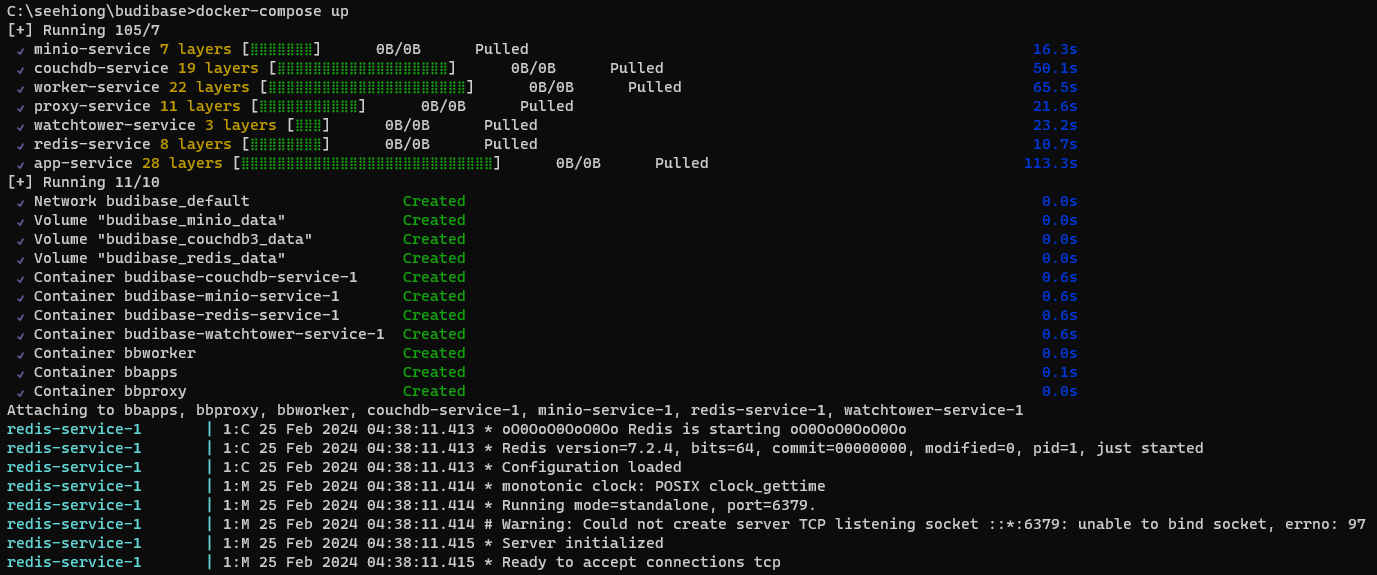
The platform is now accessible at:
http://localhost:10000
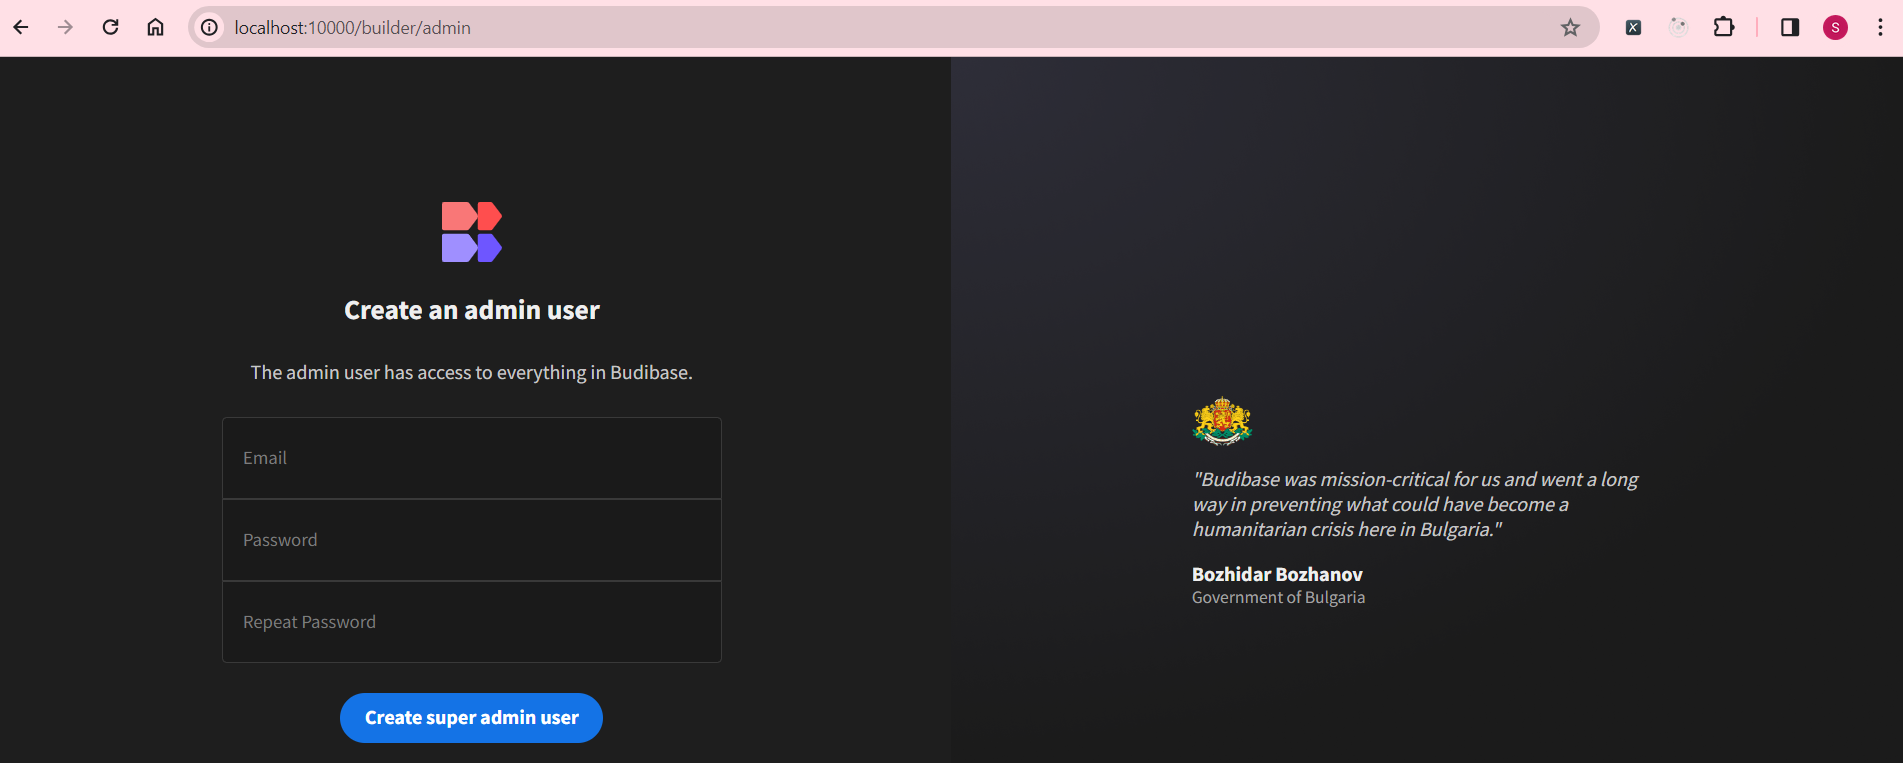
With Budibase successfully running on Windows Docker Desktop, let’s proceed to installing it within our HomeLab.
Deploying Budibase to Home Lab
Preparing Helm
As we’ll be utilizing Helm, let’s install it:
sudo snap install helm --classic
Next, configure our kubeconfig to grant Helm access:
cp /etc/rancher/k3s/k3s.yaml ~/.kube/config
chmod 600 ~/.kube/config
Deploying Budibase
Now, let’s install the Budibase Helm chart:
helm repo add budibase https://budibase.github.io/budibase/
helm repo update
helm install --create-namespace --namespace budibase budibase budibase/budibase
And with that, Budibase should be installed and operational:
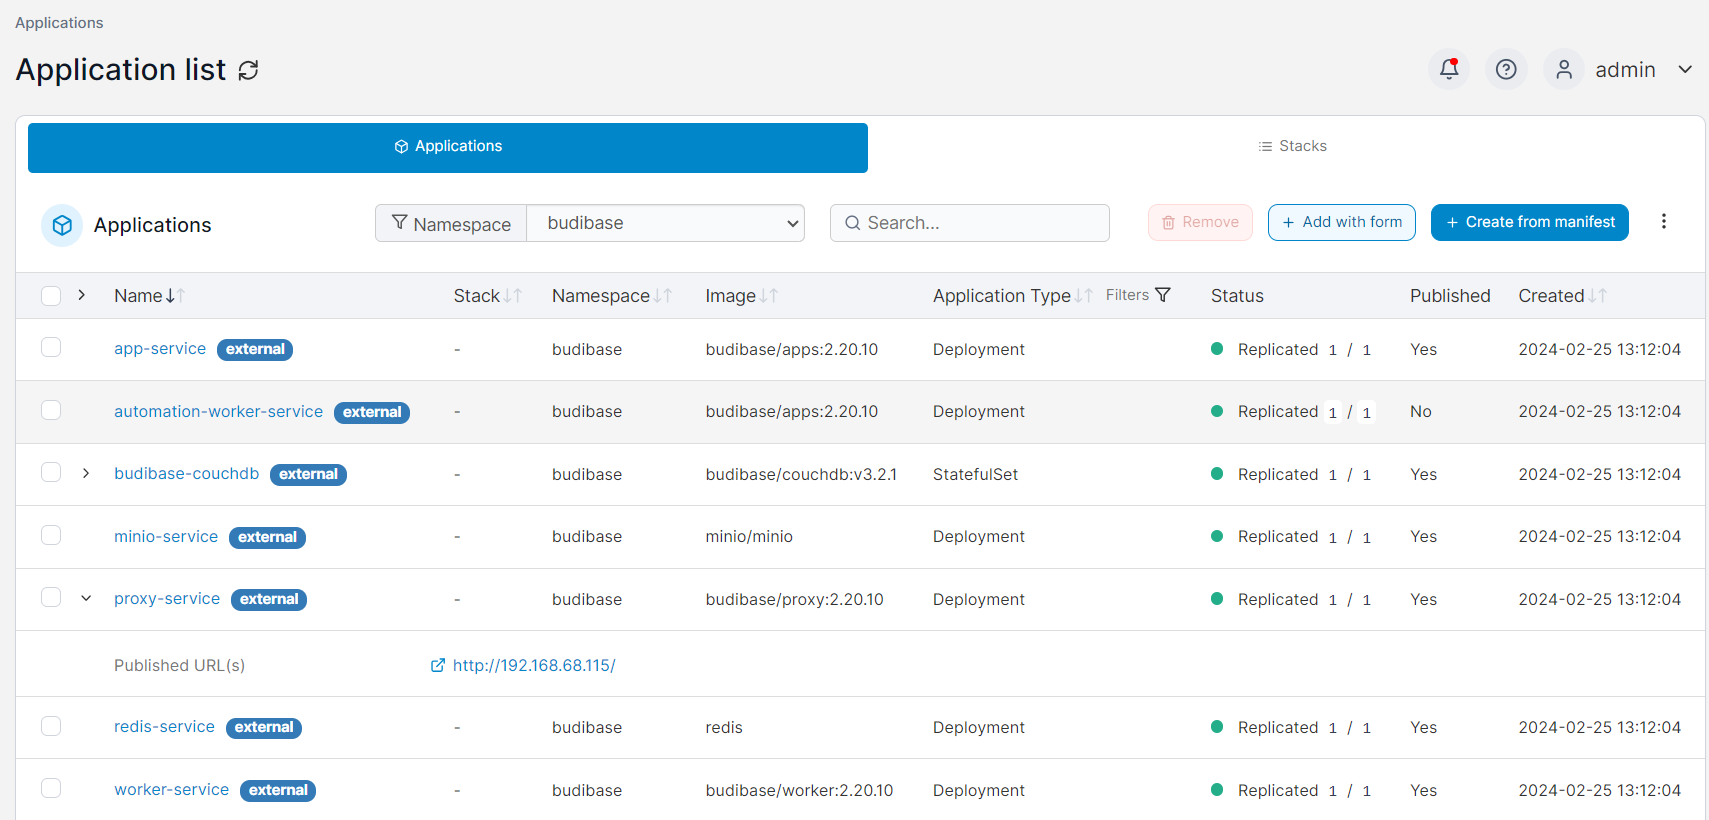
Building Our First App
After setting up the admin user, let’s proceed with crafting our job application app!
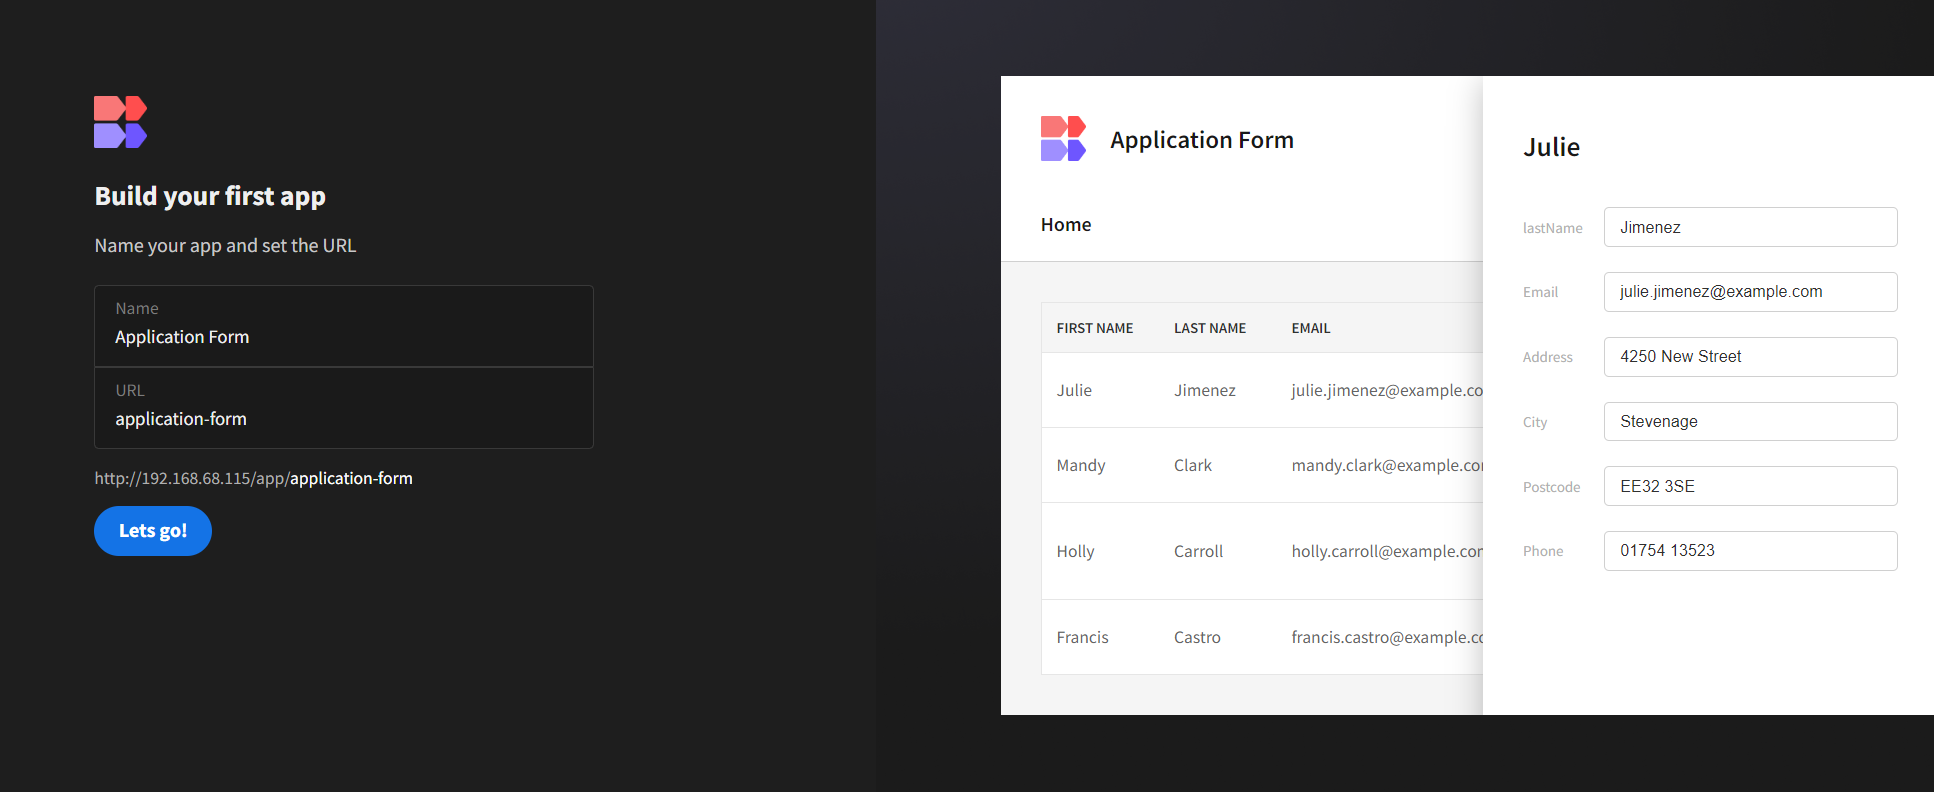
We’ll kickstart by creating the required table. Initially, I’ll utilize the built-in CouchDB:

Next, we’ll design the application form and link it to the created table:

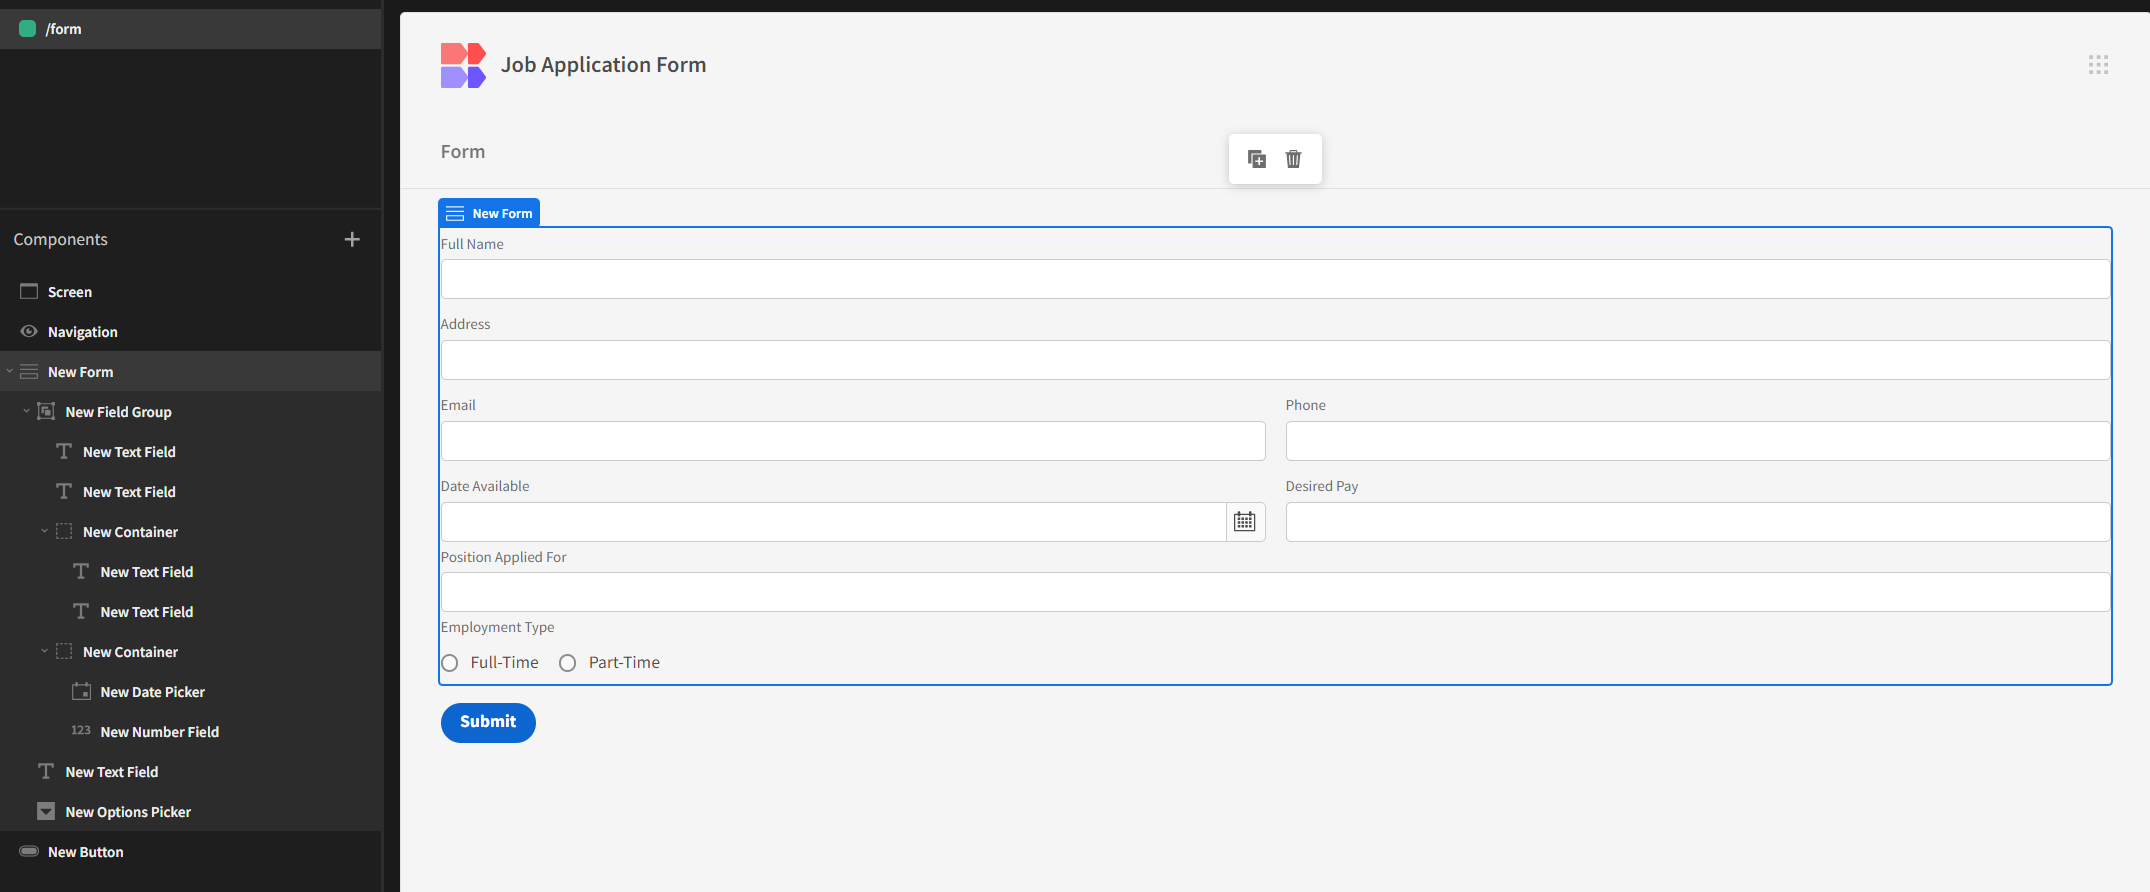
Then, we’ll design the application form itself:
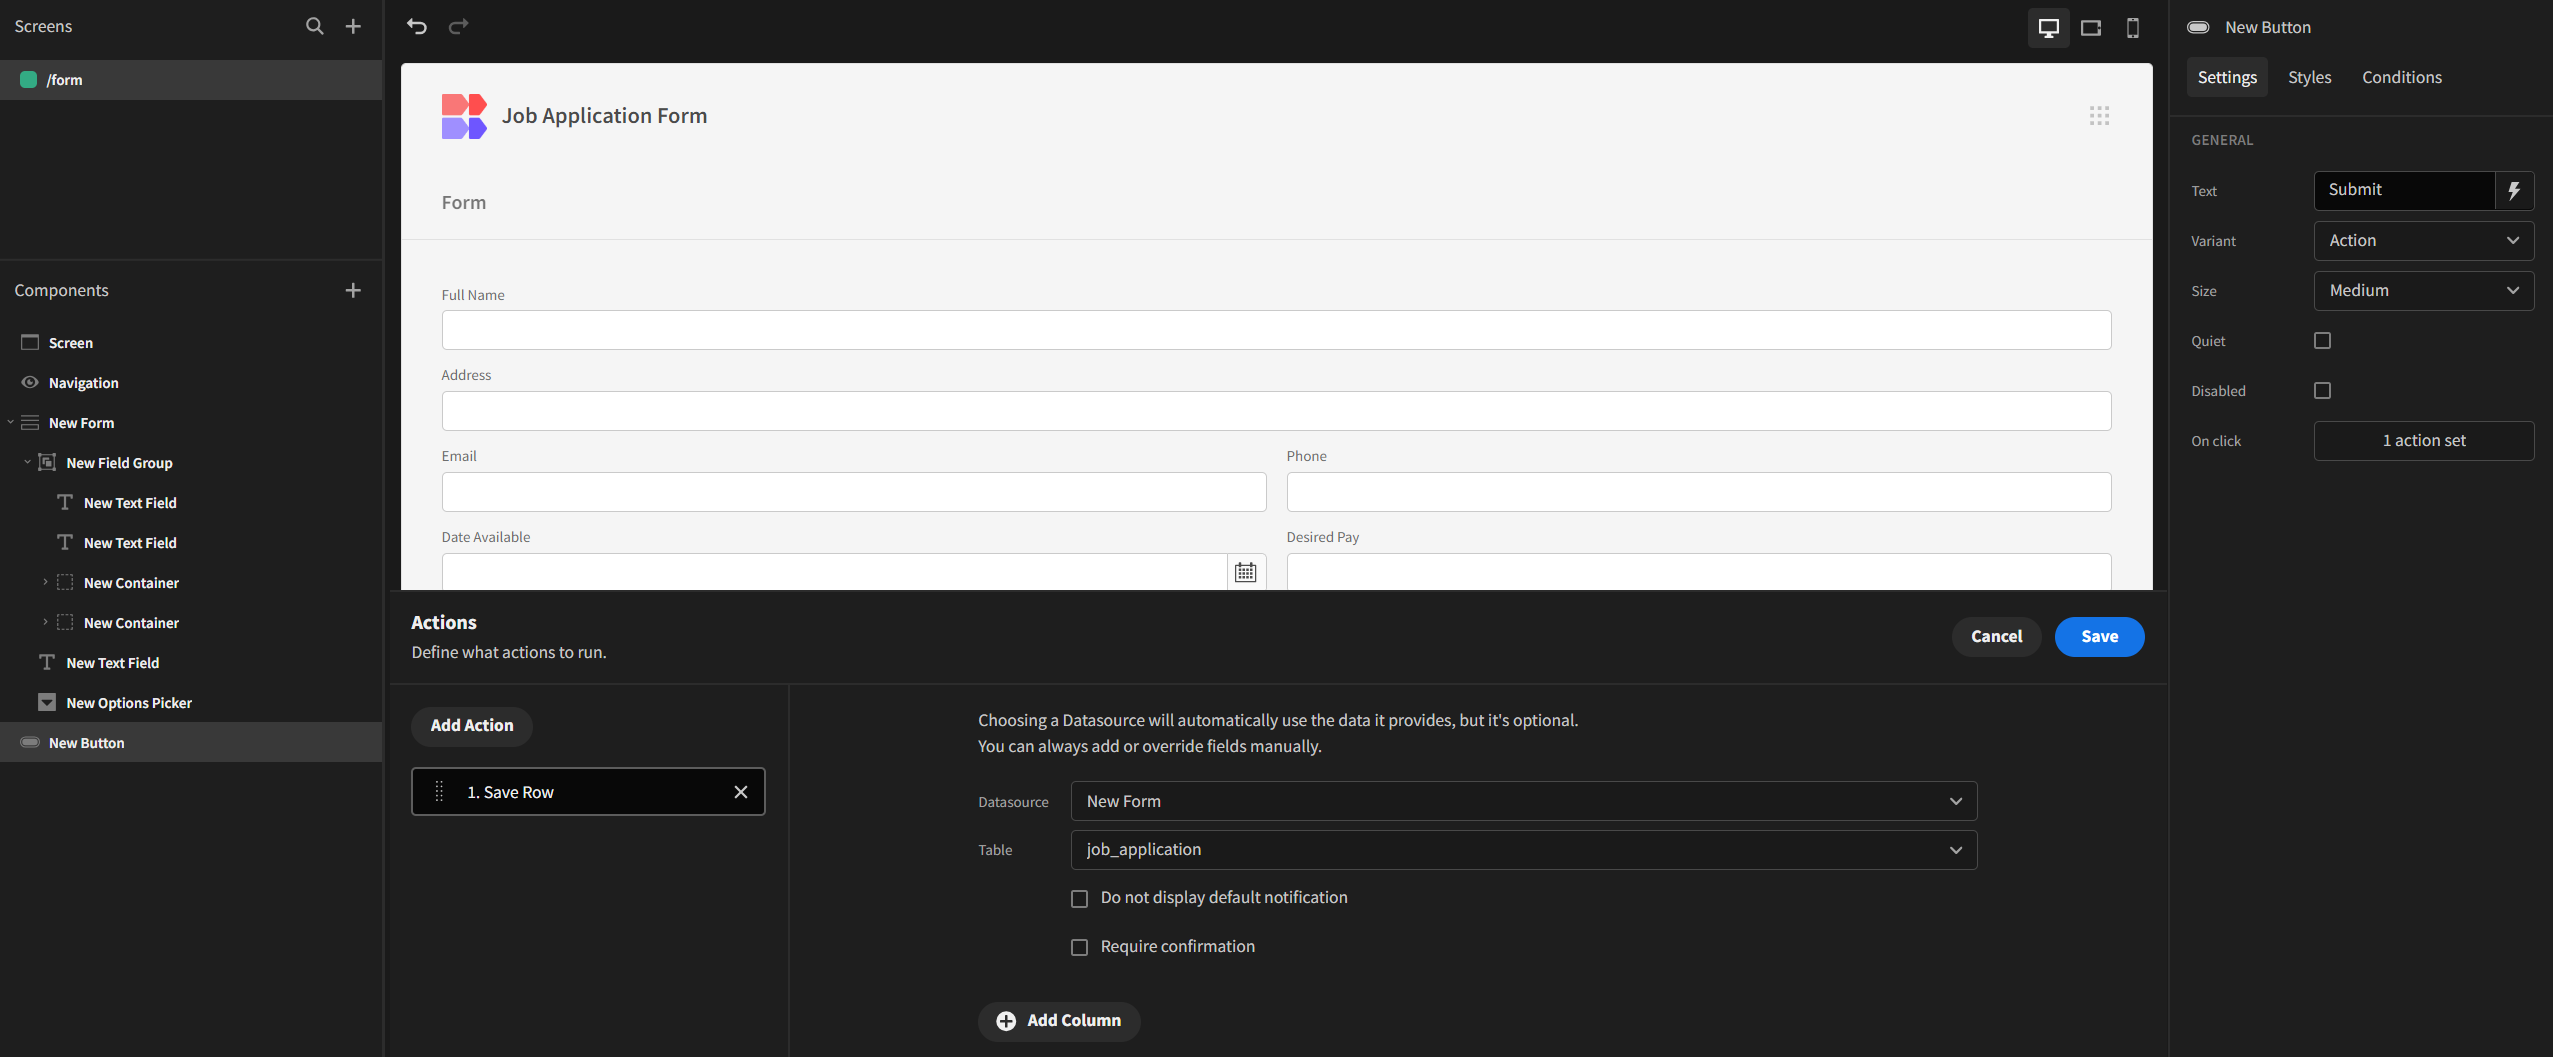
For the Submit button’s On Click action, let’s set it to Save Row:
Lastly, let’s publish the app by clicking on the Publish icon located in the top-right corner.
Submitting the Application Form
The application form is accessible at the following URL, where the application URL is application-form and the route is form:
http://192.168.68.115/app/application-form#/form
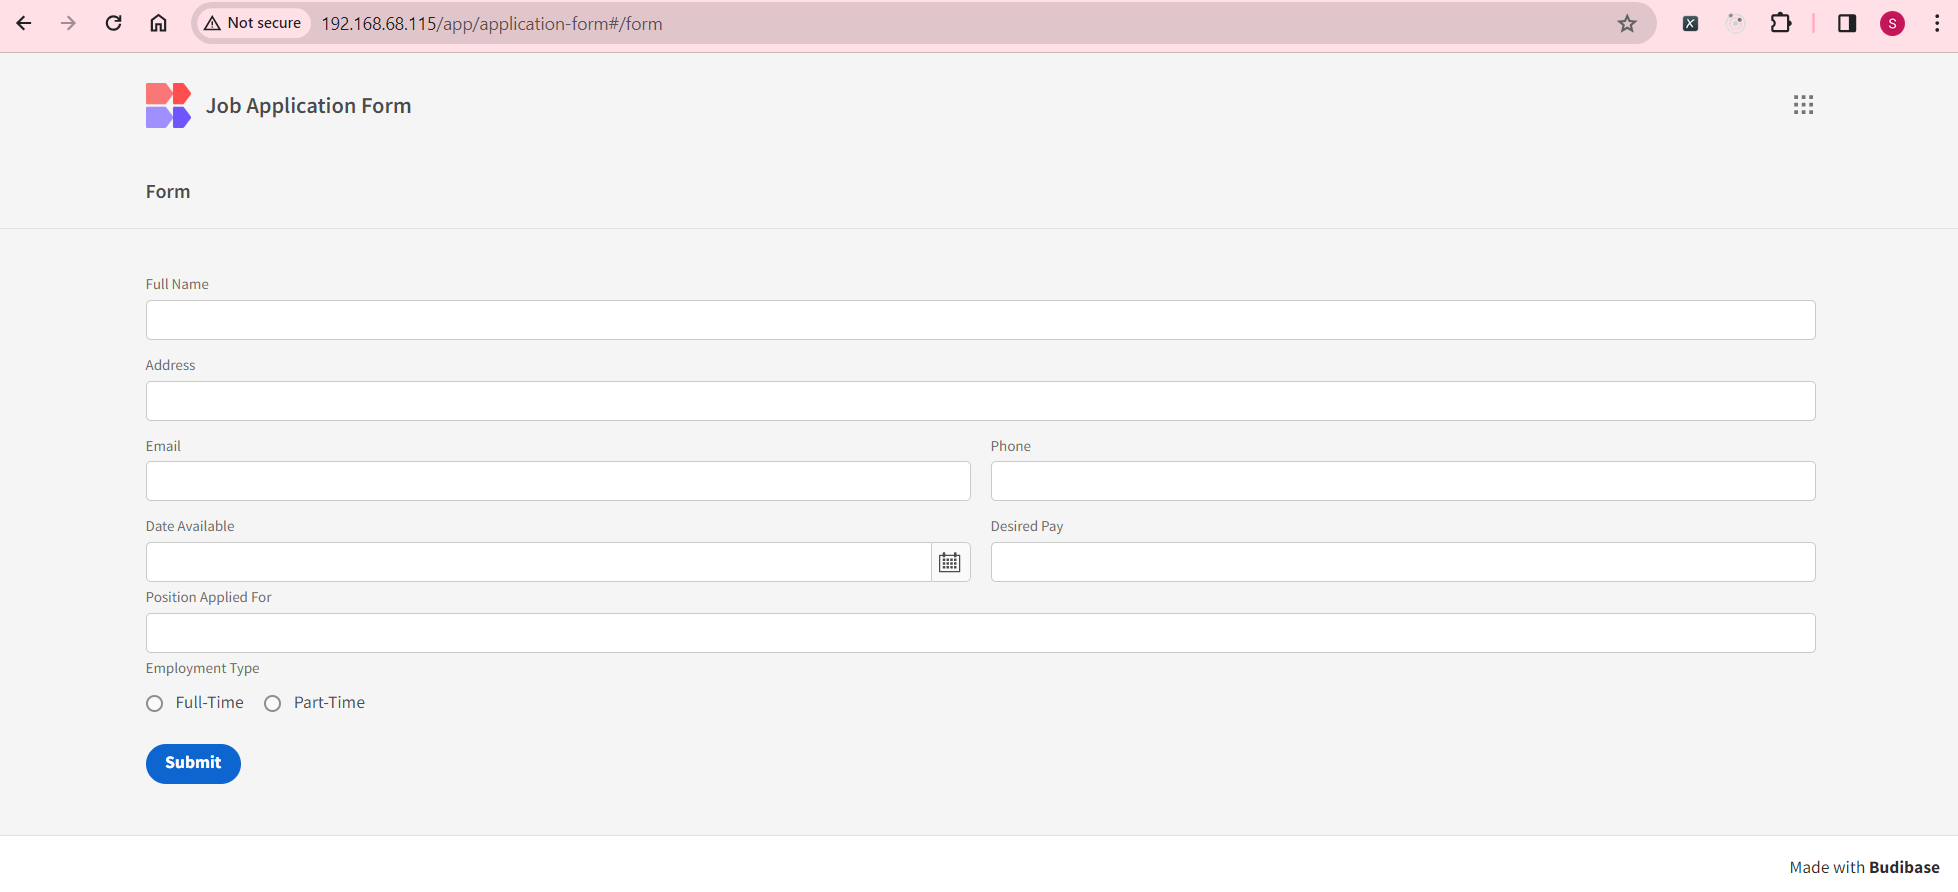
And there you have it! We’ve successfully built and published our first app using Budibase!
Optional
Let’s first export the current data and to uninstall the application. Next, let’s create the values.yaml file:
couchdb:
  persistentVolume:
    enabled: true
    storageClass: "budibase-couchdb"
    size: "1Gi"

services:
  objectStore:
    storageClass: "budibase-services"
  redis:
    storageClass: "budibase-services"
Copy the budibase-nfs.yaml file to /var/lib/rancher/k3s/server/manifests:
apiVersion: helm.cattle.io/v1
kind: HelmChart
metadata:
  name: budibase-couchdb
  namespace: budibase
spec:
  chart: nfs-subdir-external-provisioner
  repo: https://kubernetes-sigs.github.io/nfs-subdir-external-provisioner
  set:
    nfs.server: tnas.local
    nfs.path: /mnt/public/budibase
    storageClass.name: budibase-couchdb
    storageClass.reclaimPolicy: Retain
    storageClass.accessModes: ReadWriteMany
    nfs.reclaimPolicy: Retain
---
apiVersion: helm.cattle.io/v1
kind: HelmChart
metadata:
  name: budibase-services
  namespace: budibase
spec:
  chart: nfs-subdir-external-provisioner
  repo: https://kubernetes-sigs.github.io/nfs-subdir-external-provisioner
  set:
    nfs.server: tnas.local
    nfs.path: /mnt/public/budibase
    storageClass.name: budibase-services
    storageClass.reclaimPolicy: Retain
    storageClass.accessModes: ReadWriteMany
    nfs.reclaimPolicy: Retain
Reinstall Budibase with:
# Install Helm Chart
helm install --create-namespace --namespace budibase -f values.yaml budibase budibase/budibase
Finally import your app and from now onwards, all the Budibase files will be saved to our shared NAS!