Deploy Microservices with Talos Locally
Replicating a SaaS environment locally for testing microservices is a frequent need when developing modern applications. In this post, I’ll guide you through the steps to replicate a Google Kubernetes Engine (GKE) setup using Talos Linux in a VirtualBox VM. This approach is ideal for ensuring seamless integration with external services and testing your microservices code before pushing to production.
This demo is based on the popular Microservices-demo, which I previously encountered while preparing for my Professional Cloud Architect certification. Let’s explore how to deploy the same setup in a local Kubernetes cluster powered by Talos Linux.
Preparation
To begin, create a new virtual machine in Oracle VirtualBox named talosvm, using the Talos Linux v1.7.6 ISO. Given the workloads we’ll be deploying, allocate 8GB memory and 4 CPUs to the VM.
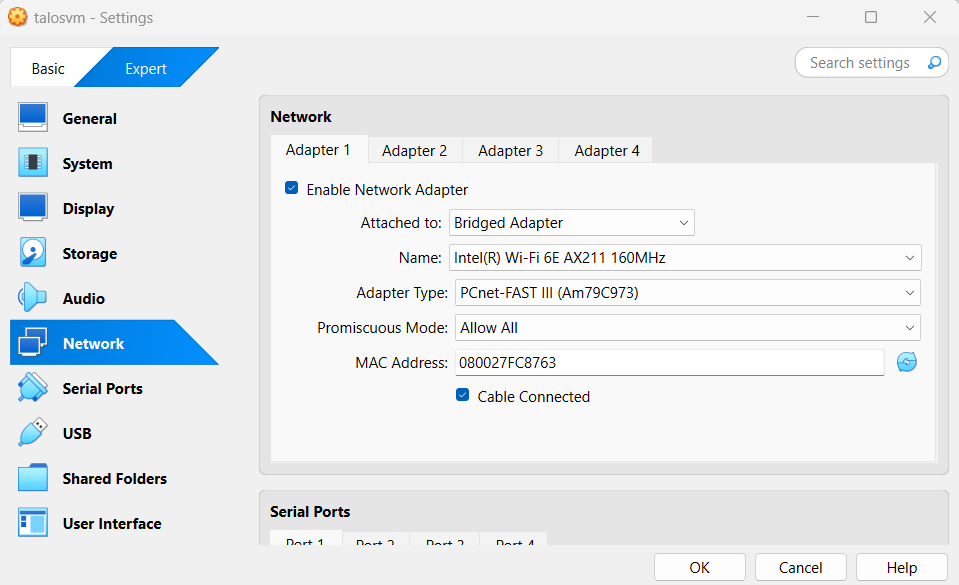
For networking, use the Bridged Adapter, selecting your Wi-Fi or LAN adapter, and set the promiscuous mode to “Allow All.”
Installation
Installing Talos in VirtualBox
To install Talos, we’ll reference my earlier post on setting up Talos Linux. Below are the key steps:
Generate the configuration for the control plane node:
talosctl gen config talosvm https://192.168.68.106:6443
Here’s the content of the control.patch file used to customize the installation:
# control.patch
machine:
  network:
    hostname: talos-control
  install:
    disk: /dev/sda
    image: ghcr.io/siderolabs/installer:v1.7.6
    wipe: true
cluster:
  clusterName: talosvm
  allowSchedulingOnControlPlanes: true
Using WSL, apply this configuration with:
talosctl machineconfig patch controlplane.yaml --patch @control.patch --output control.yaml
talosctl apply-config --insecure -n 192.168.68.106 --file control.yaml
Once the VM reboots and etcd is running, bootstrap the control plane:
talosctl bootstrap --nodes 192.168.68.106 --endpoints 192.168.68.106 --talosconfig talosconfig
Copy the talosconfig contents to %USERPROFILE%/.talos/config, and update the IP address to 192.168.68.106. To access Kubernetes with kubectl or k9s, merge the configuration into your Kubeconfig:
talosctl kubeconfig -n 192.168.68.106
Deploying the Microservices Demo
Clone the microservices-demo repository and apply it using Kustomize:
git clone https://github.com/GoogleCloudPlatform/microservices-demo
cd microservices-demo/kustomize

kubectl apply -k .
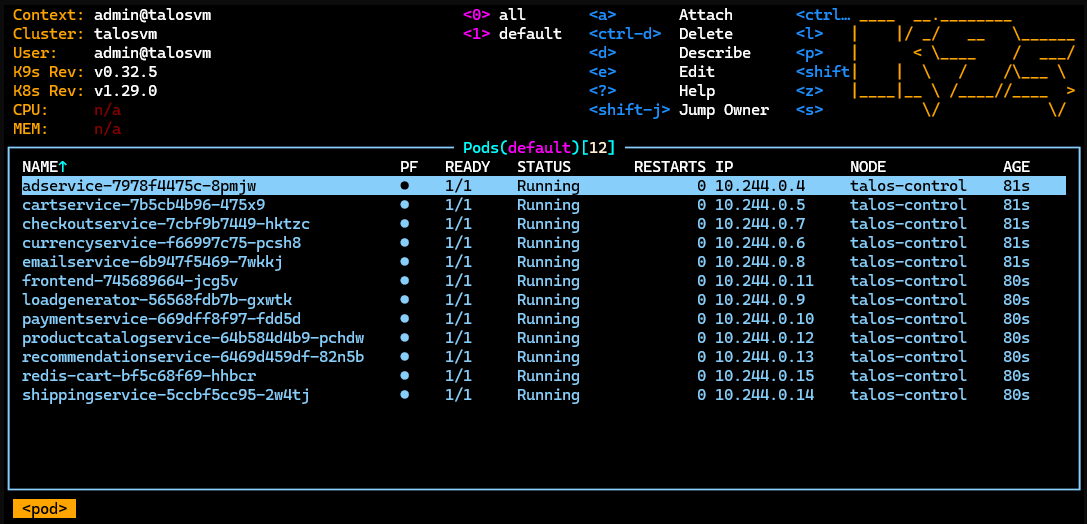
Monitor the progress using K9s:
Installing MetalLB
To assign external IPs, we’ll use MetalLB. First, download and apply the manifest:
mkdir ~/metallb
cd ~/metallb

wget https://raw.githubusercontent.com/metallb/metallb/v0.14.8/config/manifests/metallb-native.yaml -O metallb-native.yaml
Define the IP address pool:
apiVersion: metallb.io/v1beta1
kind: IPAddressPool
metadata:
  name: first-pool
  namespace: metallb-system
spec:
  addresses:
  - 192.168.68.230-192.168.68.240
Set up L2 advertisement:
apiVersion: metallb.io/v1beta1
kind: L2Advertisement
metadata:
  name: first-advert
  namespace: metallb-system
spec:
  ipAddressPools:
  - first-pool
Apply the configurations:
kubectl apply -f metallb-native.yaml
kubectl apply -f metallb-ip-address-pool.yaml
kubectl apply -f metallb-l2-advertisement.yaml
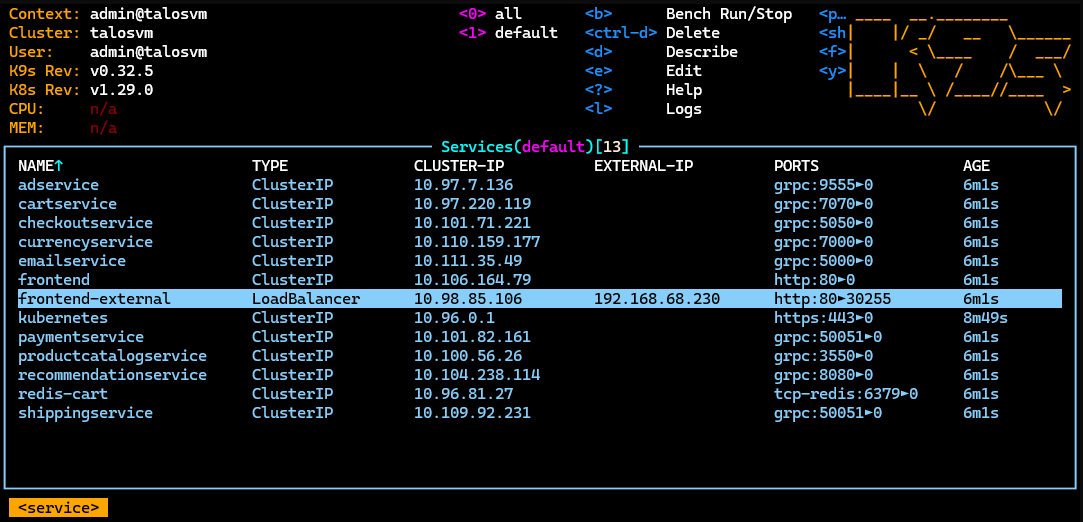
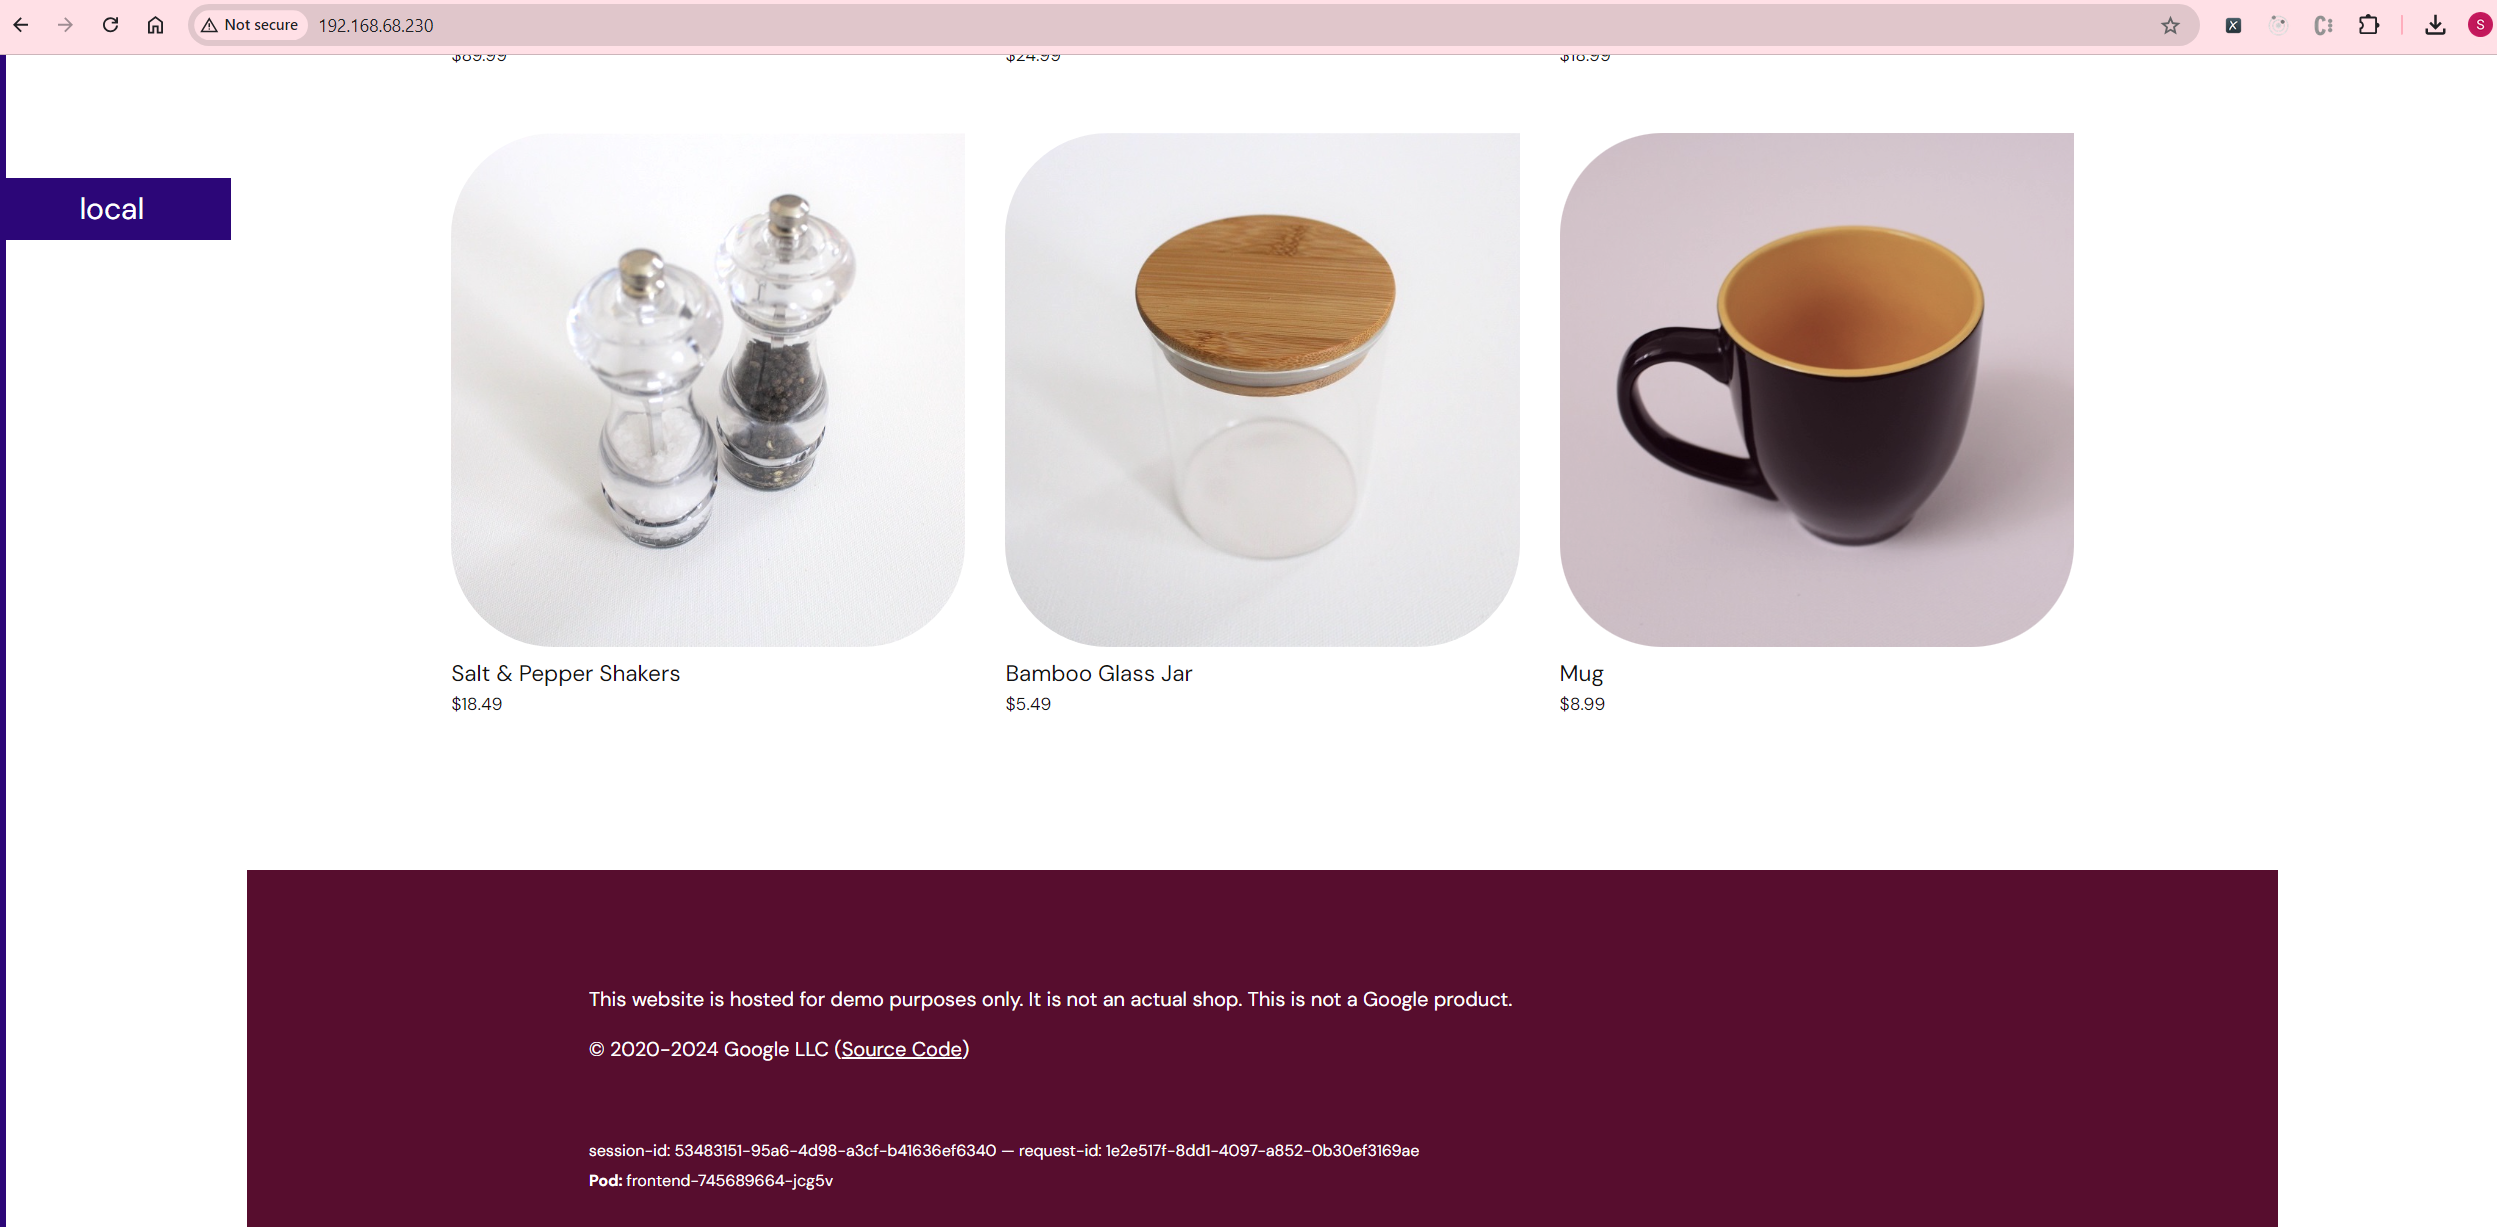
With MetalLB set up, the frontend service will receive an external IP:
Optional - Provision Istio with istioctl
To enhance observability and manage microservices traffic, we can provision Istio. Start by installing the Gateway API CRDs:
 kubectl get crd gateways.gateway.networking.k8s.io &> /dev/null || \
  { kubectl kustomize "github.com/kubernetes-sigs/gateway-api/config/crd?ref=v1.1.0" | kubectl apply -f -; }
Install Istio on your WSL system:
cd ~
curl -L https://istio.io/downloadIstio | sh -

# Setup the path to istio in bashrc
export PATH="$PATH:/home/pi/istio-1.23.2/bin"

# Perform a precheck
istioctl x precheck

# Sample result:
# ✔ No issues found when checking the cluster. Istio is safe to install or upgrade!
#  To get started, check out https://istio.io/latest/docs/setup/getting-started/
Install Istio on the Talos VM:
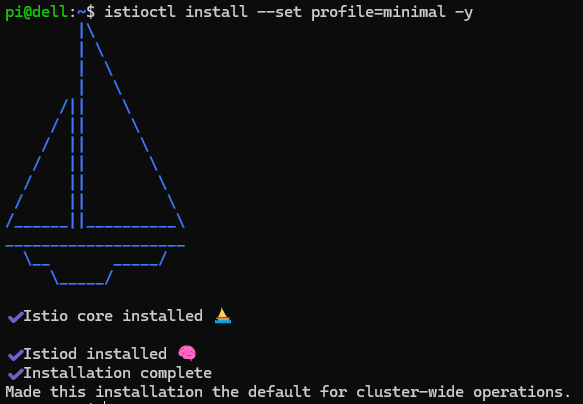
istioctl install --set profile=minimal -y

# Uninstall
istioctl uninstall --purge
Enable the Istio component in Kustomize:
# Delete the previously deployed workloads first, before executing the next command
kubectl delete -k .

cd kustomize/
kustomize edit add component components/service-mesh-istio

kubectl apply -k .

Optional - Injecting the Istio Sidecar
To inject Istio sidecars, label the default namespace:
kubectl label namespace default istio-injection=enabled

kubectl get namespace default --show-labels
# Sample result
# NAME      STATUS   AGE    LABELS
# default   Active   116m   istio-injection=enabled,kubernetes.io/metadata.name=default
If Talos is using the baseline PodSecurity policy, you may need to adjust it to allow privileged pods:
kubectl label namespace default pod-security.kubernetes.io/enforce=privileged

kubectl get namespace default --show-labels
# Sample result
# NAME      STATUS   AGE    LABELS
# default   Active   119m   istio-injection=enabled,kubernetes.io/metadata.name=default,pod-security.kubernetes.io/enforce=privileged
Re-deploy the microservices:
kubectl delete -k .
kubectl apply -k .

Optional - Install Kiali
Kiali provides a powerful observability tool for managing and monitoring your service mesh. Install Kiali with:
wget https://raw.githubusercontent.com/istio/istio/release-1.23/samples/addons/kiali.yaml -O kiali.yaml
kubectl apply -f kiali.yaml
Expose the Kiali dashboard:
kubectl -n istio-system get svc kiali
# Sample result
# NAME    TYPE        CLUSTER-IP       EXTERNAL-IP   PORT(S)              AGE
# kiali   ClusterIP   10.105.127.120   <none>        20001/TCP,9090/TCP   49s
Access it via port-forwarding at http://localhost:20001/.
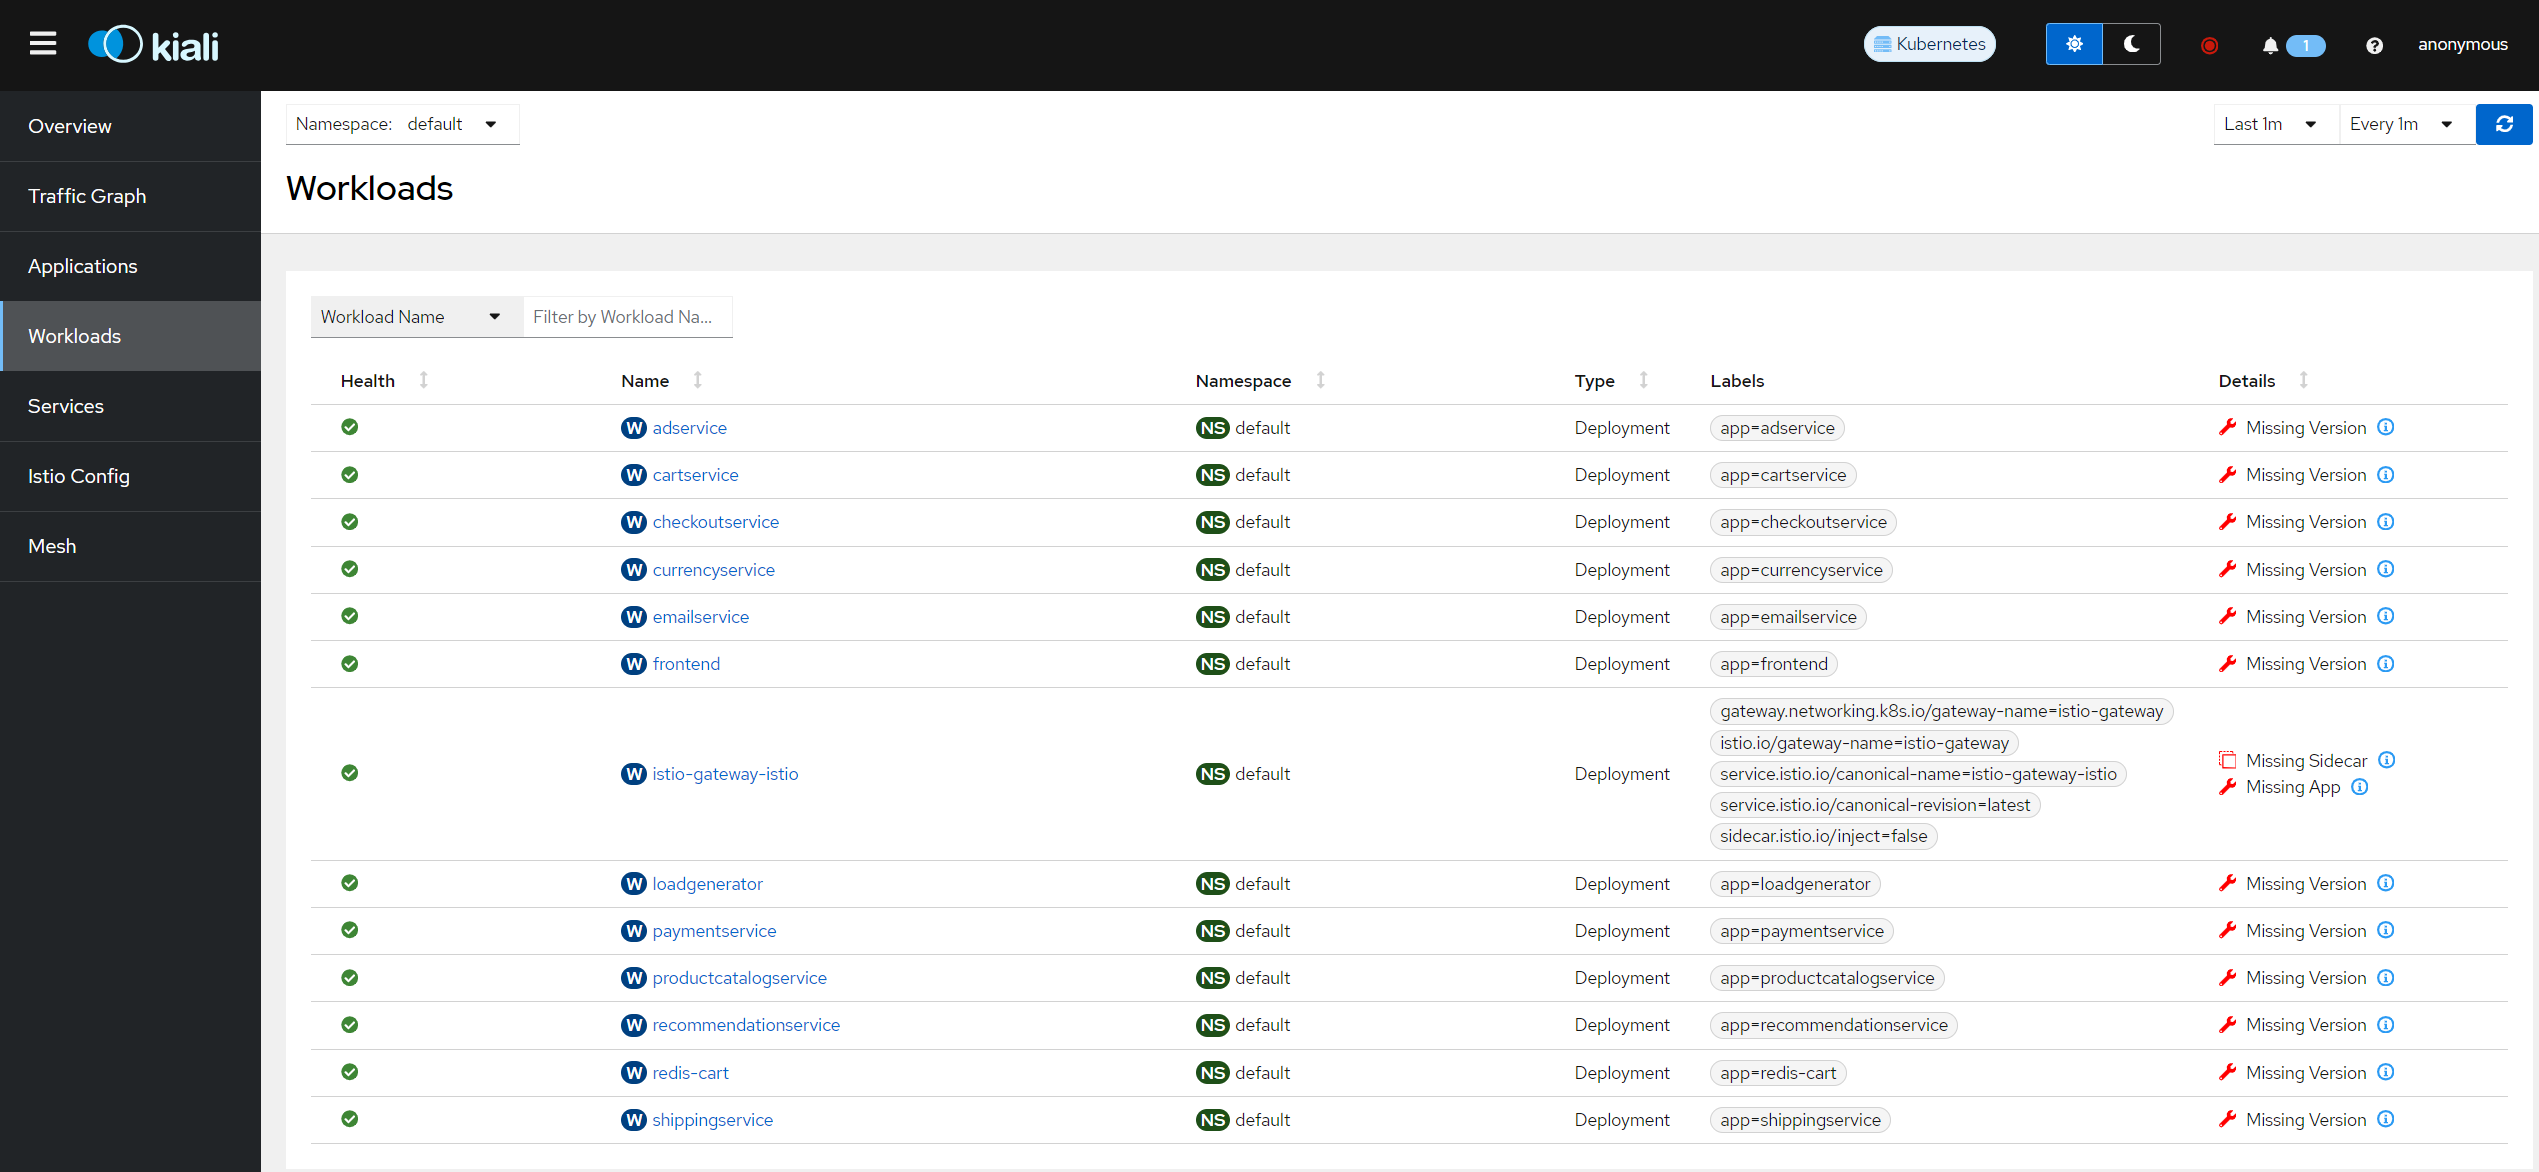
With these steps, you now have a fully functional microservices demo running on Talos in VirtualBox, complete with Istio and Kiali for advanced service mesh observability. Enjoy exploring the capabilities of Talos, Istio, and Kubernetes in your local environment!