Controlling RoArm-M2-S with ROS2
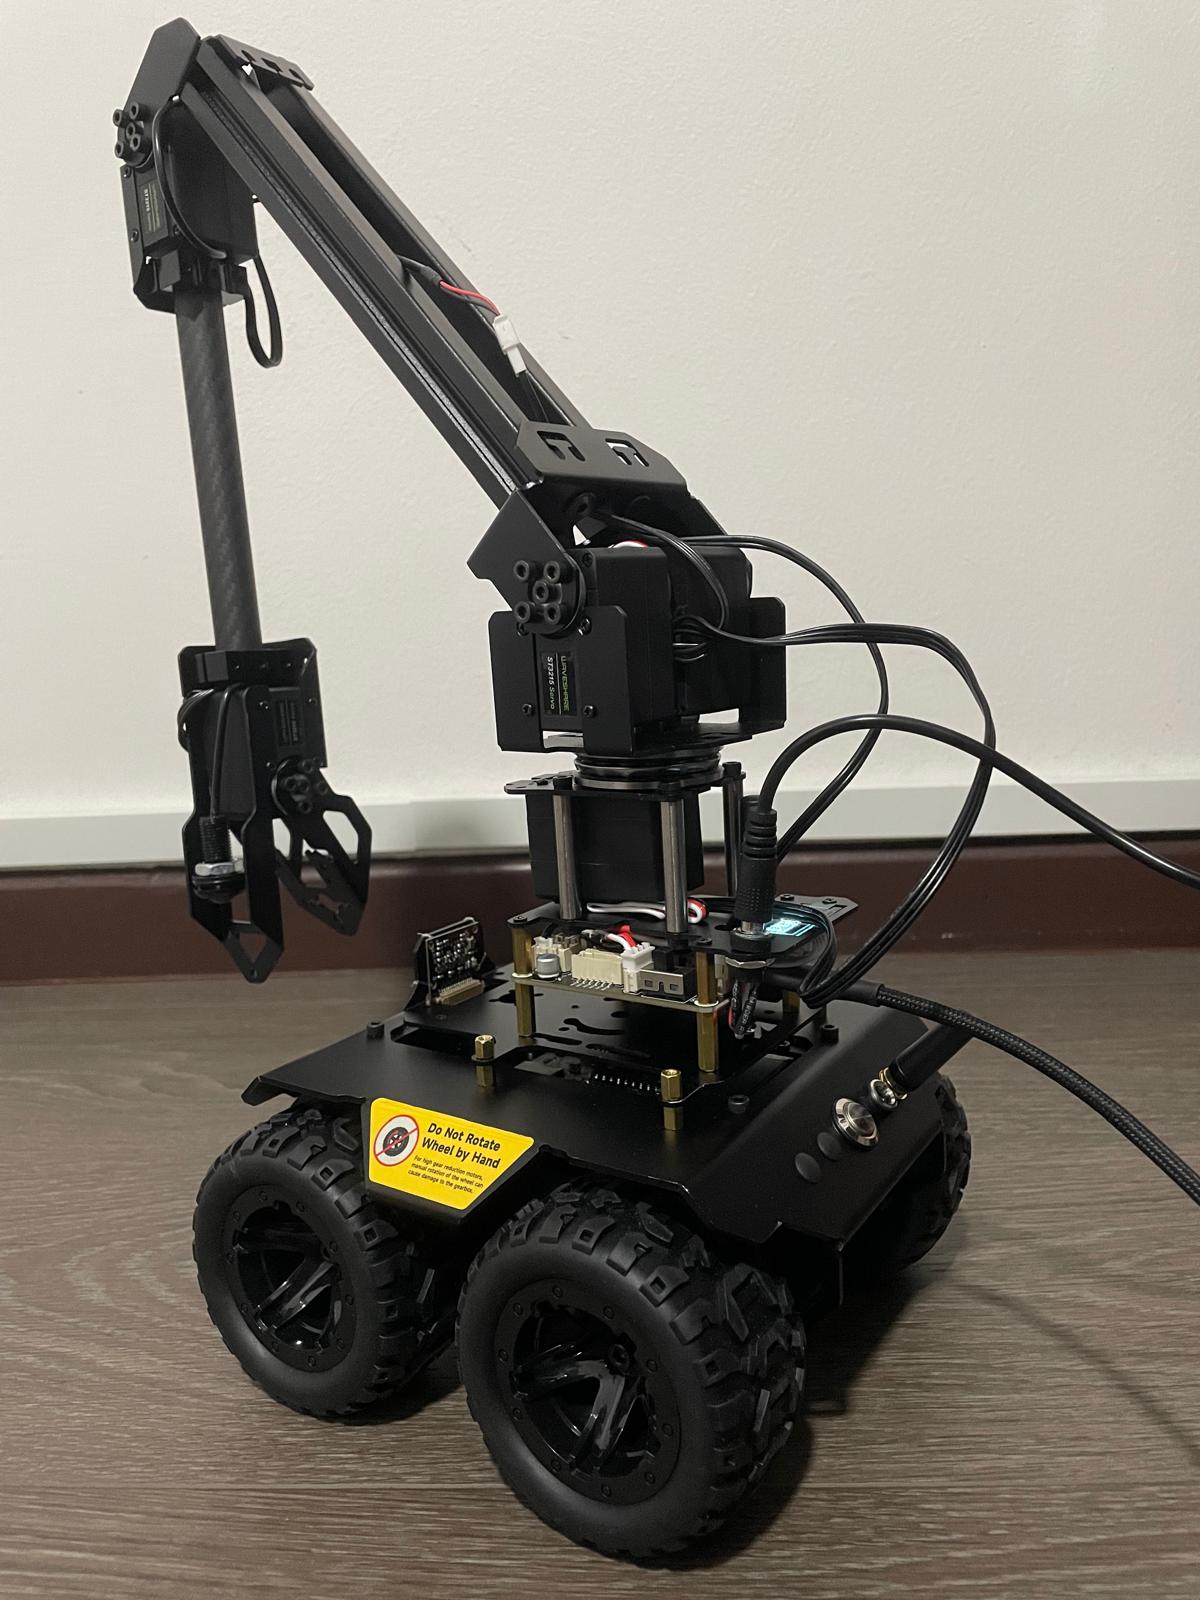
In this post, I explore the RoArm-M2-S with the Wave Rover. Due to the small base, there’s a tendency for instability, so I plan to upgrade to a UGV Rover. Meanwhile, let’s focus on setting up the RoArm.
Setup
Following the official Getting Started Tutorial, we begin by installing Oracle VirtualBox.
Installing Oracle VirtualBox
Download the VirtualBox Platform Packages and its Extension Pack. Install both, then proceed to create a new Virtual Machine (VM) named RoArm.
Creating the RoArm VM
-
Download Ubuntu 22.04.5 LTS and complete the unattended installation.
-
If you encounter the user not in sudoers or blank screen issues, access the GRUB menu by pressing Esc during boot and select recovery mode.
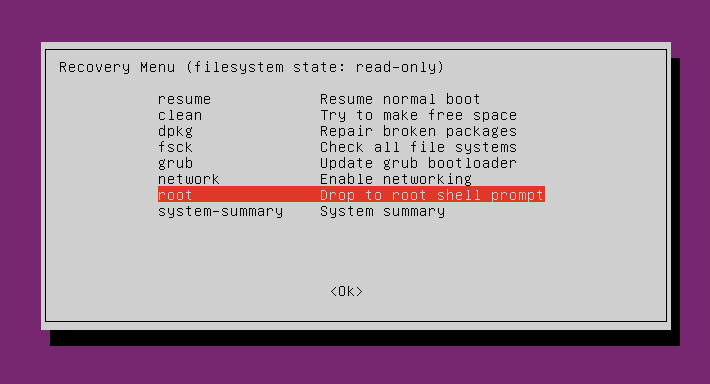
- To add your user to the sudoers file:
usermod -aG sudo pi
id pi
- Enable auto-login:
sudo nano /etc/gdm3/custom.conf

# Uncomment the following lines
AutomaticLoginEnable = true
AutomaticLogin = pi
- Set the VM Display Graphics Controller to VMSVGA, and configure options like Drag and Drop to Bidirectional.
Installing ROS2
ROS2 is essential for building robot applications. I attempted using the prebuilt ROS2 image, but encountered issues with mouse control, so I continued with a custom VM setup.
ROS2 + Moveit2 Installation
Clone the RoArm-M2-S repository and install necessary packages:
sudo apt update && sudo apt upgrade
sudo apt install git
git clone https://github.com/DUDULRX/roarm_ws_em0.git
Add ROS2 sources and install dependencies:
sudo apt install software-properties-common
sudo add-apt-repository universe

sudo apt update && sudo apt install curl -y
sudo curl -sSL https://raw.githubusercontent.com/ros/rosdistro/master/ros.key -o /usr/share/keyrings/ros-archive-keyring.gpg

echo "deb [arch=$(dpkg --print-architecture) signed-by=/usr/share/keyrings/ros-archive-keyring.gpg] http://packages.ros.org/ros2/ubuntu $(. /etc/os-release && echo $UBUNTU_CODENAME) main" | sudo tee /etc/apt/sources.list.d/ros2.list > /dev/null

sudo apt update
sudo apt upgrade

sudo apt install ros-humble-desktop

sudo apt install ros-dev-tools

sudo apt install net-tools
sudo apt install ros-humble-moveit-*
sudo apt install ros-humble-foxglove-bridge
sudo apt autoremove ros-humble-moveit-servo-*
Source the environment:
echo "source /opt/ros/humble/setup.bash" >> ~/.bashrc
source ~/.bashrc
Finally, build the RoArm repository:
sudo apt install python3-pip
cd ~/roarm_ws_em0
python3 -m pip install -r requirements.txt

cd ~/roarm_ws_em0
sudo chmod +x build_first.sh
. build_first.sh

cd ~/roarm_ws_em0
colcon build
echo "source ~/roarm_ws_em0/install/setup.bash" >> ~/.bashrc
source ~/.bashrc
Controlling a Physical RoArm
Connect the RoArm-M2-S to your PC via a USB-C cable, then verify the connection:
ls /dev/tty*
sudo chmod 666 /dev/ttyUSB0 # Adjust based on your setup
Launch the driver node:
ros2 run roarm_driver roarm_driver
RViz Visualization
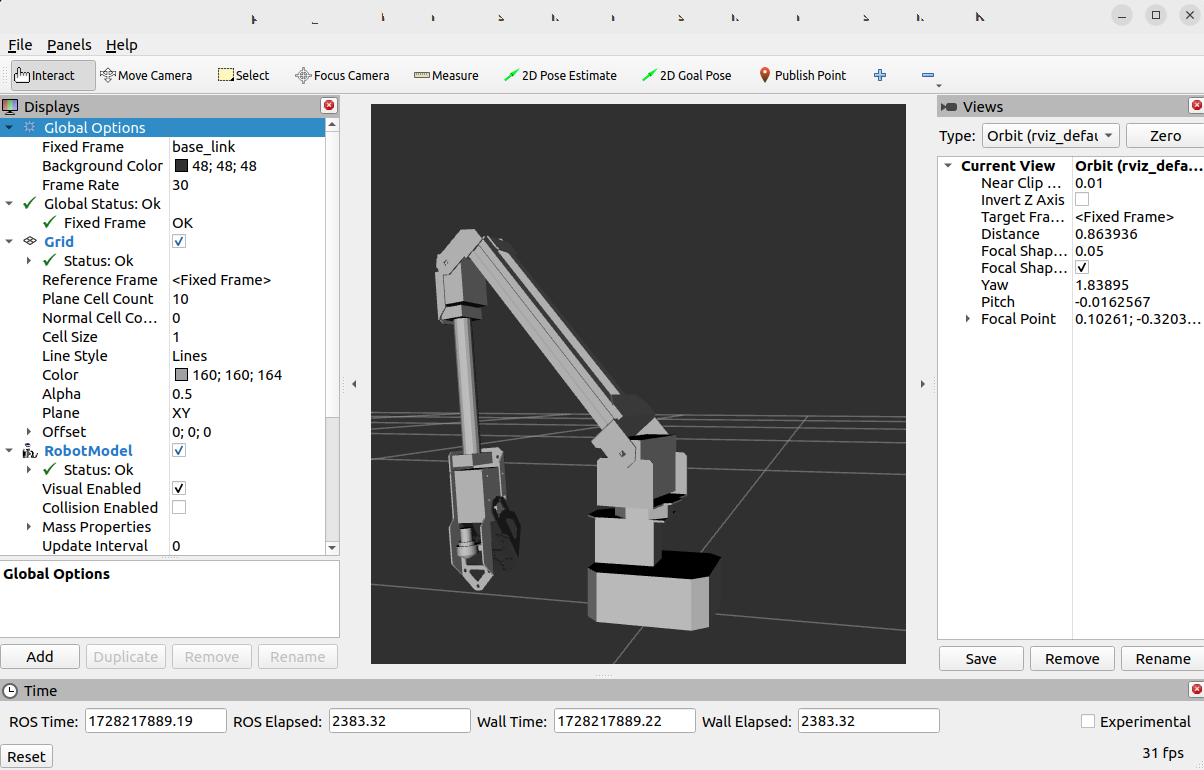
Visualize joint movements with RViz:
ros2 launch roarm_description display.launch.py
MoveIt Integration
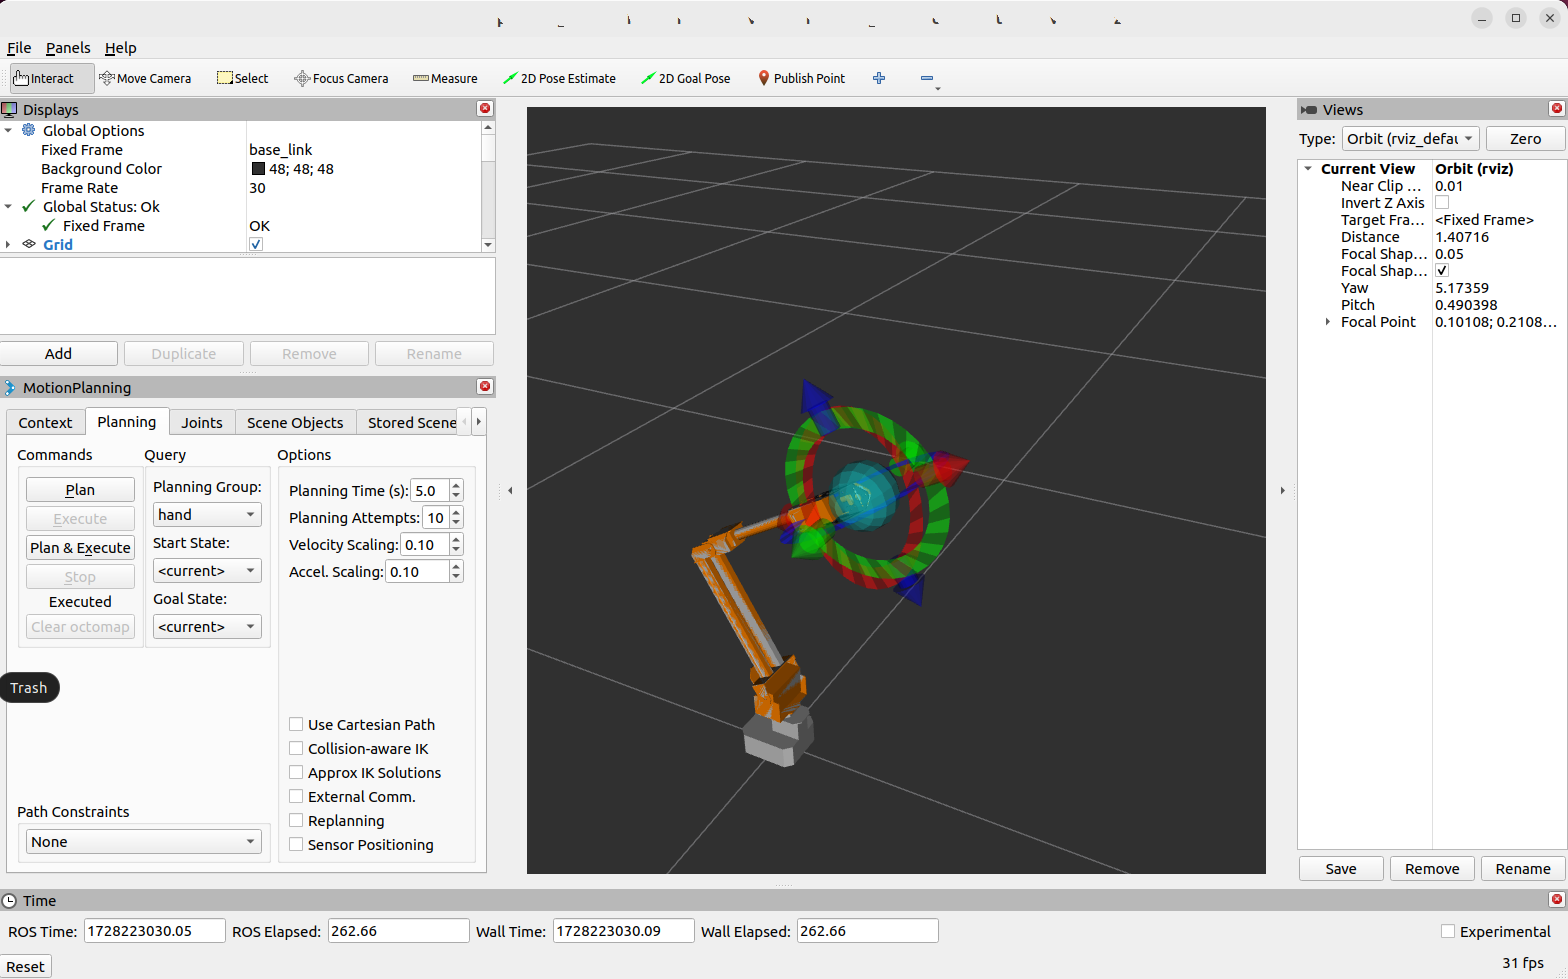
Run the MoveIt demo (press Ctrl + C to close the Rviz session):
ros2 launch roarm_moveit interact.launch.py
Keyboard Control
Control the arm via keyboard (press Ctrl + C to close the MoveIt session):
ros2 launch moveit_servo demo.launch.py
ros2 run roarm_moveit_cmd setgrippercmd
ros2 run roarm_moveit_cmd keyboardcontrol
ROS2Web_app for Web Control
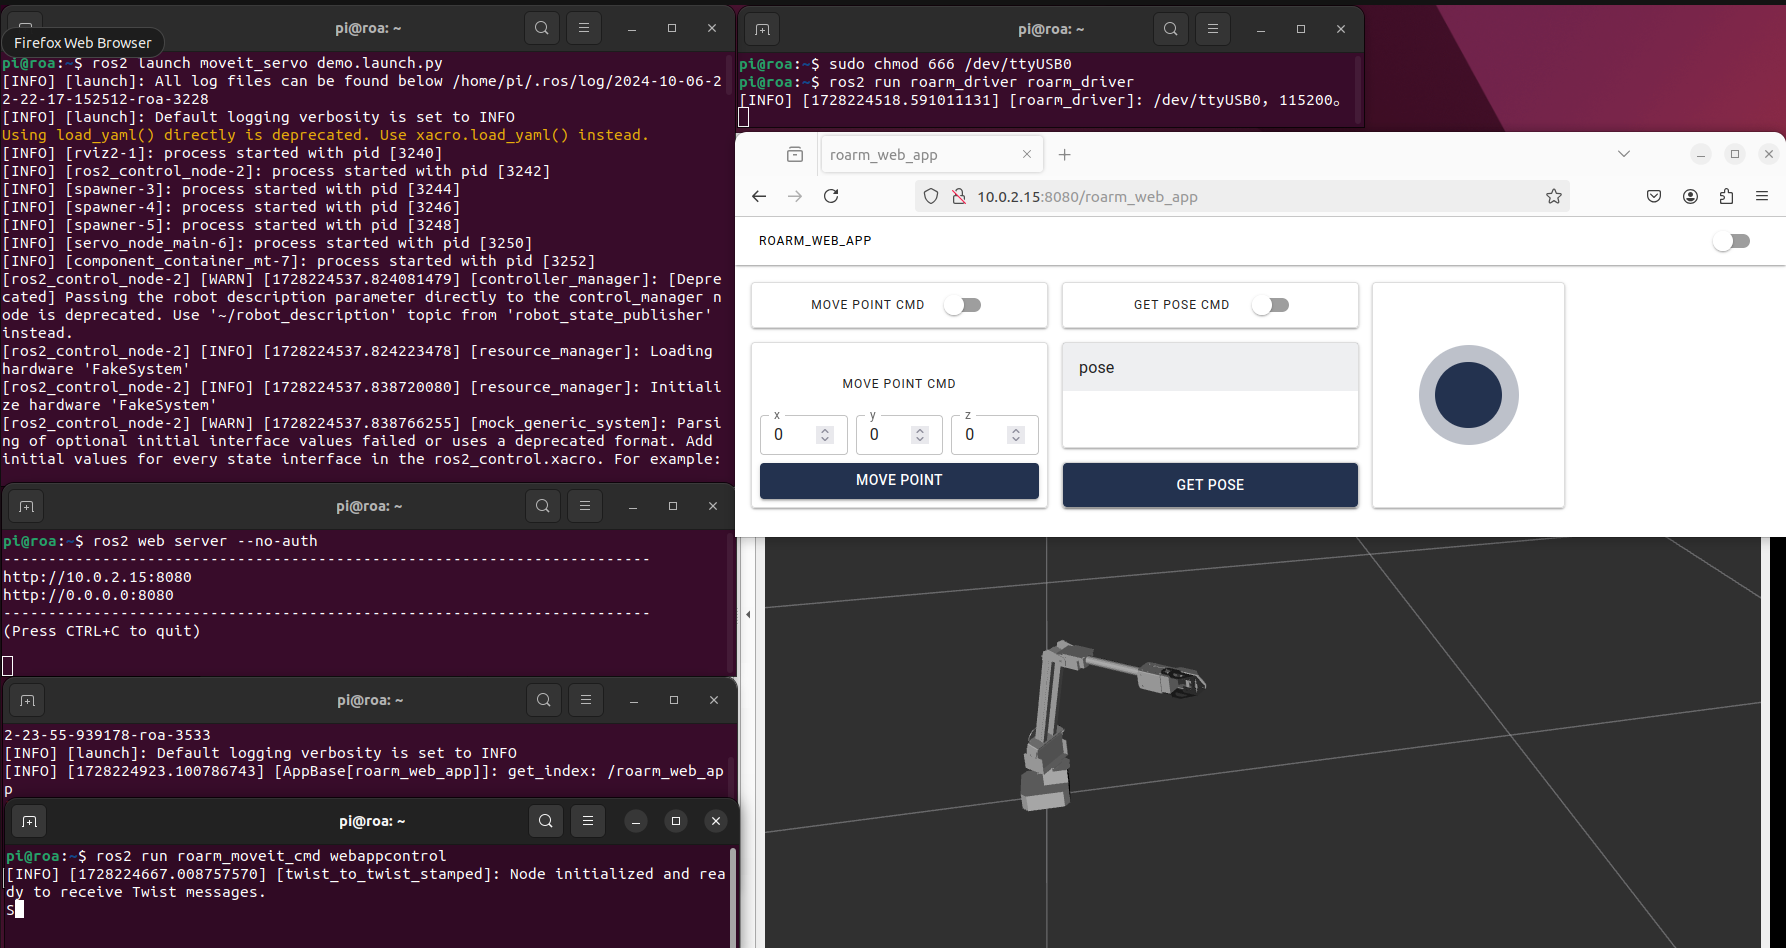
ROS2Web_app provides a web interface to control the RoArm. Follow these steps (ensure that the roarm_driver is still running):
- Launch the MoveIt2 servo node:
ros2 launch moveit_servo demo.launch.py
- Start the web server:
ros2 web server --no-auth
- Run the web app:
ros2 run roarm_web_app roarm_web_app
- Run the web app control node
ros2 run roarm_moveit_cmd webappcontrol
- Access the app via your browser at http://10.0.2.15:8080/roarm_web_app (adjust based on your VM setup):
Optional - Installing VSCode
If you prefer using VScode for development, install it with the following commands:
wget -O code_amd64.deb https://go.microsoft.com/fwlink/?LinkID=760868
sudo apt install ./code_amd64.deb